 Yey it’s the Easter holidays! There’s kids to entertain, chocolate to buy (or make), relatives to feed and before you know it you’ve forgotten the crafts and the children are bored!! If you have found yourself in this situation then fear not because we’ve got some really quick and easy last minute Easter Crafts that are sure to please.
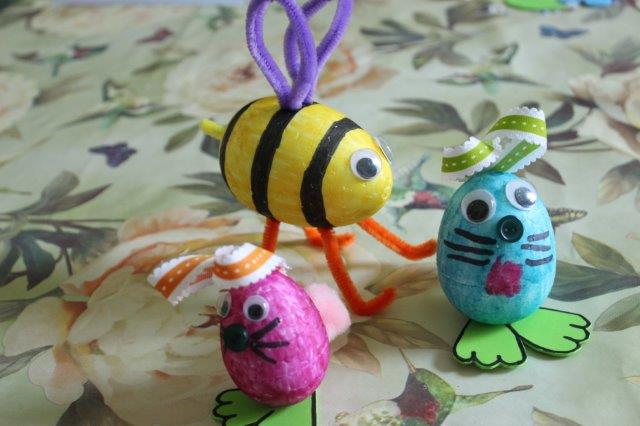
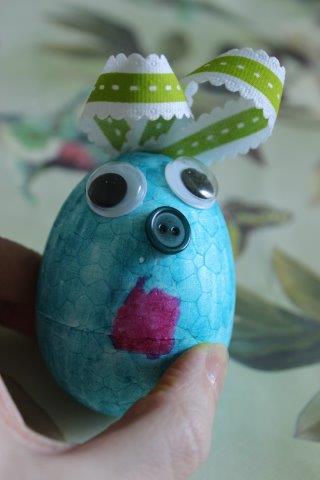
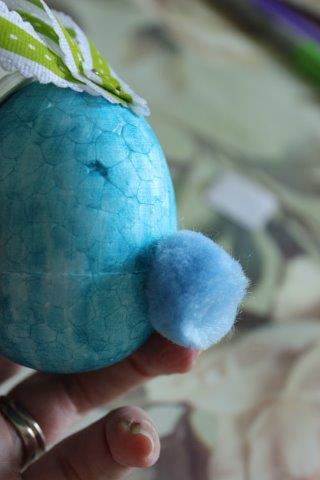
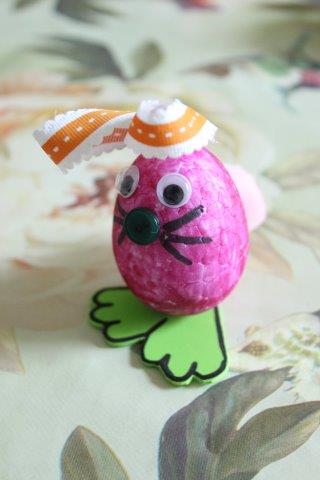
As a Bostik Craft Ambassador I am sent a new box filled with crafty goodies every month. This month I gave the kids free reign to create their own crafts and this is what they came up with. 🙂
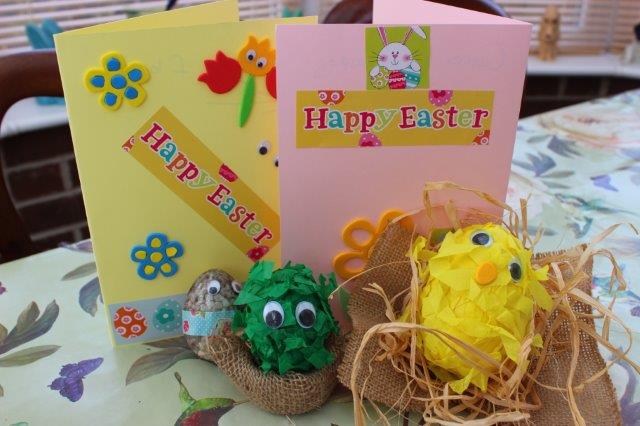
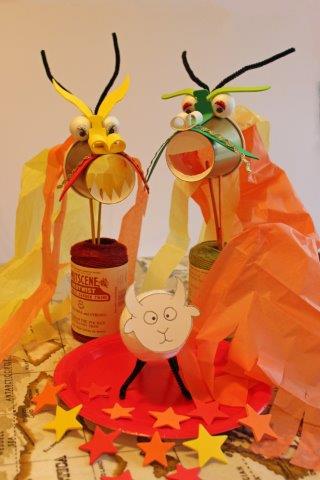
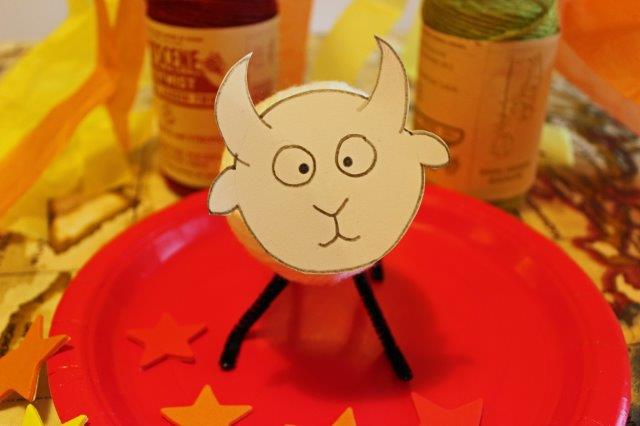
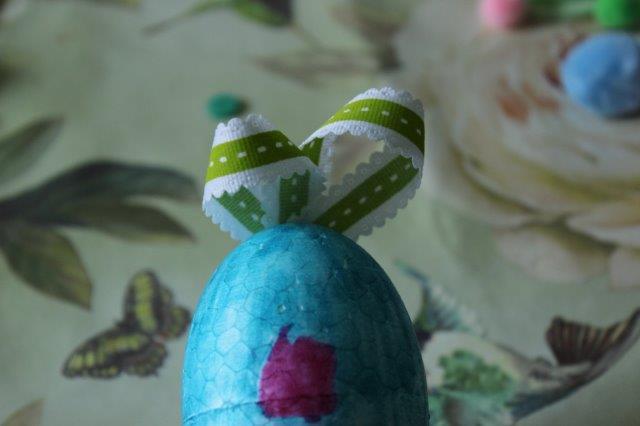
Easter Monster (or chick if you’re feeling traditional)
You will need:
Bostik Glu Pen
Bostik Tape Discs
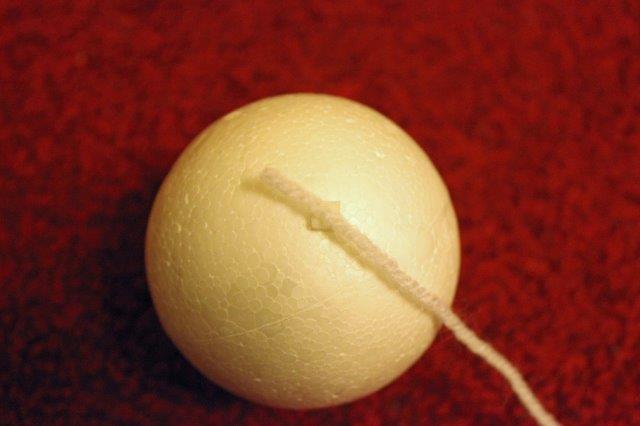
Polystyrene egg
Shredded tissue paper
Googly eyes
For the Nests:
Hessian fabric pieces
Raffia
Cardboard box lid
Needle and thread
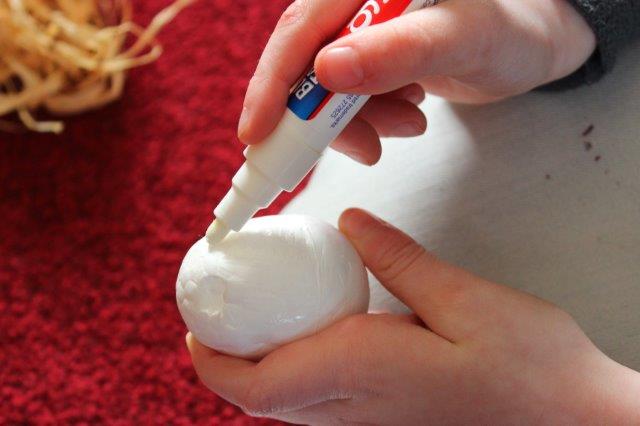
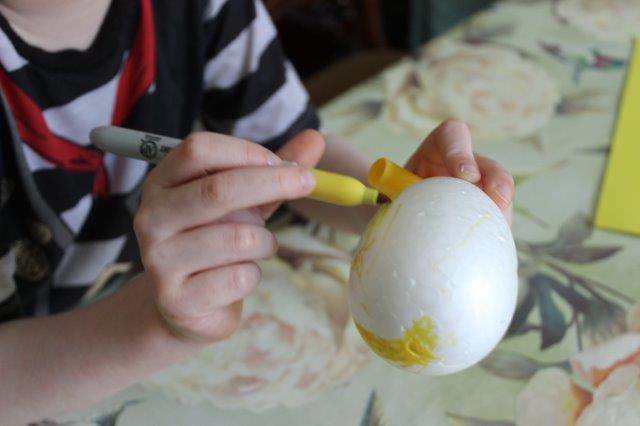
Using the Bostik Glu pen cover the egg shape with a thin layer of glue.
Throw/ chuck or coat the gluey egg in shredded tissue paper. Squash the paper together to make sure all the white spaces are covered.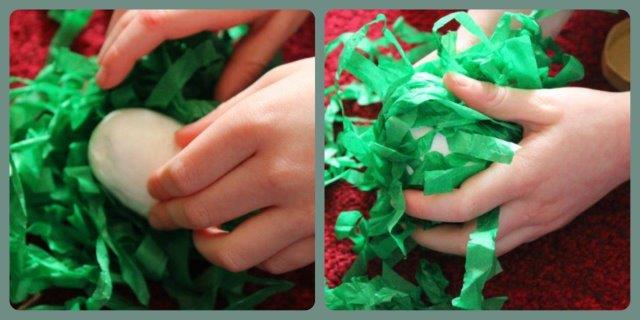
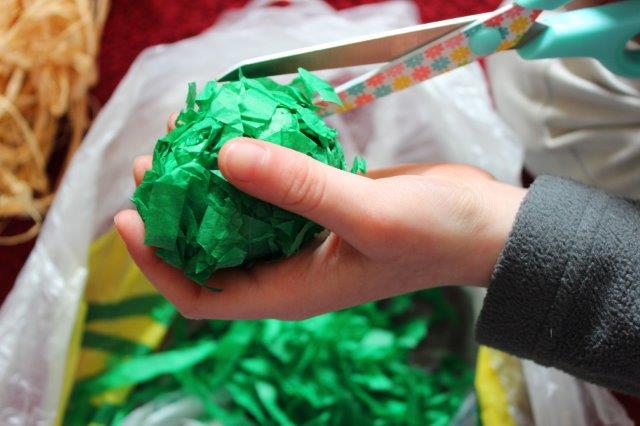
Trim off the excess pieces of tissue paper with scissors until your monster or chick looks perfect. Finish him off with a pair of googly eyes and if you’re making a chick add a foam or felt beak.
Of course every Easter creature needs a good nest to live in and we have two ways to make him or her their brand new home.
First Nest
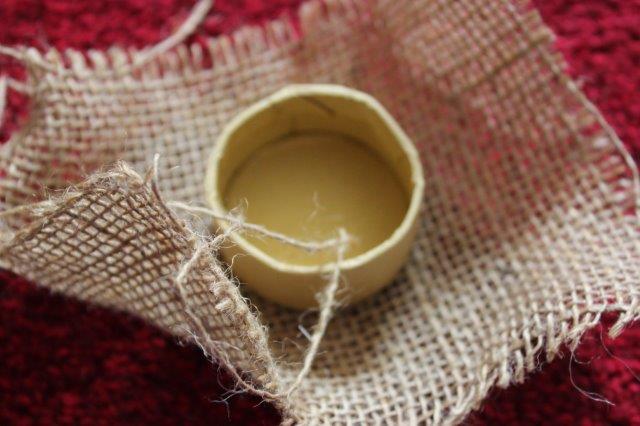
Take the lid of a cardboard box and place into the centre of a piece of hessian fabric. Using Bostik Glu discs secure the hessian into the lid by folding and sticking into the centre.
Second Nest
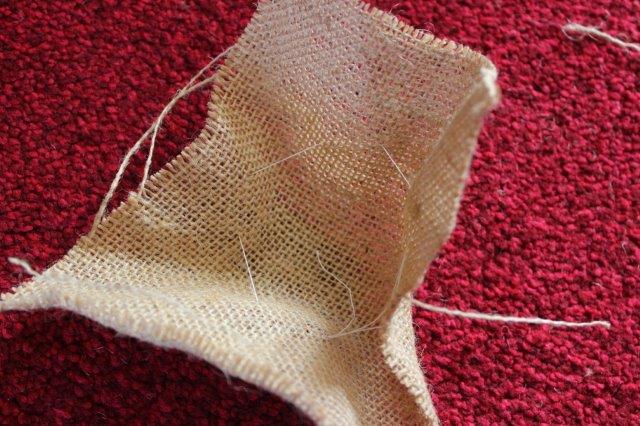
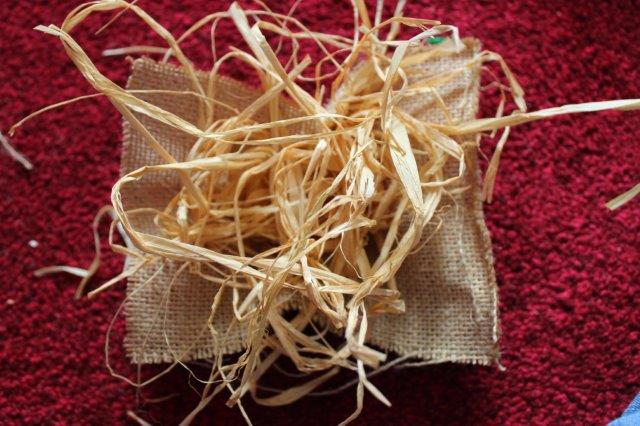
Take another piece of hessian and sew a rough circle shape using large stitches. Pull the ends together to gather the material and tie in a secure knot. Stuff pieces of raffia under each of the stitches to pad out and fill the nest.
Finally display proudly on your fireplace and have a lovely chocolate filled weekend 🙂


2 Comments (Leave a comment)