 Towards the end of last year I was invited along to a rather lovely lunch with Dragon’s Den newcomer Sarah Willingham. Sarah has collaborated with the financial chaps at Experian to create a brand new App called >Jangle aimed at demystifying finance for kids.
The idea is to help kids manage their own money by completing various tasks in exchange for financial rewards. This not only teaches children the value of waiting and saving for non-essential items but the time spent completing tasks helps them to learn the value of their own time and therefore money. At least that’s the idea but let’s take a look at it in practice.

At the moment Jangle is only available on iPad, but it’s in the pipeline for other platforms soon. Initially Mum or Dad downloads the app and sets up an account. This account acts as the master login which is used to approve the actions of your kids.
Create a Pot

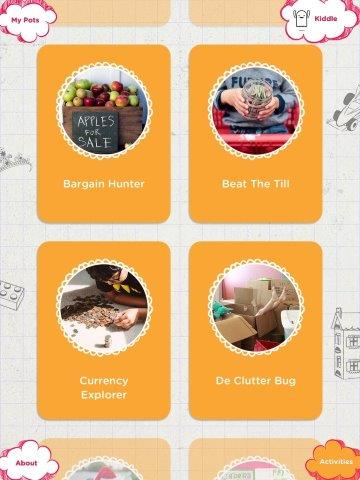
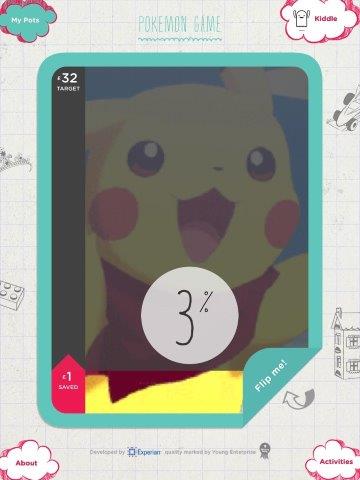
Once you’ve set up a profile for your child hand over the iPad and they can create a ‘pot’ to save for. This can be anything at all, a day out, a game, a toy etc. Add the cost and you’ve begun your saving journey. To add further motivation an image can be added to the goal, for example if you’re saving for a Pokemon game you can upload or search online for a image of Pikachu etc.
Finally a parent has to enter the master password to approve this savings goal.
Choose Activities
Time to earn that reward! In this section your child choosing various activities, then requests what they believe to be appropriate payment. This is a really interesting exercise as they are essentially valuing their own time and the differences for various tasks can be dramatic. Of course they may think they deserve £25 to clean their room but that doesn’t mean you agree, so each task and payment has to be approved by a parent.

Interestingly enough this really appeared to teach my kids the value of money. If they’ve just spent an hour earning £2.50 then suddenly blowing it on sweets doesn’t seem like such a great reward.
Once an activity has been completed a parent can approve and the money earned is added to their total which can be seen to grow towards their pot.
 Kids Thoughts
My kids love this app, it allows them to save for whatever they want and how quickly they receive it depends not on their nagging skills but on their own motivation and hard work. If they don’t want to complete activities they don’t, but nor do they receive the reward.
My Thoughts
I love this app because it significantly reduces the nagging from the kids and I really think it teaches them the value of their time and consequently the value of ours too.

However… I have come to find one aspect of the app somewhat annoying and that it the need for my approval at every single step.
Pick a pot and I have to approve before my child can go any further. Pick an activity and I have to approve before they can move on and so on. Believe me this gets frustrating when they are trying to reach £32 in £1 increments and you’re just trying to get dinner on the table or your hair dried. I think it would be vastly, hugely improved if kids could pick their goals and activities which then go into an approval que. This would allow me to login later and approve/change/deny in one go.
I believe it has been set up this way so that the financial learning journey is shared between parent and child which is great, but in reality approving each step was a bit tiresome.
Despite saying all that though I still think this is a minor niggle overall as I believe the app really offers such valuable learning that having to stop and approve constantly isn’t the end of the world. Incidentally it’s way more annoying to me than the kids, they weren’t remotely bothered.
For more Info and to download Jangle visit www.experian.co.uk/consumer/jangle or the App Store

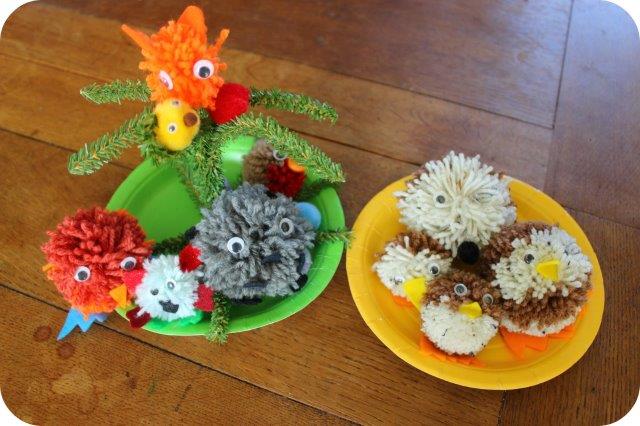


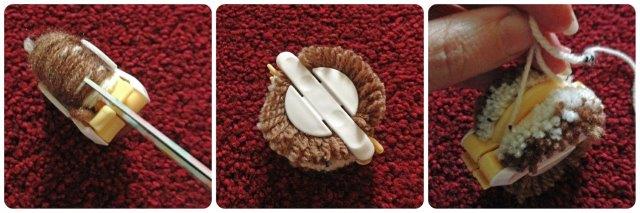
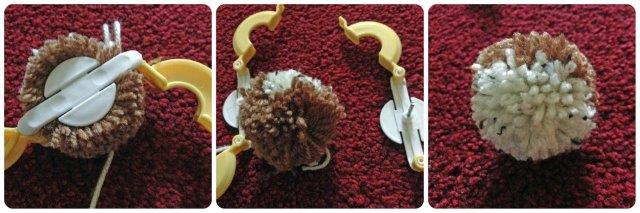
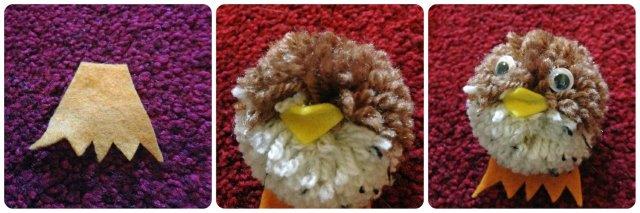


Comments Off on How to make Pompom Animals