 The New Year is seen as a time of fresh starts and new beginnings. As we say farewell to the old year we pledge to leave behind traits that we no longer find desirable. Unfortunately many people, myself included find that keeping resolutions is harder than we might have thought. Rather than viewing forgotten resolutions as a mark of failure, my family decided to make the whole experience more positive from the outset with this unique craft idea for New Year. It was with this in mind that the ‘Promise Pot’ was born. Instead of resolving not to do certain things, the idea is that you pledge to do something positive for yourself or your family. This could be anything you like, perhaps you dream of visiting a new country and this year you promise to make that wish come true. Or maybe your needs are smaller and this year you pledge to read more books. The only condition is that your promise must be positive. So if you have a very particular goal such as weight loss, rather than vowing to loose a set number of pounds, perhaps you could resolve to treat yourself more healthily over the coming months instead.
This tutorial was originally created and written by myself for the Boden community in 2011 (hence the date on the flags 🙂 ).
Promise Pots can be large or small. A large one can cover a whole family and be kept the year round as a reminder. Smaller pots are perfect as place settings which guests can take home.
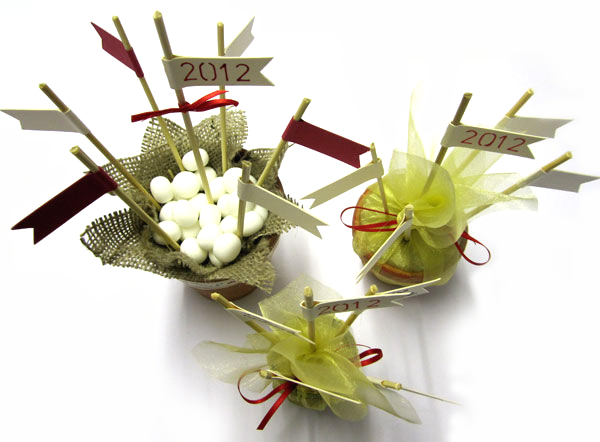
 Small Promise Pots
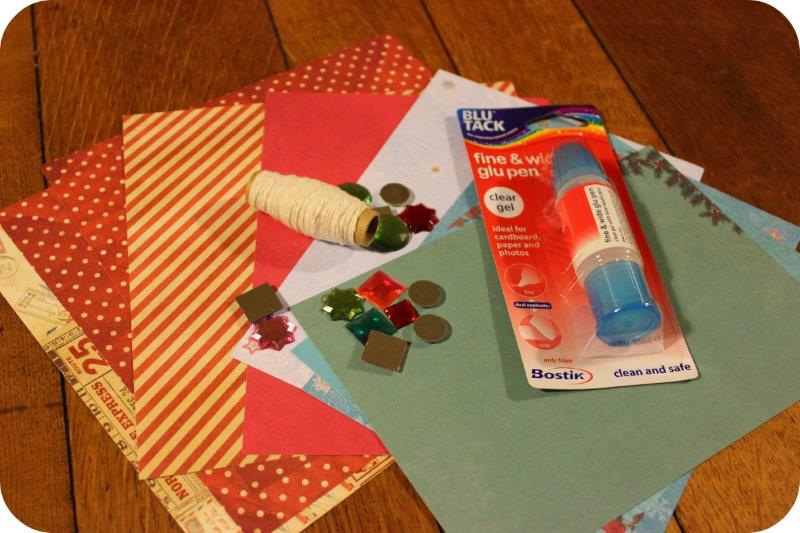
Pots
Florists Oasis
Organza Fabric
Ribbon
Decoration (such as ribbon or lace)
Disposable Kebab Sticks
Thin Card
Glue
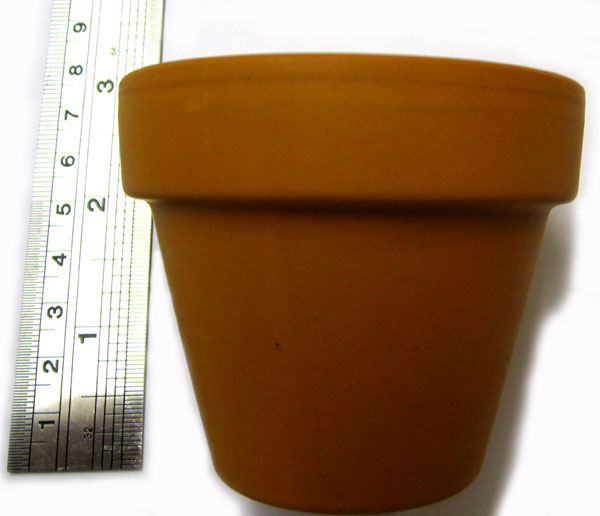 I made the smaller pots using tiny flowerpots bought from a local garden centre, I believe they are intended for small cacti.
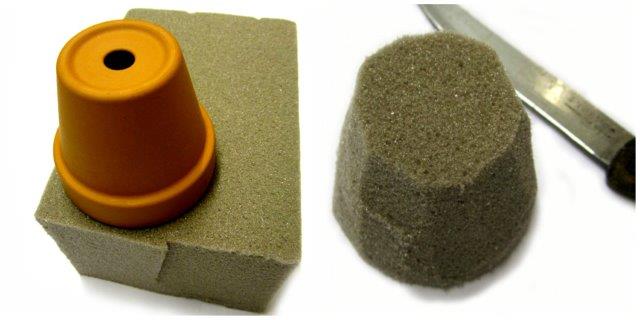
Once you’ve chosen the pots you’ll need to fill them with florists oasis. I find the easiest way to do this is to take a big chunk and slowly shave it down using a kitchen knife.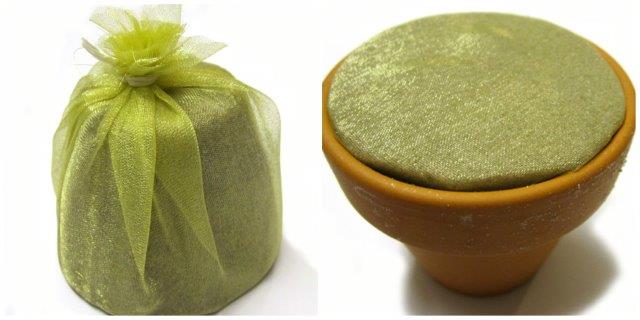
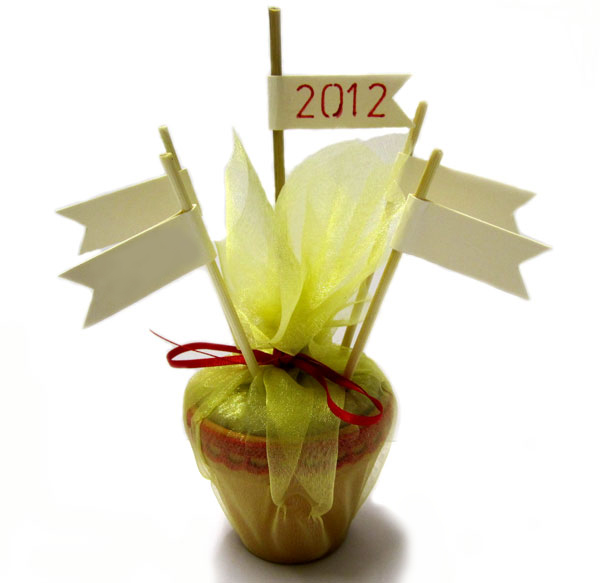
Once the oasis fits snugly into the pot it needs to be covered with fabric. I like to use gold organza, it’s thin, sparkly and perfect for the job. Gather the fabric around the Oasis and tie at the bottom, trim off any excess fabric. Turn the Oasis over and push into the pot.
Next it’s time to decorate! I used red lace, but ribbon, sequins and glitter all look fabulous stuck around the edge of your pot.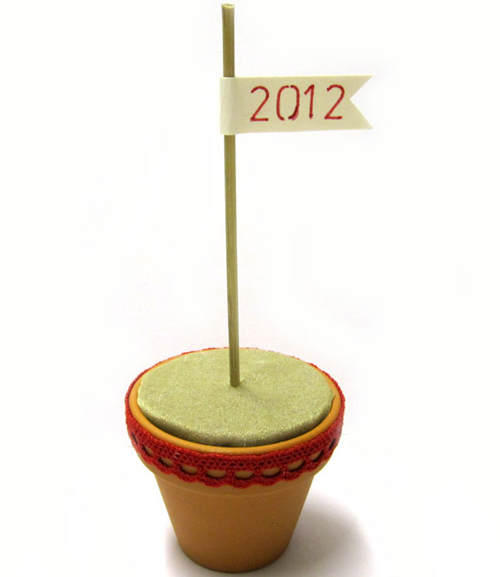
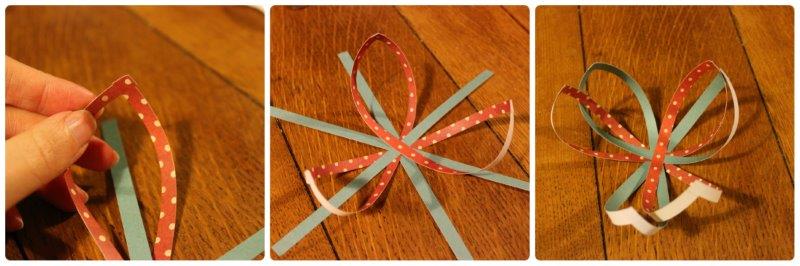
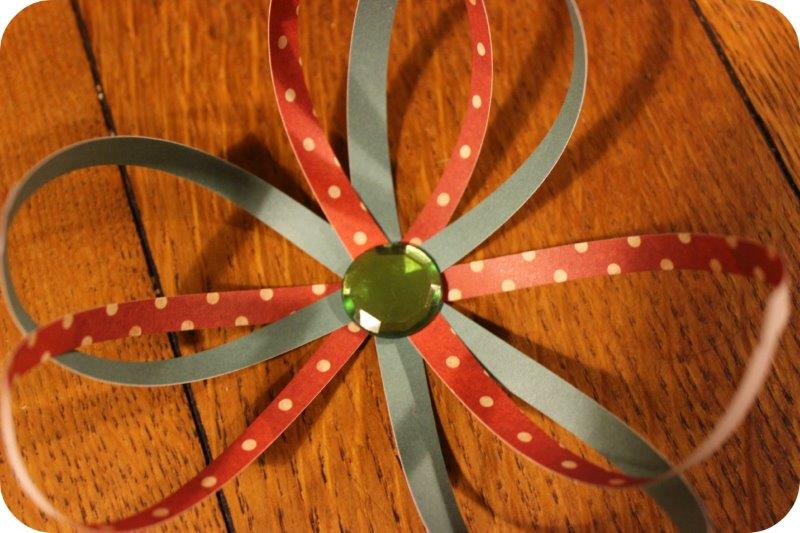
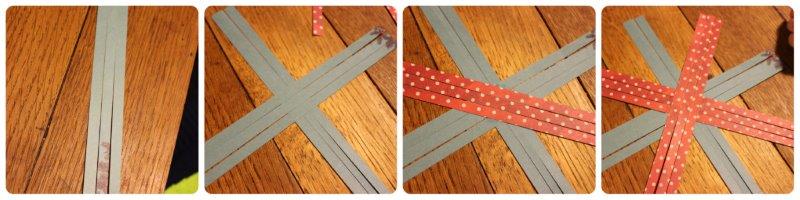
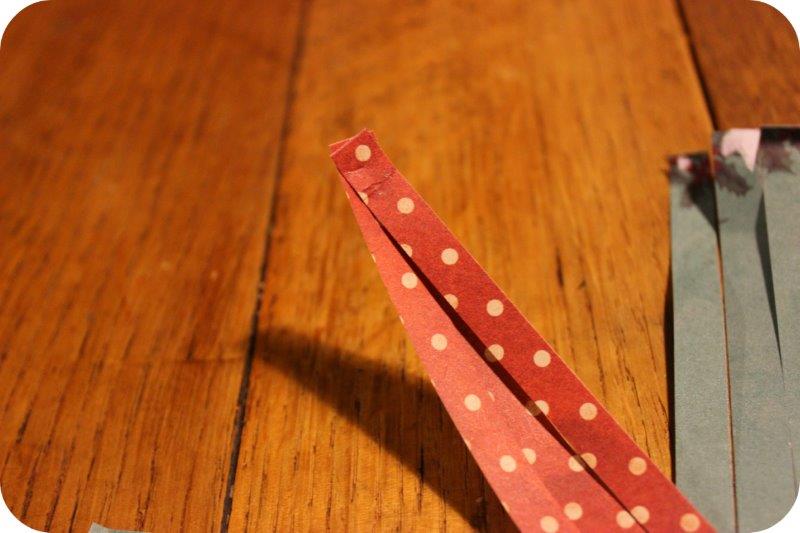
Take a Kebab stick and cut in half. Cut a small piece of card 1½cm wide by 9cm long. Fold the card in half and write the year on both sides. Glue the folded card around the top of the cut kebab stick, then push into the centre of your pot.
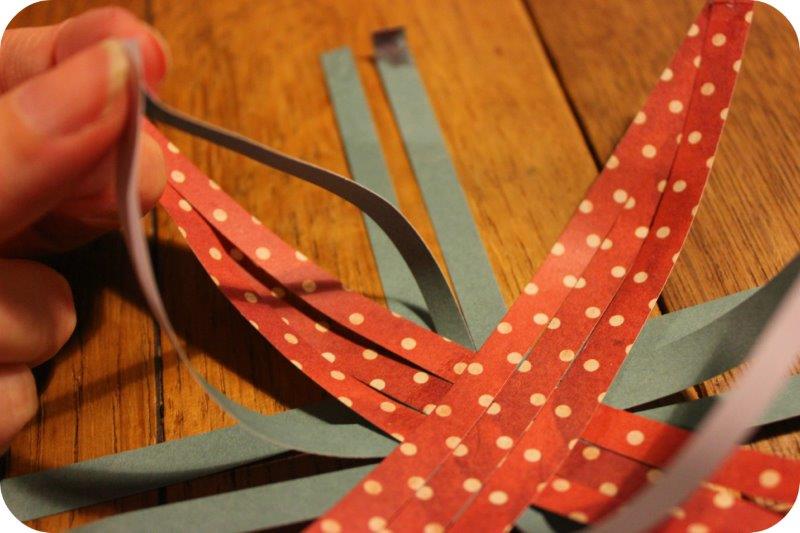
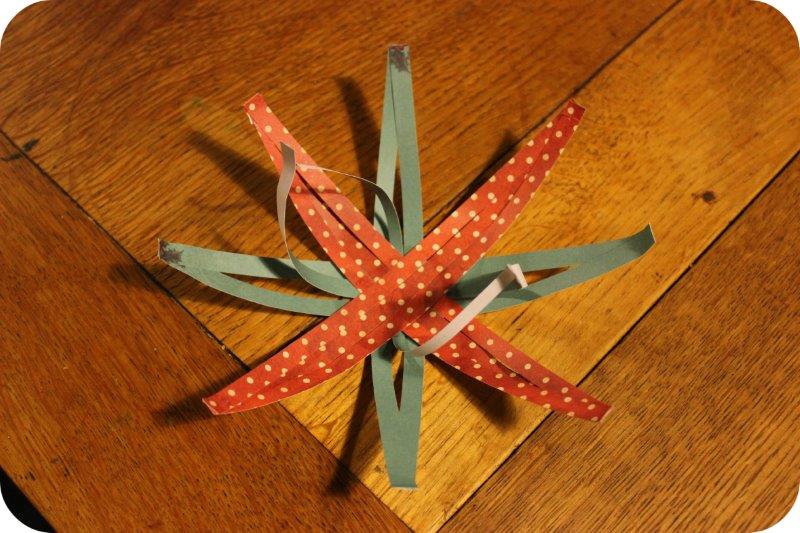
Next cut a square of Organza fabric, approximately 28cm square. Place the pot into the middle of the fabric and pull up the corners towards the centre stick. Tie the fabric in place around the stick using a piece of ribbon.
Take some more kebab sticks and cut in half, make more cardboard flags to attach to the top. Put 4 flags into each pot. Your guests can now write their promises onto the flags and keep the pots to inspire them.
 Shot Glass Promise Pot
Using a shot glass is a quick and simple variation for individual pots. The only difference is the Oasis is not covered with fabric, it is pushed into the glass and then a small circle of kitchen foil used to cover the top. Then glue some ribbon around the glass to hide the Oasis. The flags in this picture already have some promises written on.
 Large Promise Pot
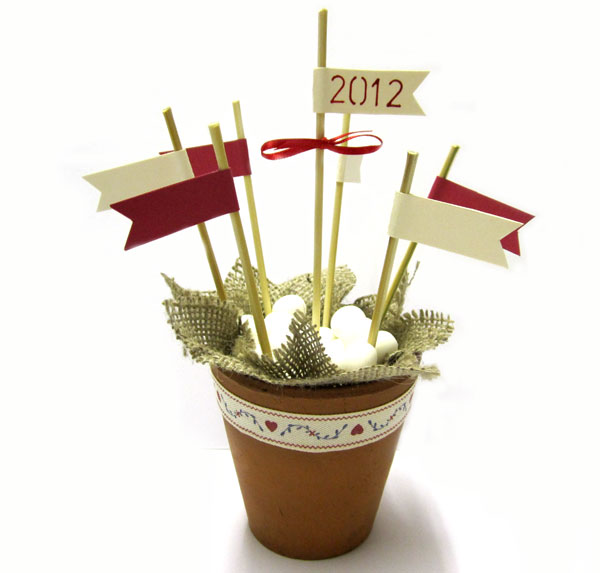
To make the large version for your family or to give as a gift, use a larger Terracotta flowerpot. In my example here the Oasis is only covered at the top using a couple of pieces of Hessian fabric. Any fabric will do but it must have a loose weave to allow the sticks to be pushed in. I then used some cocktail sticks to secure the fabric at the edge of the pot. You will need to cut off one pointed end to do this, thus creating giant pins. Glue some ribbon around the edge of the pot and then fill the fabric with sweets to add a bit of colour. The flags are made in the same way as before but will need to be longer in length.
I hope you all have a fabulous New Year with many wonderful times ahead of you!
 If you’ve ever admired Japanese Tabi socks or just fancied wearing socks with your toe shoes or sandals then this is the tutorial for you! Japanese Tabi style socks are not only stylish they’re also super quick and simple to sew, all you need is a regular pair of socks to alter! I whipped up several pairs of these recently when the kids were wearing flip flops as part of a costume and given that it was the end of November I didn’t want their toes freezing off. Cosplay considerations aside they’re also an extremely fun and practical sock design so give them a go today and sew simple Tabi socks with this quick and easy way to make toe socks.
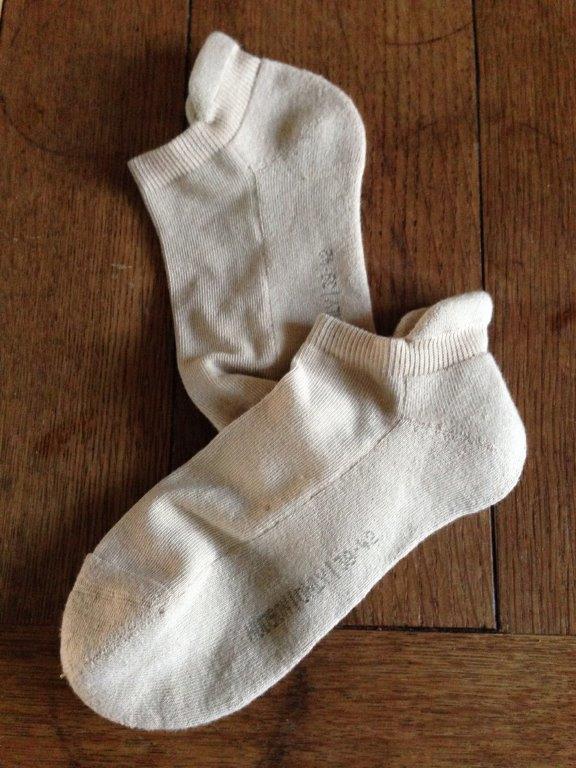 What You’ll Need (this has to be one of the shortest lists I’ve ever written for a tutorial)
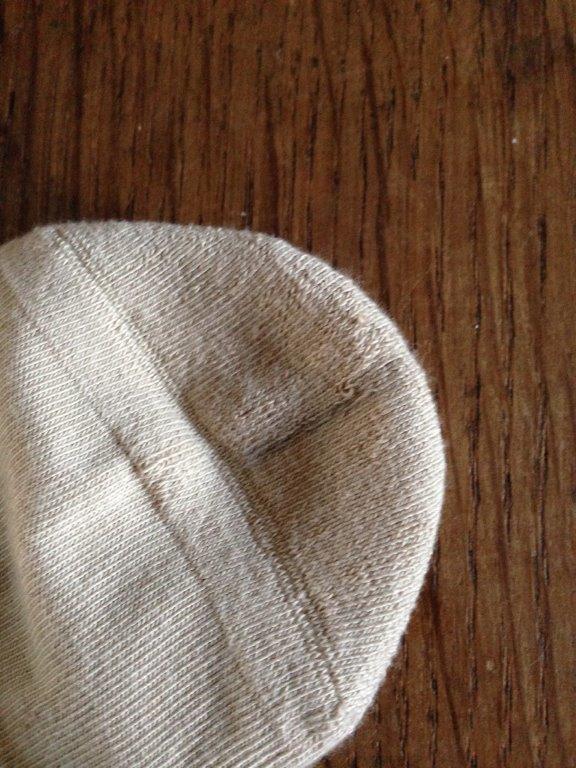 Step 1
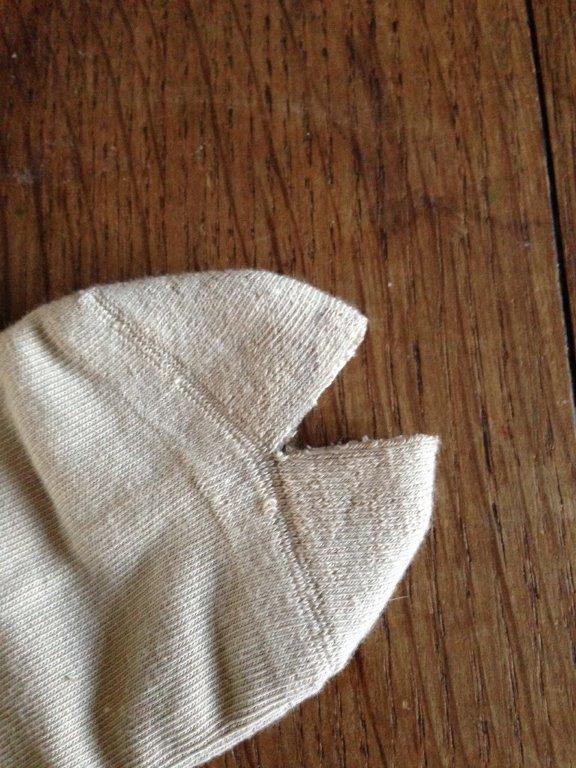


Comments Off on Sew Simple Tabi Socks with this Quick and Easy Way to Make Toe Socks