 With Christmas so nearby you’d be forgiven for thinking that time had run out for crafting but today I’ll show you how to make some quick and Easy Paper Decorations for Christmas. They’re also the perfect craft to keep the kids busy now that the Winter holiday looms! All the supplies were given to me by Bostik as part of their craft ambassador program.
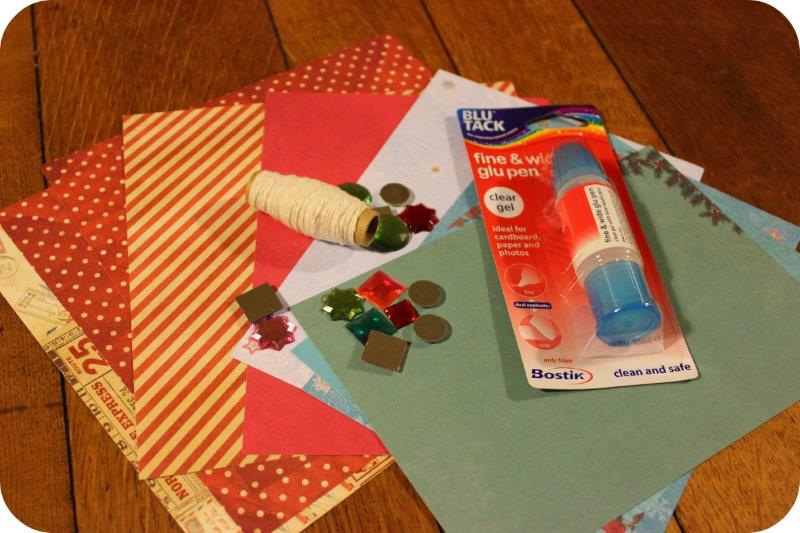
What You’ll Need:
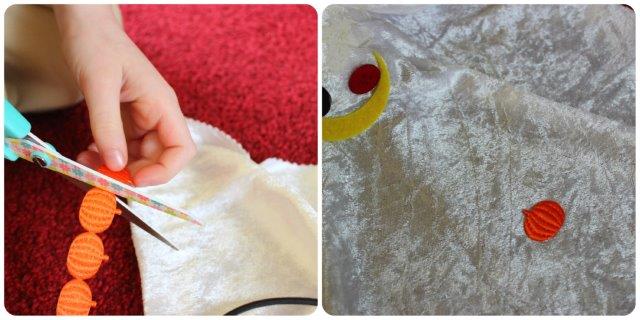
Paper (cut into long thin strips roughly the same size)
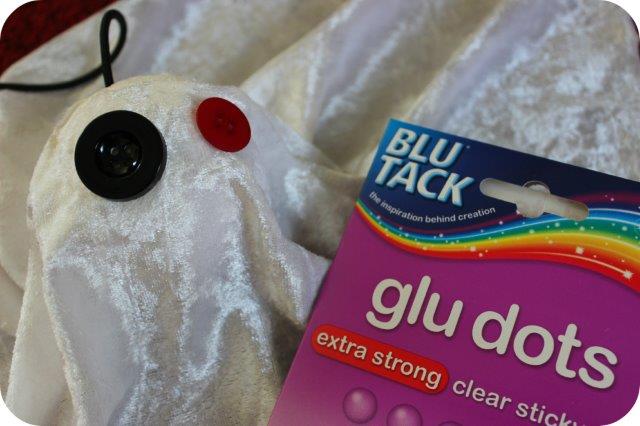
Blu Tack Fine & Wide Glu Pen
Plastic Gems
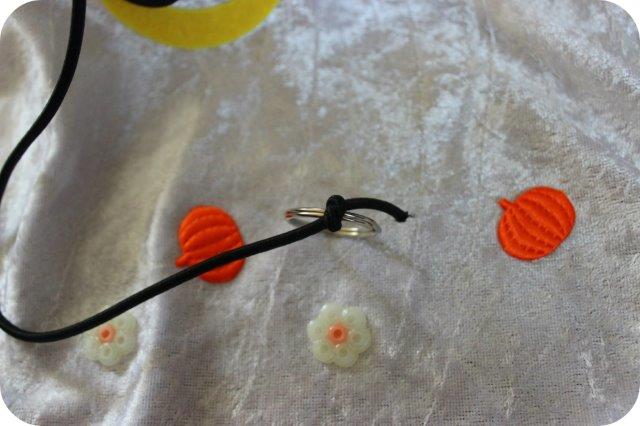
Thread
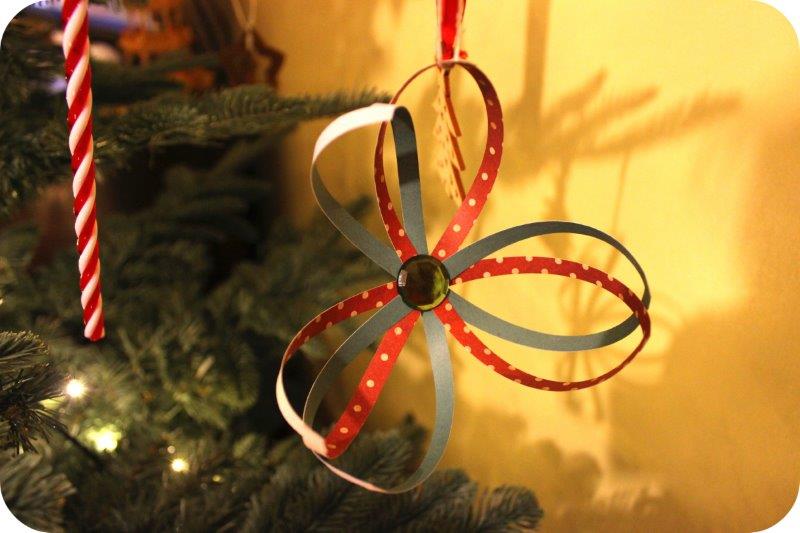
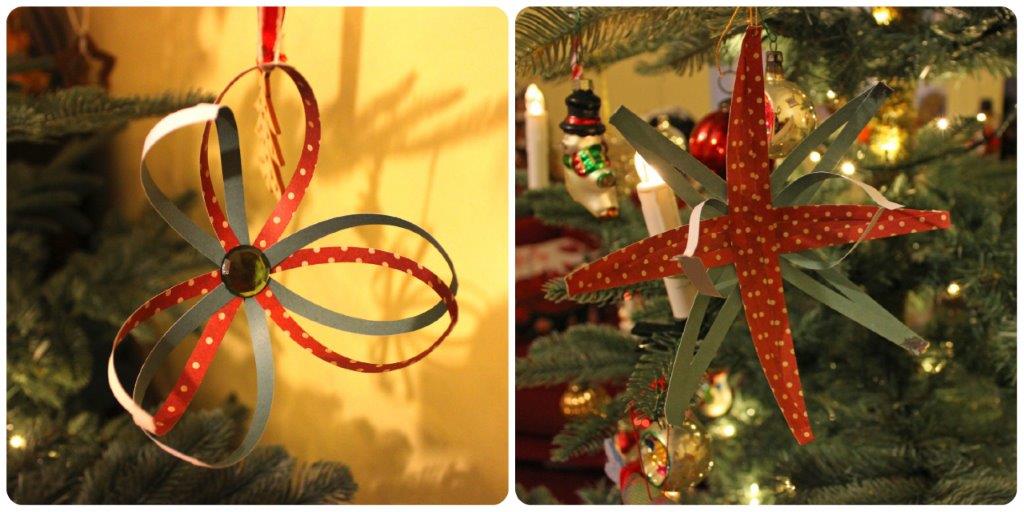
Paper Flower
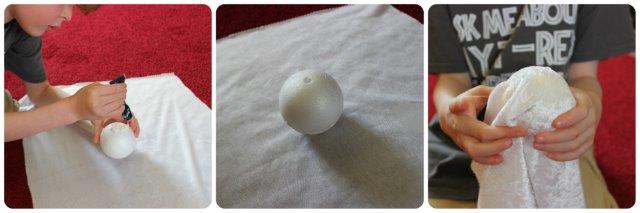
This is the simplest of my two decorations and super quick!
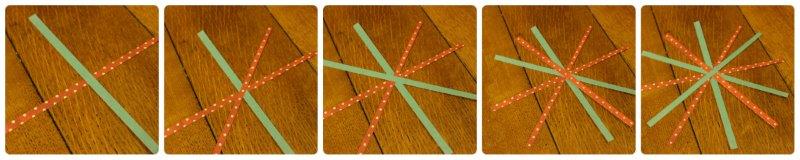 Start by laying strips of paper over each other to form a cross, keep laying until you have a star shape made of 6 strips of paper (3 of each colour).
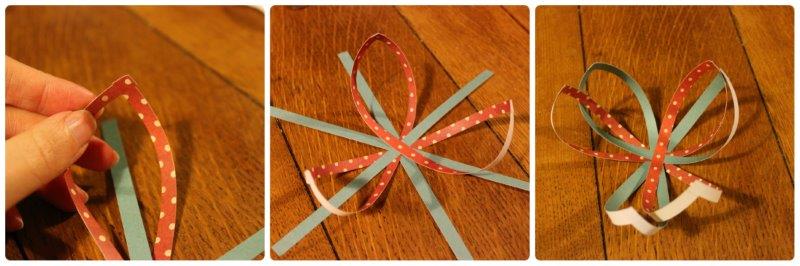
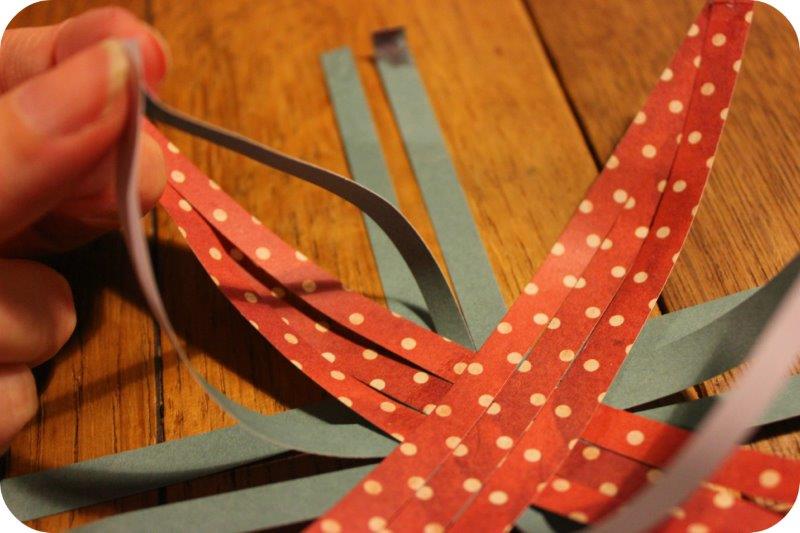
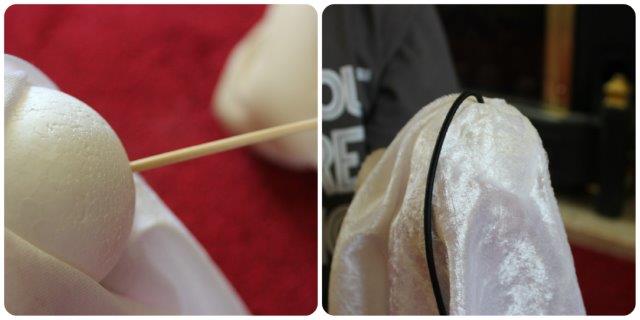
Using the fine and wide glu pen stick together two opposite strips of paper (see pic). Continue until all the red strips have been stuck together to make three petals. Repeat with the green strips of paper.
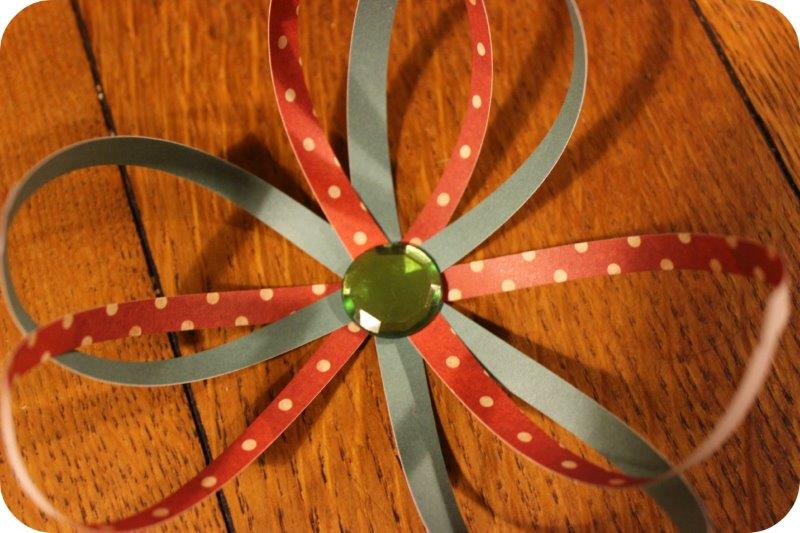
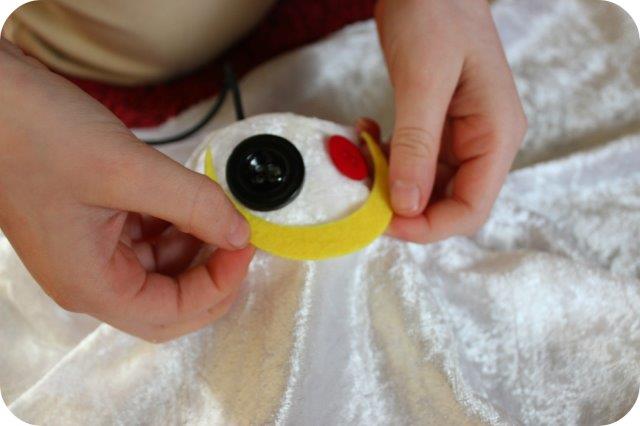
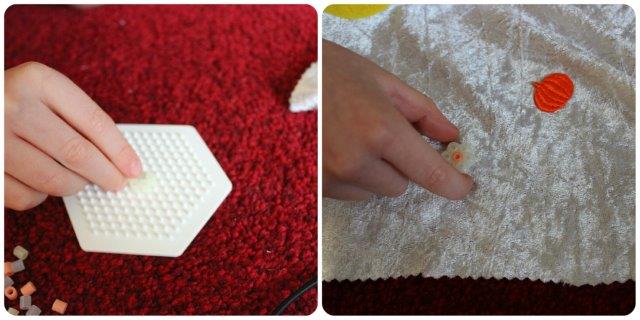
Glue a gem into the centre of the flower, tie on some thread and you’re done!

Paper Star Decoration
A variation on the same theme but a little more involved.
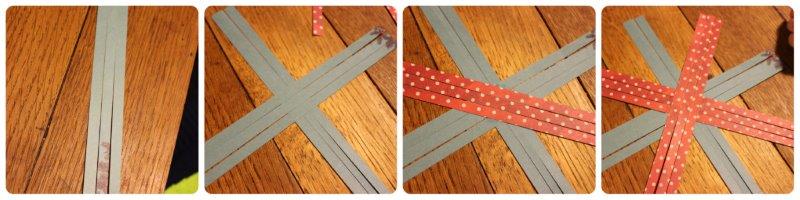 Start by laying 3 strips of paper side by side. Pop a little glue in the centre of the strips and then lay 3 more strips at right angles to make a cross shape. Continue laying 3 strips until you have a star shape.
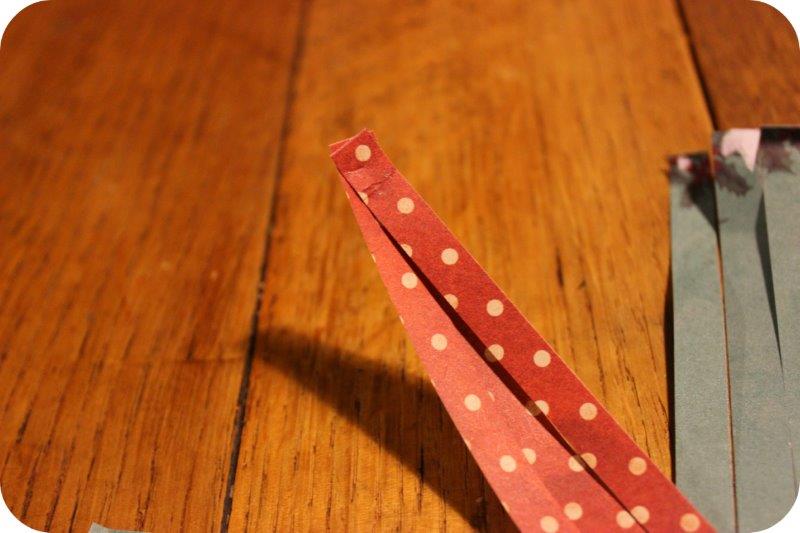
Stick together the 3 strips of red paper, they should curl slightly towards the centre. Repeat on each branch of red paper.
Take the centre piece from the green strips of paper and stick to the opposite strip as shown in this picture.

Stick together the remaining 2 strips of green paper.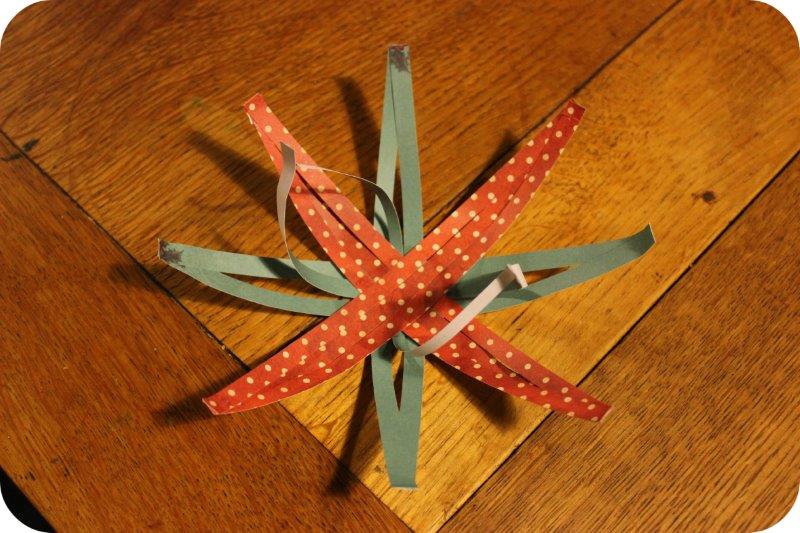
Attach some thread and enjoy your new decorations!


10 Comments (Leave a comment)