How to make Pompom Animals

how to make pompom animals

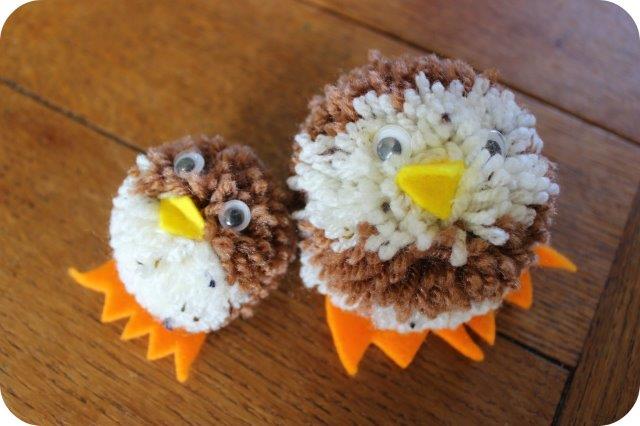
Whew it’s been while since I managed to get anything up on here. Between the summer holidays and technology failing it’s all been against me. But I’m back today with a tutorial that’s perfect to keep you and the kids occupied as the light draws in and the days get increasingly cold. Learn how to make pompom animals and you have hours of activities at your fingertips. They can be themed (robins & snowmen are great for Christmas) made large or small and the range of possibilities is limited only by your imagination! Today we’ll be making a bird pompom animal (actually inspired by our Quail).
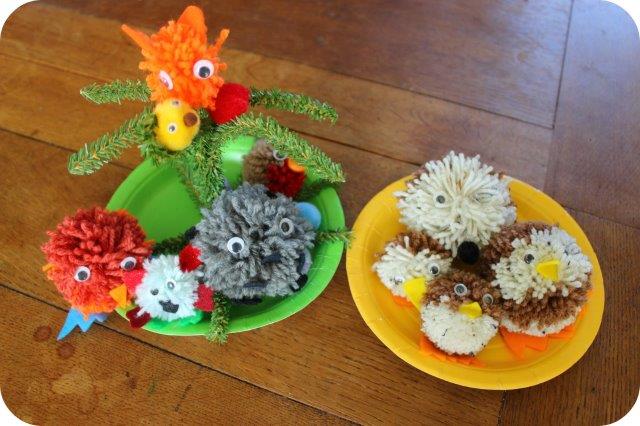
pompomanimals

What You’ll Need

Pompom maker – of course you can make these the old fashioned way with circles of cardboard but these little machines are super cheap and easy to use, I’ve even seen them in the pound-shop.

Wool

Scissors

Glue

Felt

Googly eyes

pompomanimal1

Step 1

Take your pompom maker and open up the sides completely. Begin winding your wool around one of the arms until it’s nice and thickly covered. Do the same with the other arm, for our bird we used a lighter coloured wool on the second side.

pompomanimal2

Step 2

Fold both arms back into the centre of the pompom maker. Cut between the gaps in the arms (see pic) do this for both sides. Using some extra wool tie all the way around the pompom through the same gap where you just cut with the scissors. Tie up tightly.

pompomanimal3

Step 3

Open up both arms again, your pompom should stay put. Pull the pompom maker apart and you should have a lovely squishy pompom. Trim off any excess wool until you’re happy with the shape.

pompomanimal4

Step 4

Cut out felt shapes for the feet, if you’re making a bird a small square folded in half makes a great beak. Glue into place on the pompom (fabric glue works very well). Then stick on a pair of googly eyes and you have one happy little pompom creature.pompomanimal5


Easy Paper Decorations for Christmas

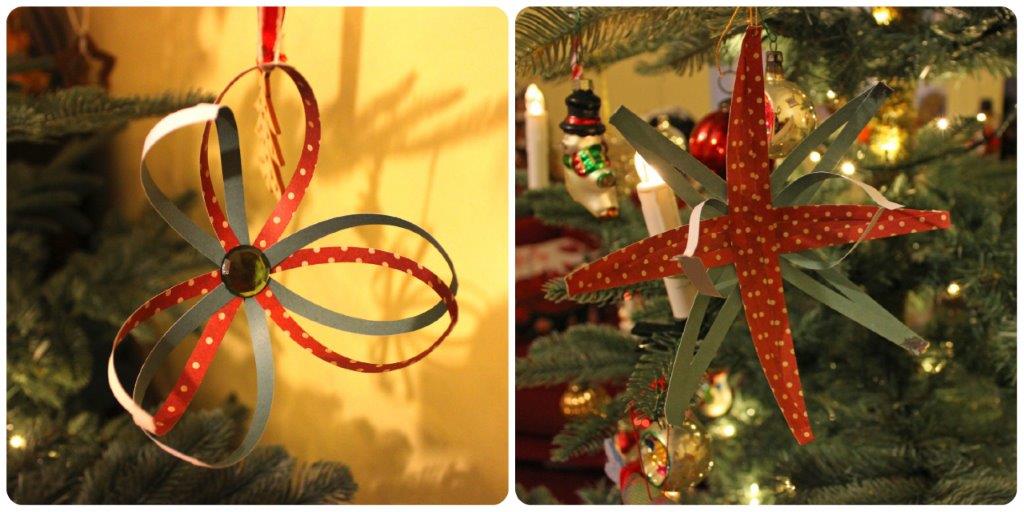
paperdecorationsWith Christmas so nearby you’d be forgiven for thinking that time had run out for crafting but today I’ll show you how to make some quick and Easy Paper Decorations for Christmas. They’re also the perfect craft to keep the kids busy now that the Winter holiday looms! All the supplies were given to me by Bostik as part of their craft ambassador program.

supplies

What You’ll Need:

Paper (cut into long thin strips roughly the same size)

Blu Tack Fine & Wide Glu Pen

Plastic Gems

Thread

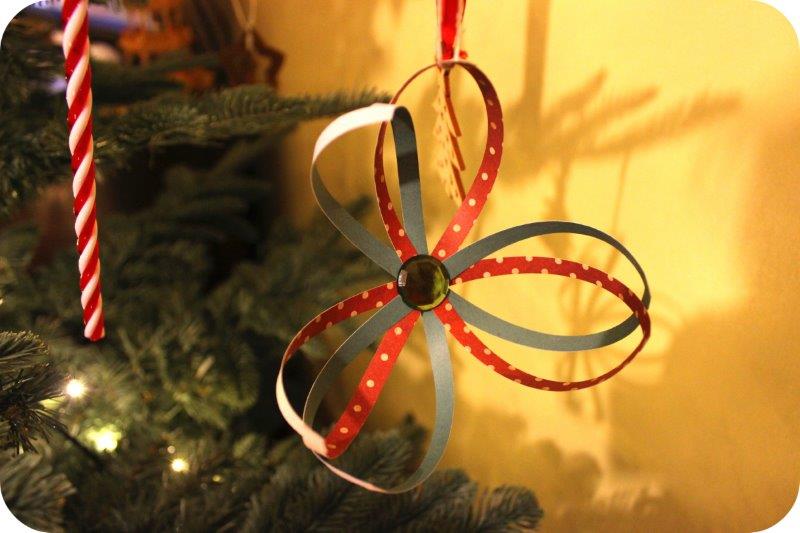
paperflowerdecoration

Paper Flower

This is the simplest of my two decorations and super quick!

paperflowerStart by laying strips of paper over each other to form a cross, keep laying until you have a star shape made of 6 strips of paper (3 of each colour).

paperflower2

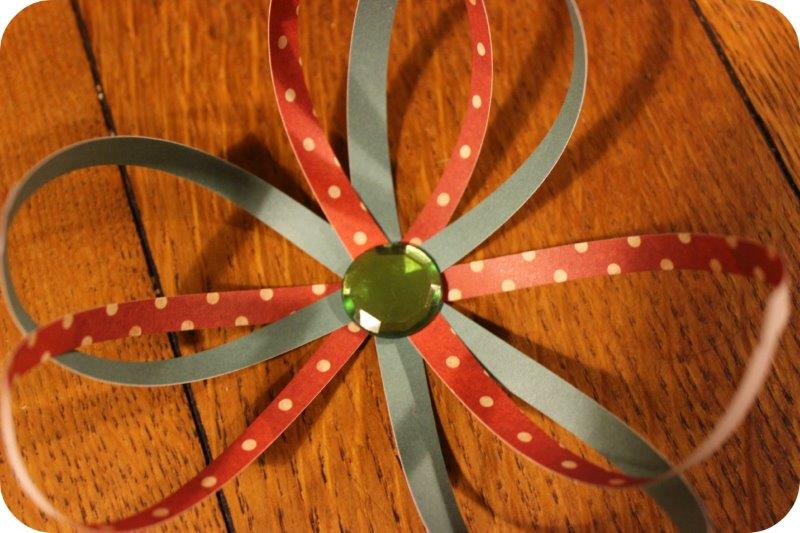
Using the fine and wide glu pen stick together two opposite strips of paper (see pic). Continue until all the red strips have been stuck together to make three petals. Repeat with the green strips of paper.

paperflower3

Glue a gem into the centre of the flower, tie on some thread and you’re done!

easypaperdecoration

Paper Star Decoration

A variation on the same theme but a little more involved.

paperdecorationStart by laying 3 strips of paper side by side. Pop a little glue in the centre of the strips and then lay 3 more strips at right angles to make a cross shape. Continue laying 3 strips until you have a star shape.

paperdecoration1

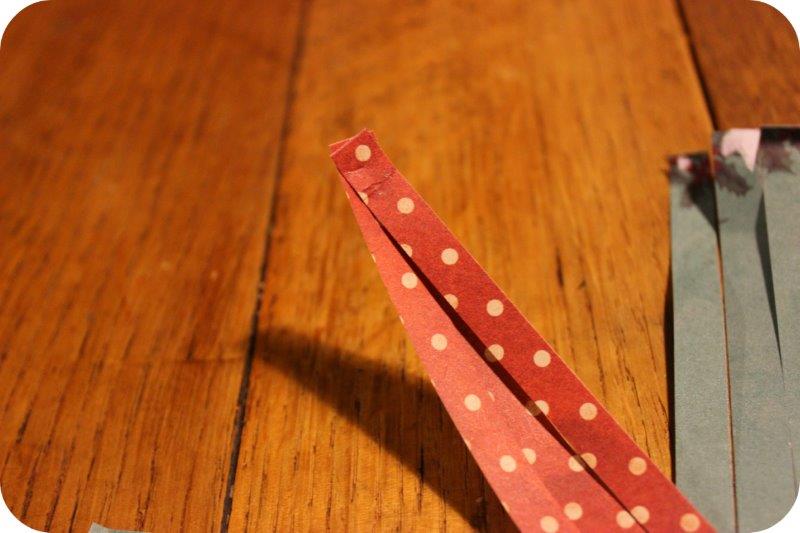
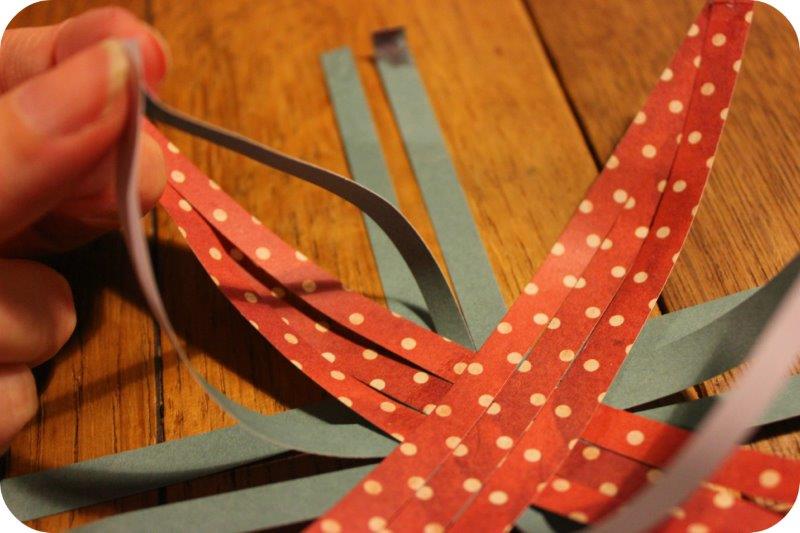
Stick together the 3 strips of red paper, they should curl slightly towards the centre. Repeat on each branch of red paper.

paperdecoration2

Take the centre piece from the green strips of paper and stick to the opposite strip as shown in this picture.

paperdecoration3

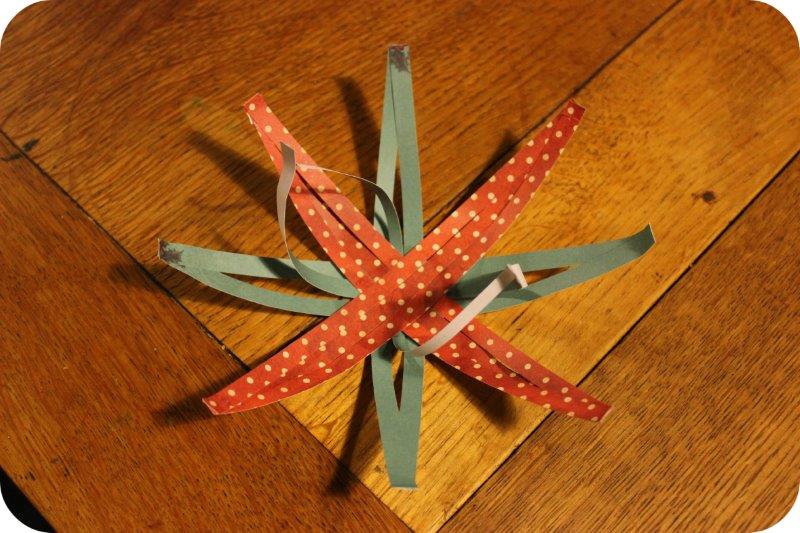
Stick together the remaining 2 strips of green paper.paperdecoration4

Attach some thread and enjoy your new decorations!


Easy Chocolate Fudge Cake Recipe

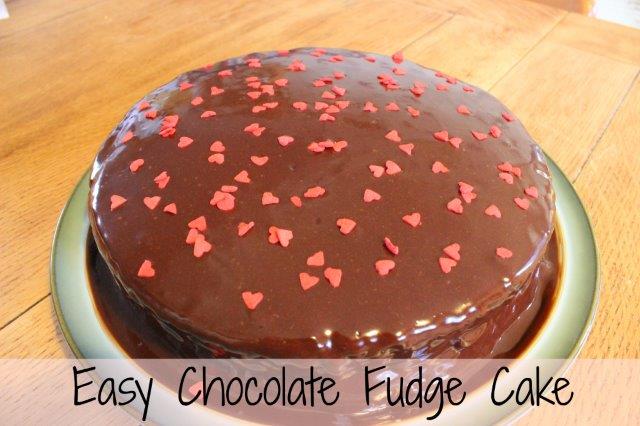
easy chocolate fudge cake

There’s something quite special about fudge cake, it’s squidgy, moist and ridiculously yummy served warm with lashings of double cream. It almost crosses the line between a pudding and a cake and you’d be forgiven for thinking it was a complicated dessert to master. Always keen to share my love of Chocolate I decided to bring you my easy Chocolate fudge cake recipe. It’s filled with a yummy chocolate buttercream and topped with ganache, a cake to satisfy the most serious of chocolate cravings!

The Cake

225g / 8oz Self Raising Flour

225g / 8oz Caster Sugar

2 1/2 Tbsp Cocoa powder

1 Tsp Baking Powder

2 1/2 Tbsp Golden Syrup

3 Medium Eggs

200ml Sunflower Oil

200ml Milk


In a large mixing bowl combine all the dry ingredients. Make a dip or well in the centre and add the eggs, golden syrup, milk and oil and beat together until smooth.

Pour into two greased sandwich cake tins and bake in a preheated over at 180C / 350F / Gas Mark 4 for approximately 30 minutes. Remove the cakes from the oven and cool on a wire rack.


Chocolate Buttercream Centre

225g / 8oz Butter

85g / 3oz Melted Dark Chocolate

500g / 17oz Icing Sugar

3 Tbsp Milk


Blend the butter together with the melted chocolate, then gradually mix in the icing sugar. The mixture will become fairly stiff and dry looking. Gradually add in the milk until the buttercream becomes a spreadable consistency.

Sandwich the cooled cakes together using the buttercream


Semi Sweet Ganache Topping

150ml Double Cream

80g / 3oz Milk Chocolate

80g / 3oz Dark Chocolate


Warm the cream slowly on the cooker hob. Chop the chocolate into pieces and add to the cream. Stir until the chocolate is completely melted. Cool slightly before pouring over the cake. The cake then needs to be kept in a refrigerator.

Tip 1. If you want to go all out sweetness you can swap the semi sweet ganache for a full milk chocolate ganache.

Tip 2. I pour the entire ganache on top of the cake and let it ooze down the sides to the base. For a neater looking cake you can be more conservative with the topping. For me though it’s all about the taste with this one!