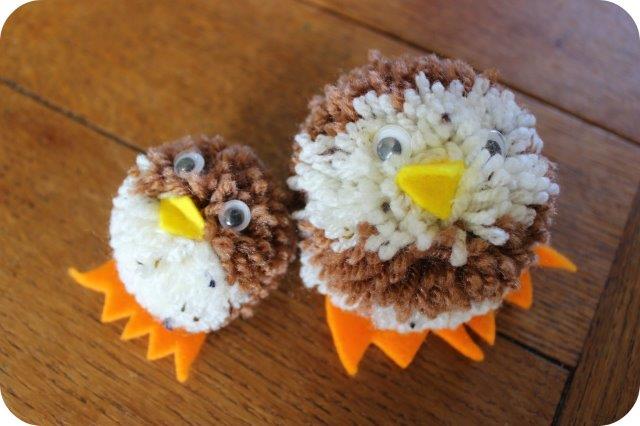
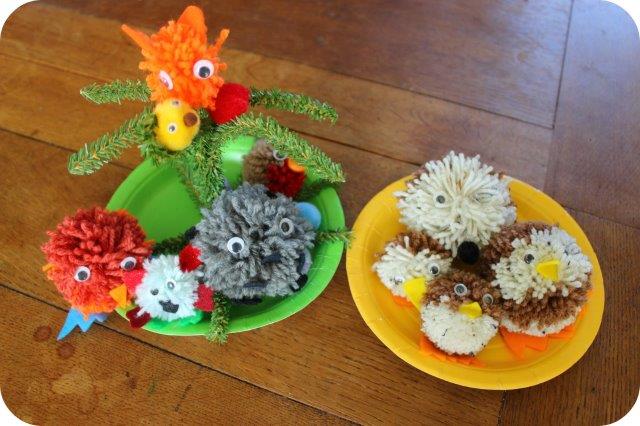
Whew it’s been while since I managed to get anything up on here. Between the summer holidays and technology failing it’s all been against me. But I’m back today with a tutorial that’s perfect to keep you and the kids occupied as the light draws in and the days get increasingly cold. Learn how to make pompom animals and you have hours of activities at your fingertips. They can be themed (robins & snowmen are great for Christmas) made large or small and the range of possibilities is limited only by your imagination! Today we’ll be making a bird pompom animal (actually inspired by our Quail).
What You’ll Need
Pompom maker – of course you can make these the old fashioned way with circles of cardboard but these little machines are super cheap and easy to use, I’ve even seen them in the pound-shop.
Wool
Scissors
Glue
Felt
Googly eyes
Step 1
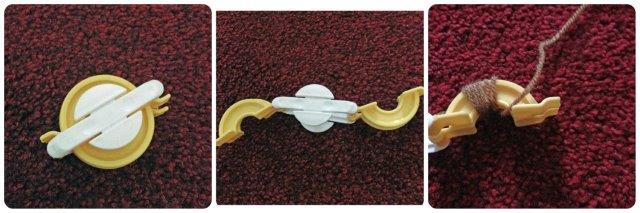
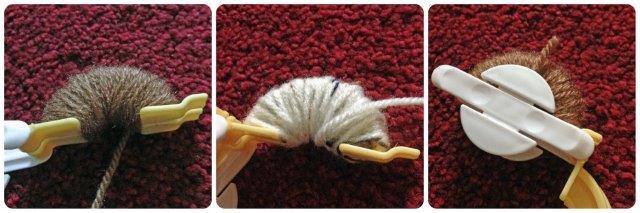
Take your pompom maker and open up the sides completely. Begin winding your wool around one of the arms until it’s nice and thickly covered. Do the same with the other arm, for our bird we used a lighter coloured wool on the second side.
Step 2
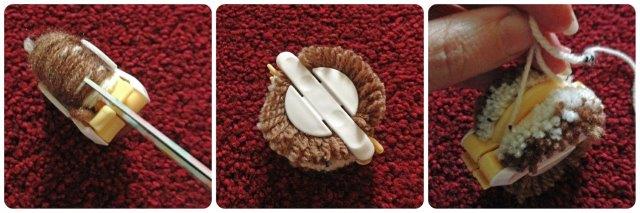
Fold both arms back into the centre of the pompom maker. Cut between the gaps in the arms (see pic) do this for both sides. Using some extra wool tie all the way around the pompom through the same gap where you just cut with the scissors. Tie up tightly.
Step 3
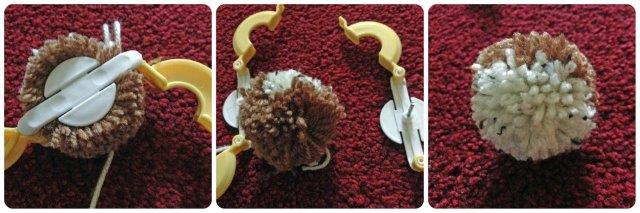
Open up both arms again, your pompom should stay put. Pull the pompom maker apart and you should have a lovely squishy pompom. Trim off any excess wool until you’re happy with the shape.
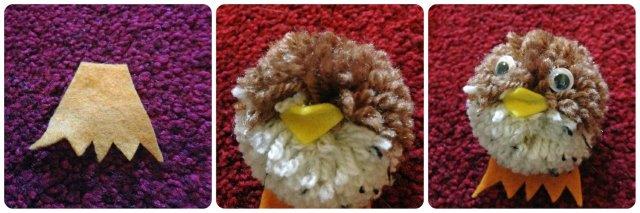
Step 4
Cut out felt shapes for the feet, if you’re making a bird a small square folded in half makes a great beak. Glue into place on the pompom (fabric glue works very well). Then stick on a pair of googly eyes and you have one happy little pompom creature.