How to make an Easter Bumble Bee and Easter Rabbit Tutorial

IMG_7751In my last post I showed you a collection of our recently completed Easter Crafts as part of the Bostik craft network. Today I’ll show you how to make an Easter Bumble Bee and Easter Rabbit with our simple and fun tutorial.

You will Need

Polystyrene Egg shapes

Googly Eyes

Bostik Glu Dots

Pens

Ribbon

Pipe Cleaners

Buttons

Pom Poms

Sheets of craft foam

Bumble Bee
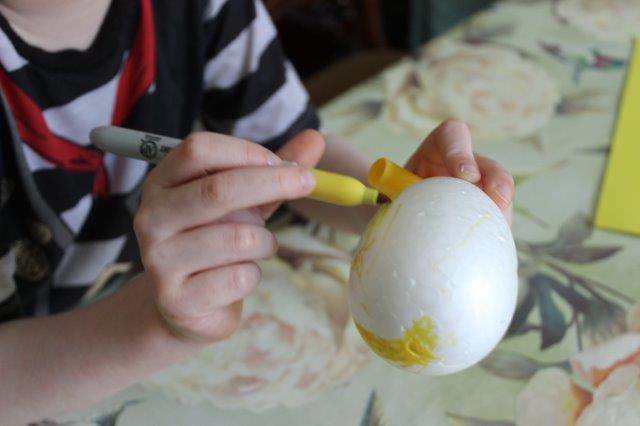
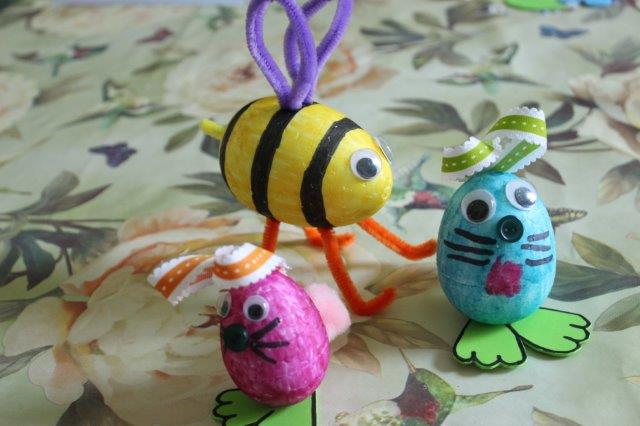
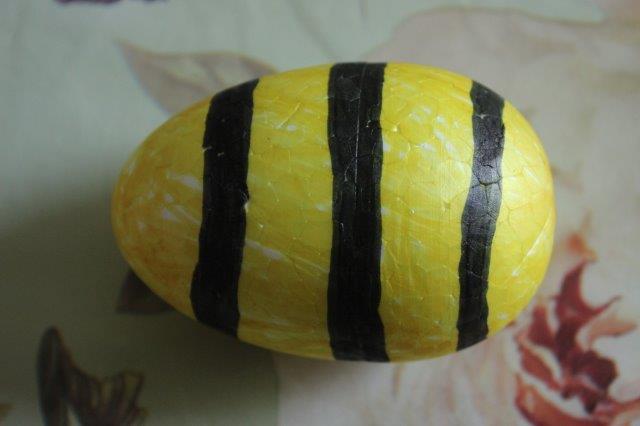
IMG_7716Start by colouring in one of your egg shapes yellow with black stripes.

IMG_7720

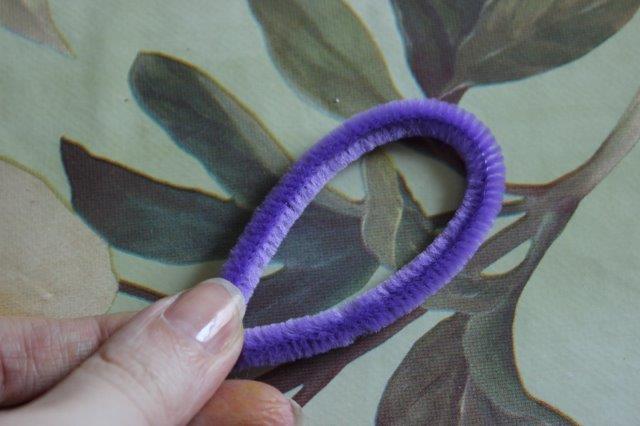
Next take two pieces of pipe cleaner (a colour of your own choice, we used purple) and bend into wing shapes. IMG_7721
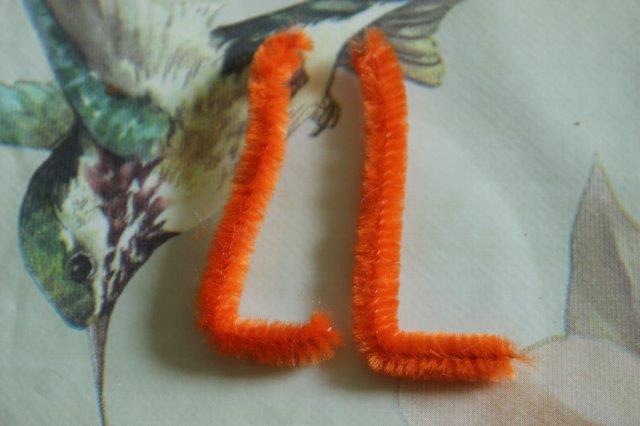
Take another four lengths of yellow or orange pipe cleaner and bend to make legs, obviously if you want a technically correct bee he should have six legs, but four fitted in much more neatly.IMG_7722
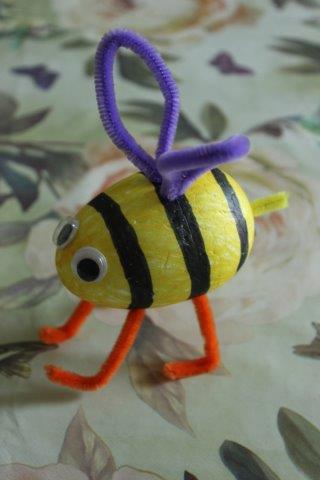
Push the leg pieces into one side of the coloured polystyrene egg shape. Push the wing shapes into the opposite side.

Finally stick some large googly eyes to the front of your bee, and push a small length of yellow pipe cleaner into the end to make his stinger!IMG_7736
Rabbit

Begin by colouring in a polystyrene egg shape in a colour of your choice.IMG_7723
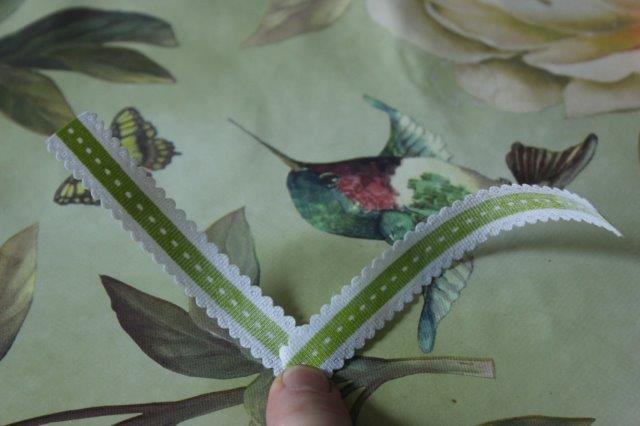
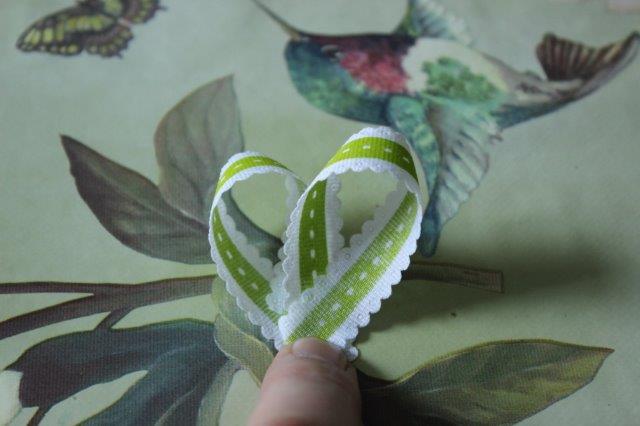
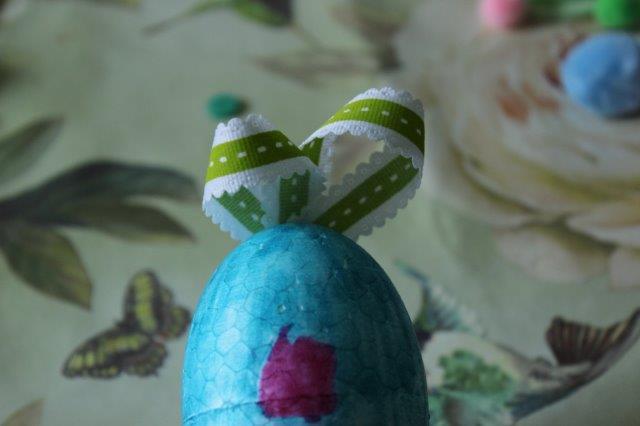
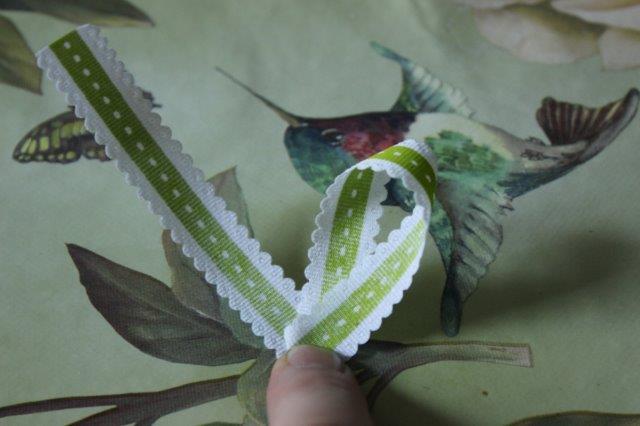
Next take a length of ribbon and fold as shown in these pictures to make the rabbit’s ears. Attach the ribbon ears to the thin end of your egg shape using a Bostik glu dot.IMG_7725IMG_7728IMG_7729
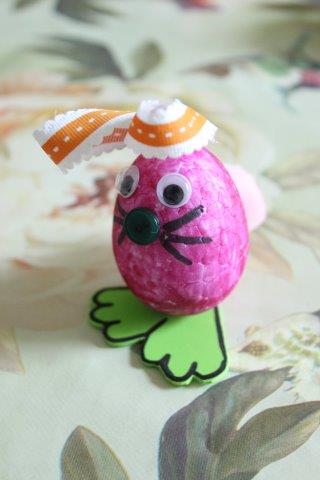
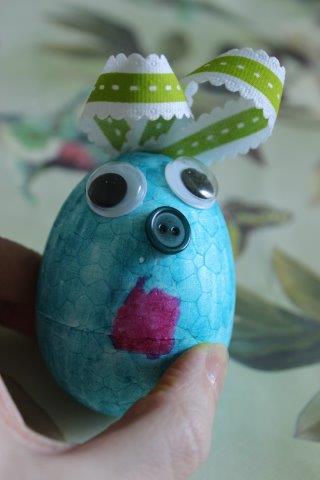
Next stick on two googly eyes to the front. Then using a Bostik glue dot stick a button on to give the rabbit a nose, you can draw the whiskers on using a felt tip pen.

IMG_7737

To allow your rabbit to stand up unaided he will need some feet! Cut feet shape from your craft foam and attach to the base of your bunny using a Bostik glu dot.

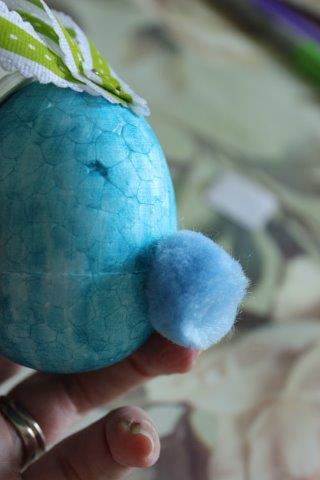
Finally give your rabbit a lovely cotton tail by attaching a pom pom with a Bostik glu dot to his back.
IMG_7739

IMG_7748

Yarn Bombing Knitted Bee Tutorial!

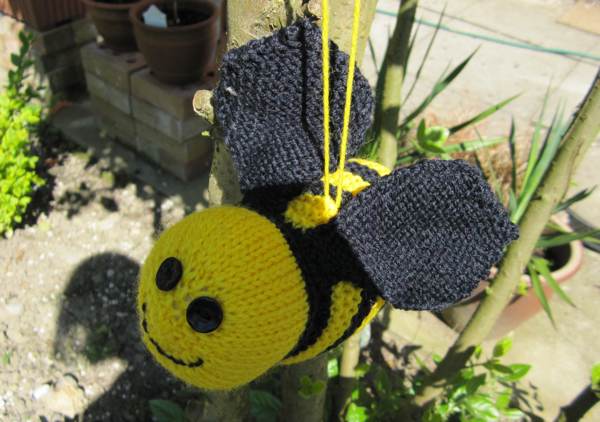
A tutorial has been long overdue, so due to the popularity of Anne’s bees during our recent yarn bombing antics we’ve decided to share the pattern here with you all today!

How to Knit a Bee

You will need small amounts of double knitting yarn in black and yellow.

A pair of size 8 (4mm) knitting needles

Cast on 5 stitches in yellow yarn.

Row 1, Knit1, (kfb) x3, Knit1 (8stitches)

Row 2 and every alternate row purl.

Row 3, Knit1, (kfb) x7, (15 stitches)

Row 5, Knit1, (kfb) x13, Knit1 (28 stitches)

Row 7, (Knit1, kfb) x14 (42 stitches)

Rows 9, 11, 13, Knit.

Row 15 Change to black yarn and knit 6 rows.

Row 21 Change back to yellow yarn and knit 6 rows.

Row 27 Knit 6 rows in black yarn.

Row 33 Knit 6 rows yellow.

Row 39 Knit 6 rows black.

Row 45 Knit 6 rows yellow.

Row 51 Knit 6 rows black.

Row 57 Still using black yarn k2tog across the row, (21 stitches)

Row 58 knit.

Row 59 k2tog across row, (11 stitches)

Row 60 knit.

Row 61 (k2tog) x5, knit 1 (6 stitches)

Row 62 k2tog, knit 2, k2tog, (4 stitches)

On last 4 stitches knit 6 rows, this will form the sting.

Break yarn and thread through the 4 stitches and pull tight.

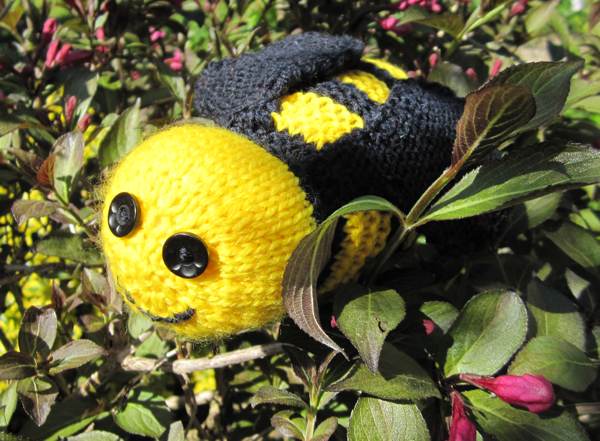
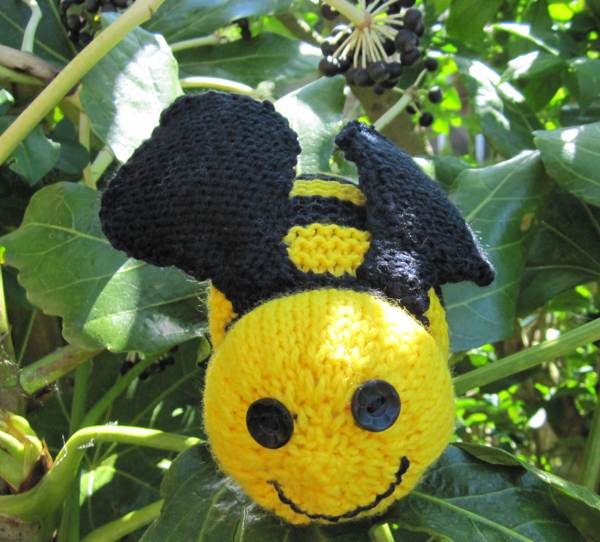
This makes the bees body. Sew along the sting and then sew the body together matching stripes up. Leave a gap in the body to stuff, once stuffed sew gap closed. With a piece of black yarn stitch running stitches around the start of the first black stripe and pull slightly to give the head a little shape.

Stitch on two buttons for the eyes and a smiley mouth.

Pattern for the wings.

You need a small amount of black yarn and size 9 (3.75mm) needles.

Knit four wings as each one is made by sewing two pieces together.

Cast on 6 stitches.

Row 1 knit

Row 2 purl

Row 3 knit

Row4 purl

Row 5 knit but increase one stitch at each end of the row (8 stitches)

Row 6 and each alternate row is purl.

Row 7 knit but increase one stitch at each end of the row (10 stitches)

Row 9 knit but increase one stitch at each end of the row (12 stitches)

Row 11 knit but increase one stitch at each end of the row (14 stitches)

Row 13 knit but increase one stitch at each end of the row (16 stitches)

Row 15 knit but increase one stitch at each end of the row (18 stitches)

Rows 17, 19, 21 knit.

Rows 23, continue in one row knit one row purl and decrease one stitch at each end of every row until you have 10 stitches.

Row 27 k2tog at each end of row (8 stitches)

Row 28 purl

Row 29 k2tog at each end of row (6 stitches)

Row 30 purl

Row 31 k2tog at each end of row (4 stitches)

Cast off.

Sew two wing pieces together wrong side facing outwards. When both wings wre complete sew them to the back of the bee behind the head.


Key

K2tog – knit two stitchs together

Kfb – knit into the front and back of the loop to make a new stitch