Yesterday Anne and myself attended Sewing For Pleasure, Fashion Embroidery & Stitch & Hobbycrafts at the NEC in Birmingham. You may remember that we gave away tickets to the show several weeks ago. We had an absolutely wonderful time and thought we’d share our favourite bits with you all. We began by taking a look at Sewing For Pleasure, we then took in a catwalk show followed by Fashion Embroidery & Stitch and then finally Hobbycrafts. I’ll begin by telling you what we bought:
 One of the first stalls we visited was The Nimble Thimble on stand A11 in Sewing For Pleasure. For any collector this stand was a dream, the makers have taken a relatively ordinary object and turned them into art. I loved the Wind in The Willows Thimbles, but ultimately became smitten with this teeny tiny replica of a Victorian child’s thimble from 1860. It has raised letters around the edge that read ‘For A Good Girl’.
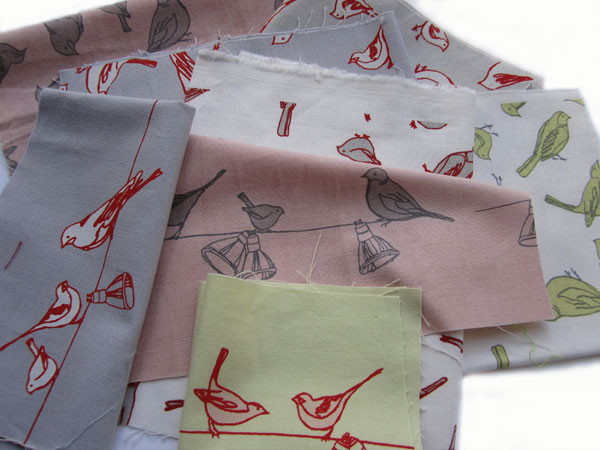
 As you might expect we were seduced by many of the fabrics available, but for sheer variety and wonderful customer service we have to mention The Eternal Maker on stand D01 & Fabrics Galore on stand F12 in Sewing For Pleasure. Both these stores amazed us with the amount of choice they had managed to bring.
The Eternal Maker is definitely the stall to stop by if you love Japanese Fabrics, it would be easy to become mesmerized at the wonderful prints and colours. In the end we settled for some fat quarters and Lego style Fabric.
Fabrics Galore on the other hand are a wealth of knowledge on everything fabric related. In a previous blog post we taught you how to make a peg bag using wonderful London Map fabric. Since then many people have asked me where you can buy this, well Fabrics Galore is your place. While their internet site doesn’t currently offer mail order, if you phone them they’ll be more than happy to help. The elusive London Fabric will be coming back in stock in the next couple of weeks. I kept coming back to this stall throughout the day as I just couldn’t resist the wonderful retro prints. They also stocked the fabric I’d made my dress for the day out of.
Who We Spoke To:
Aside from the places mentioned above, we had some wonderful conversations with various exhibitors. We met the lovely Jenna from SewHip Magazine on stand ZF07 in Sewing For Pleasure who has only just joined the company. She told us all about the exciting new ventures coming from KalMedia this year, including a new magazine launch that sounds very exciting called ‘Handmade Living’.
We then made a beeline for Clothkits on stand G04 in Sewing For Pleasure and drooled over the Rob Ryan style skirt kits and Liberty Bias Binding. Here you can see me getting rather excited about the wonderful items on offer. 
We then ha d a well earned sit and watched a Catwalk Show. These showcased the new ranges from Pattern companies such as Simplicity & Butterick and also many students work from around the country. The shows were understandably packed throughout the day, but worth the wait.
We also admired many more people, most notably the up and coming students such as Sarah Charmain Brockbank on stand ZJ08 in Fashion, Embroidery & Stitch whose wonderful textile creations left us very impressed. 
Another must see was the amazing creations of Michael Powell on stand G01 in Sewing For Pleasure, while there were plenty of traditional cross stitch stalls, Michael’s kit designs stood out as they were so fresh and unique, I loved his wobbly beachhuts.

There’s also plenty of workshops for the crafty inclined, whether sewing, embroidery or cards are your specialty.
You can also watch a Gok Wan style Fashion Challenge where two teams compete to customize outfits.
Not forgetting the incredibly awe inspiring charity exhibitions and Costume showcases, which I’ll write about in the next few days. If you find yourself at a loose end do visit the show, it’s still running until the 27th March and tickets can be purchased on the door.

 Step 1
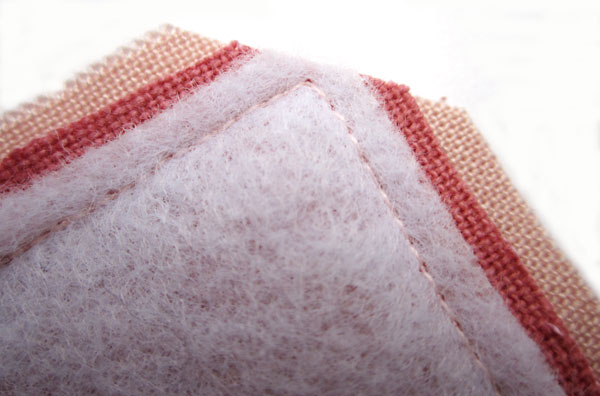
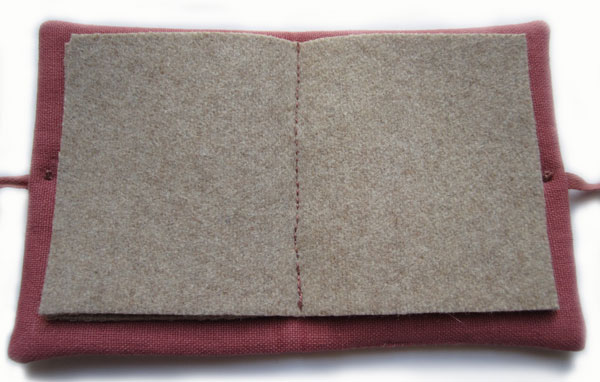
 Now lay your smaller puff on top of the larger and sew through the middle to attach together. Now cut a piece of felt approx 4cm across. Sew your two puffs to the felt circle, again sewing through the middle.
 Step 3
 Step 4


3 Comments (Leave a comment)