It’s all well and good having a hobby like sewing, but where do you keep your supplies inbetween projects? There’s absolutely no reason you shouldn’t store your equipment in style and make that storage yourself. So today I am bringing you our Needle Case Sewing Tutorial.
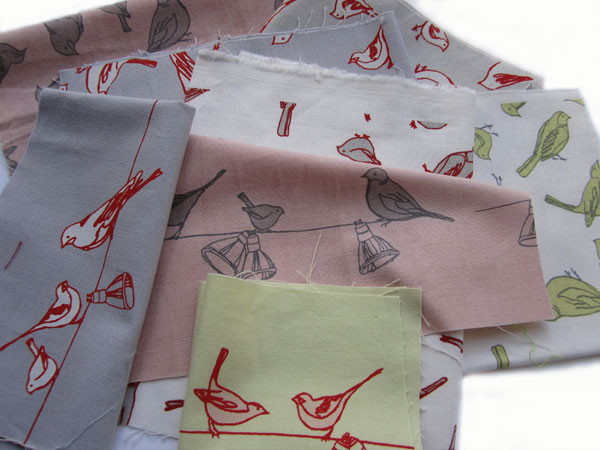
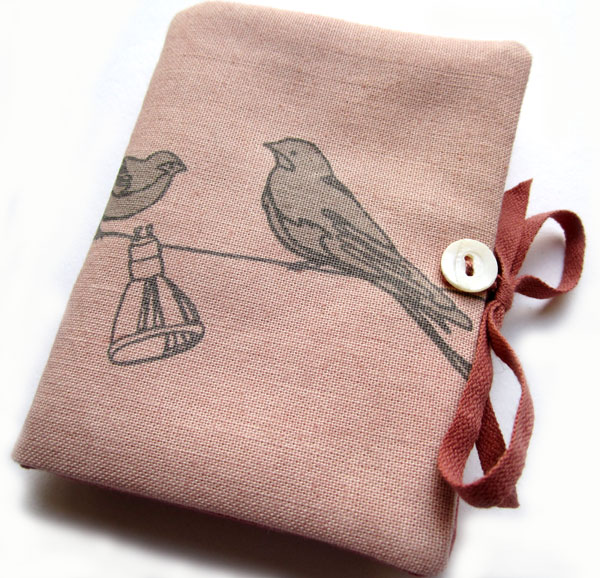
I’ll start by introducing you to one of my favourite design teams from Derby Massey & Rogers. I’ve loved their designs for several years, I received one of their bags as a gift a couple of years ago and it’s been a favourite ever since. We were also lucky enough to get our mitts on some of their fabric scraps which we turned into small gifts. Thankfully they now sell these fabrics by the metre so everyone can enjoy their handiwork.
What You’ll Need
1 Rectangle of Outer Fabric 19x13cm
1 Rectangle Lining Fabric 19x13cm
1 Rectangle Thin Wadding 19x13cm
Felt or Woolen Material
Tape or Ribbon
2 Small Buttons
Thread

 Step 1
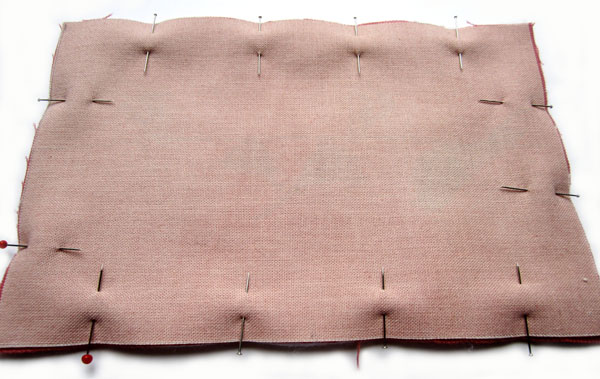
To begin cut out the three rectangles of outer, lining and wadding fabrics. First take your outer fabric and lay the lining fabric on top (right sides together) then lay the wadding on top of the lining fabric. Pin the three layers together.
 Step 2
Machine or handsew about 1cm from the edge through all three layers. Remember to leave a gap so you can turn the fabrics the right way out.
 Step 3
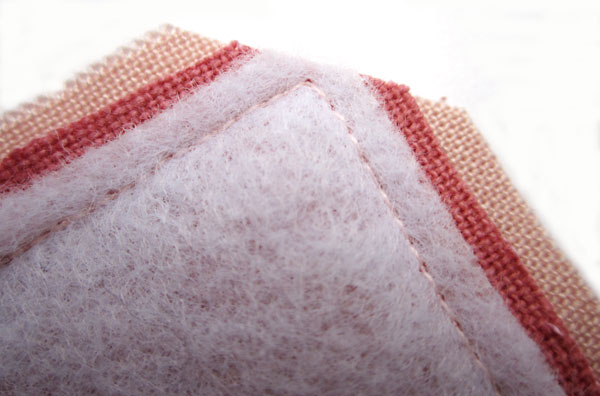
Cut the corners diagonally so that when turned right way out you have nice flat seams. Trim your seams if necessary.
 Step 4
Turn the layers the right way out. Iron all the seams and then handsew closed the open edge.
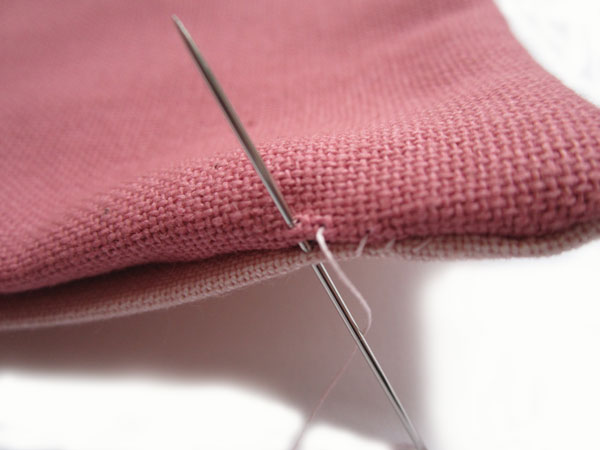
Step 5

Next cut two pieces of felt or woolen material. Ours measured 15x9cm. Attach these to the centre of your needle case by sewing a running stitch through the felt/wool and the sewing case.
Step 6
Attach some tape or ribbon to either side so you can keep the needle case closed. We decorated with a small button to hide the stitches.
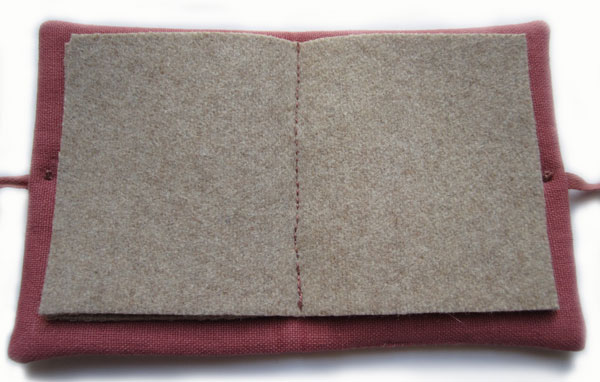
Congratulations you now have a very stylish needle case!

2 Responses to Needle Case Sewing Tutorial!