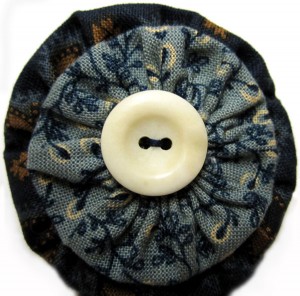
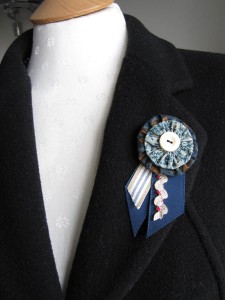
Suffolk Puffs seem to be turning up everywhere these days and they are such a simple and fun thing to make. Of course there are many many ways in which you can use them, you can embellish some clothing or add to a bag, but today I thought I’d show you how to make our Suffolk Puff Brooch. We have used dark fabric but of course the type and colour of fabric would dramatically vary the final look of your badge.
You Will Need
2 Pieces of Fabric
Needle
Thread
Ribbon
Felt or non fraying wool fabric
Trimmings (thinner ribbon, ric rac etc)
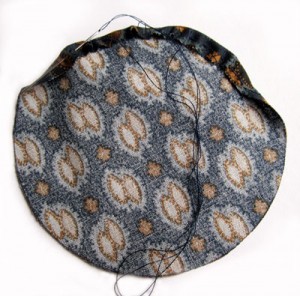
First we need to cut two circles out of your chosen fabrics. Our circles measured approx 10cm and 8.5cm across. To make the puff shape place your fabric down with the wrong side facing up. Then turn over a small hem and stitch a long running stitch through your hem all the way round. When you reach the beginning gently pull your stitches to gather them. Repeat with your other piece of fabric. 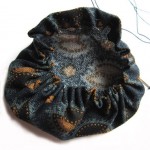
Step 2
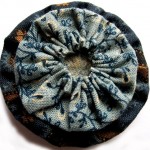 Now lay your smaller puff on top of the larger and sew through the middle to attach together. Now cut a piece of felt approx 4cm across. Sew your two puffs to the felt circle, again sewing through the middle.
Next we used a blanket stitch to firm up the edges of the felt, but this is not absolutely necessary. To the middle of our puffs we attached a lovely old vintage button from Prague.
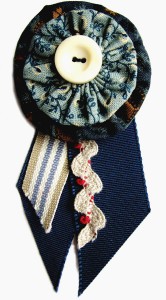
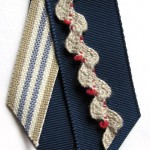
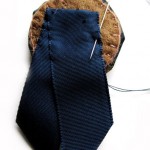
Now cut a piece of ribbon approx 16cm long, cutting diagonally along the edges. Then fold your ribbon in half and attach any trimmings you might like, sewing across at the top to keep in place.
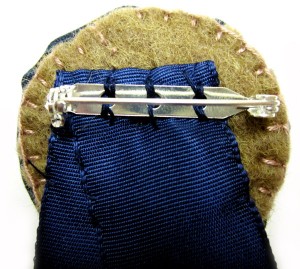
Stitch the felt circle to the ribbon and then sew a badge back or safety pin to the back.
Ta-Da you have made a beautiful Suffolk Puff Brooch!

3 Responses to Suffolk Puff Brooch Tutorial