Make a unique Valentine’s Card with Bostik!

The birth of Venus cardIt’s half term week here in Derbyshire and the kids have been here, there and everywhere! It might have been easy to forget Valentine’s Day but we’ve managed (just!) to fit it in. But who wants to make a boring old Valentine card? Certainly not us! So this Valentine’s don’t just give your loved one any old shop bought gift, give them a masterpiece of classical art (in card form). Make a unique Valentine’s card depicting the birth of Venus!

How better to say I love you than with the Goddess of love herself. The idea is all my own and I’m very pleased with it. However all the products used in this card creation were provided by the lovely folks at Bostik as I’m a Bostik Craft Ambassador in association with the Tots100.

Considering that you’re giving cardboard life to a Goddess this card is actually surprisingly easy to make and great fun for the kids. Of course I leave it up to you just how clothed you’d like Venus to be, plus the card can be as accurate or inaccurate (and fun!) a depiction of the great painting as you like. Ours is more of a loving homage 🙂

What You’ll Need:

1 Paper plate

Plain white thin cardboard

Bostik Micro Dots

Ruler

Stick on Decorations (eg foam hearts, jewels, Bostik Glitter Pens etc.)

I’ve made a little video to show you just how the card is made, but if you’d prefer text instructions then take a look below.

Step 1 – Start by taking one paper plate and folding it carefully in half.

Step 2 – Cut a triangle shape out from each end of the fold in the plate, to give the plate a shell shape.

Step 3 – Cut a piece of thin card 10cm X 1 1/2cm. Fold the card in three places: after 1/2cm, 2cm & 7cm.

Step 4 – Using some Bostik Micro Dots cut two short lengths to stick onto either end of the strip of thin card. Remove the clear backing to reveal the sticky dots.

Step 5 – Stick the card strip onto the back of the plate to make a platform and hinge for your pop-up figure.

Step 6 – Draw your pop-up figure, I drew a (naive) version of the Goddess Venus holding a heart. Of course she could look however you’d like. Colour and cut out your figure.

Step 7 – Using a long strip of Micro Dots stick the figure to the pop-up hinge on the plate.

Step 8 – Cut a strip of thin card 3 1/2cm X 1 1/2cm. Create two folds, the first after 1/2cm, then again after 2cm. Cut some Micro Dots and attach to the smaller 1/2cm fold.

Step 9 – Attach a pop-up decoration to the larger 1cm fold, I used stick on foam hearts. Pull off the clear backing from the Micro Dots and attach the decoration to your plate. Make as many as you like!

Step 10 – In the original painting a Cherub flies in the air above Venus, I used a Cherub shaped hole puncher with sticky back plastic to create my own versions. I added glitter using Bostik Glitter Pens and jewels and hearts using Bostik Glu Dots.

Ta-Da one gorgeous and very unique Valentine’s card!

If you do decide to make your own plate masterpiece then please do send me an email and tag me in the post, I’d love to see how they turn out!

Make your own Totoro Hoodie Jumper

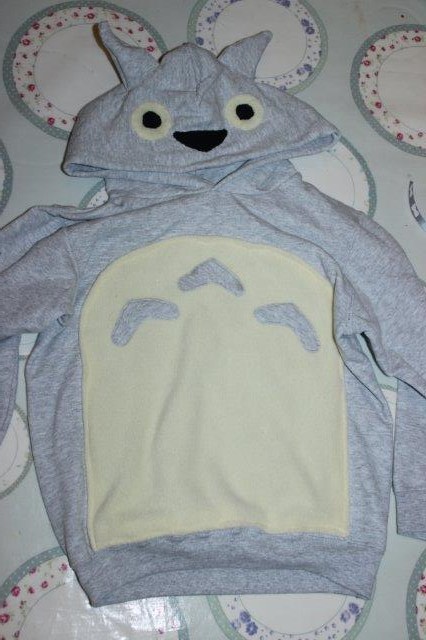
Today I’m going to show you how to make your own Totoro hoodie jumper! In previous posts I’ve mentioned my families enduring love of Studio Ghibli films, but it’s not always easy to source merchandise if you’re looking for a gift for a fan. I’d seen Totoro themed hoodies online but no tutorials, so I set about making my own.

Make Your Own Totoro Hoodie

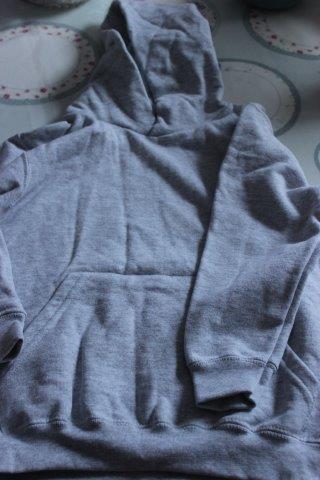
First you need a plain grey jumper.

IMG_6457

Then unpick the front pocket and put it aside (you’ll need it later).

IMG_6459

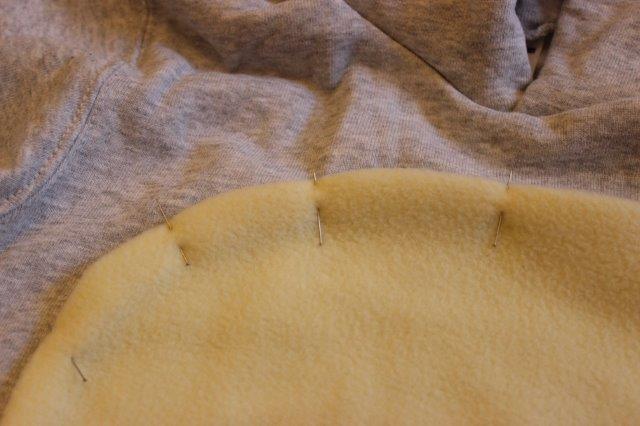
Now the fun begins! I bought some cream coloured fleece fabric and drew a basic template to give the Totoro a big round tummy! Cut out the shape from fleece and carefully pin to the front of your hoodie. I turned the edge of the fleece under as I pinned. Next I stitched closed to the edge of the fleece fabric all the way around to secure.

IMG_6462

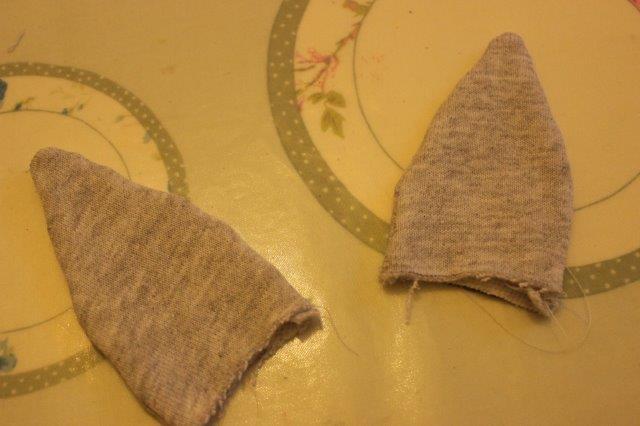
Totoro needs some fabulous ears coming out of the top of the hood. First draw a template on paper and then grab the front pocket you removed earlier and cut out four ear shapes. Place the right sides of the fabric together and sew around the edge of the ears, remembering to leave a gap so you can turn them out the right way. Press with an iron.

IMG_6464

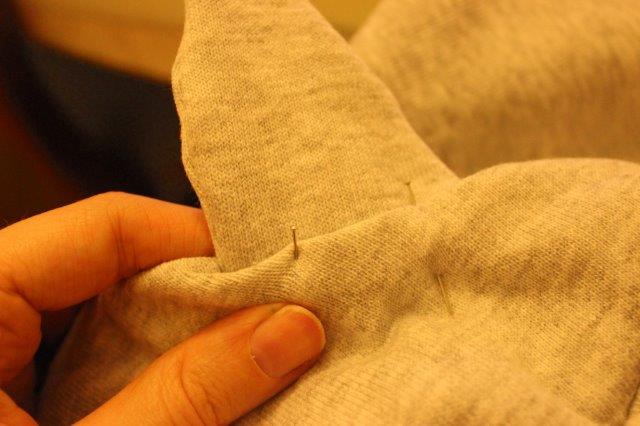
To attach the ears first begin by laying the hood of your jumper down flat and work out where you want the ears to be placed. Mark on the hood using a pencil or tailor’s chalk. Very carefully cut along the mark you just made, push the ears inside the cut and pin into position. I sewed the ears into place by hand rather than using a machine so I could ease the fabric correctly and not create and a deep ridged sewing line.

IMG_6469

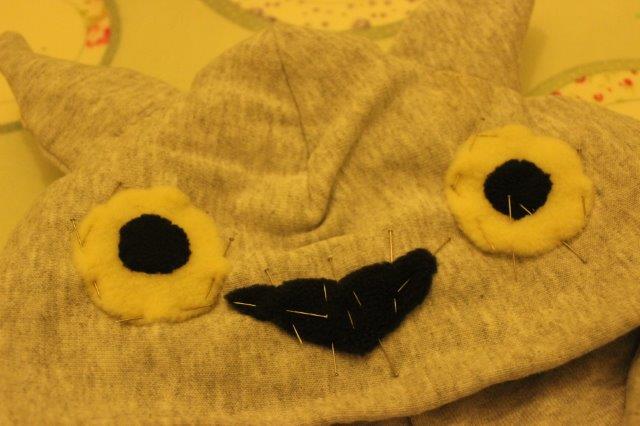
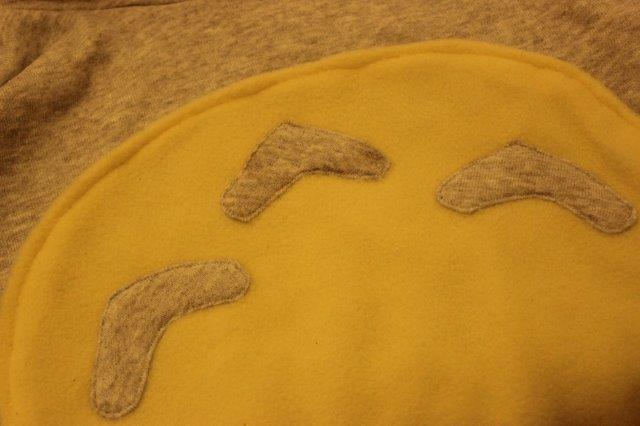
I grabbed some more fleece and sketched out Totoro’s eyes and nose. These were then pinned and sewn to the front of the hood.

IMG_6472

Totoro has a few small shapes on his tummy which I made from the remaining pocket fabric, I tacked them into position and then sewed securely with my sewing machine.

IMG_6471

The finished hoodie was a very well received Christmas present!

Make your own Totoro Hoodie

Christmas Favours

Favourpic1At this time of year many of us find our diaries full to bursting with social occasions. Whether that means large scale parties or small family gatherings, it’s a wonderful opportunity to get creative and make Christmas favours to give any guest that comes your way.

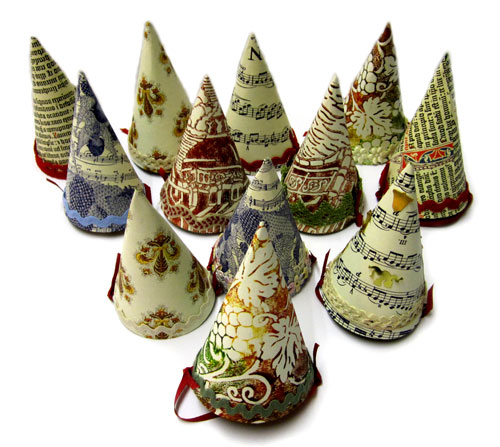
As a family we make Festive Favours to place in the centre of the table. Cute little cones that are incredibly quick to make and can be filled with anything you like. I fill mine with after dinner mints, but they’d look just as good filled with sugared almonds or chocolate coins. They’re also simple enough that children can make them and have huge versatility when it comes to design. The only limit is your imagination!

Favourpic2 

You Will Need:

Card to make the cones

Paper, ribbon, lace and/or ric rac to decorate the cones

Narrow ribbon or string

PVA glue

Tissue paper

Sweets

Favourpic3 

Step 1

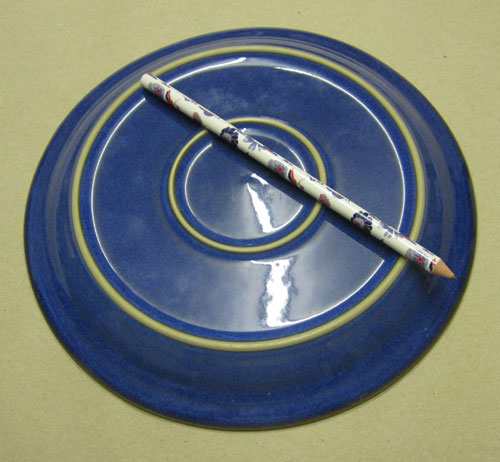
First you need to make a template for the cones. I did this by drawing around a medium sized plate onto packing paper. The template needs to be 1/3 of the total circle, the easiest way to find this is by folding the circle in half and then each half into 3. This will divide the circle into 6 sections and you want to cut out 2 of these sections which equal 1/3 of the circle.

Favourpic4 

Step 2

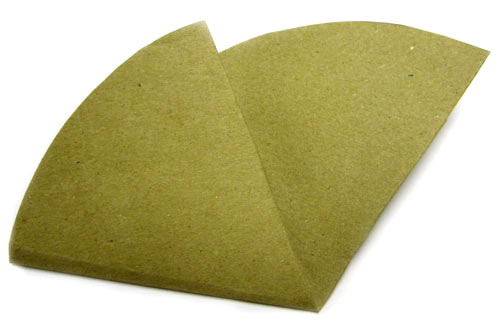
Using the new template as a guide, cut out several flat cones from coloured card. I used green card but any colour would work just as well. I managed to cut 3 cones out of an A4 piece of card.

Step 3

Now comes the fun part, decoration! Mine are decorated with handmade paper bought in Venice, but wrapping paper, magazine cut-outs or collages all work beautifully. If your children are helping how about getting them to decorate some paper with festive images or stamps.

Spread a layer of glue over your flat card cones and stick to the paper of your choice. Once dry, cut the shape out again.

Favourpic5 

Step 4

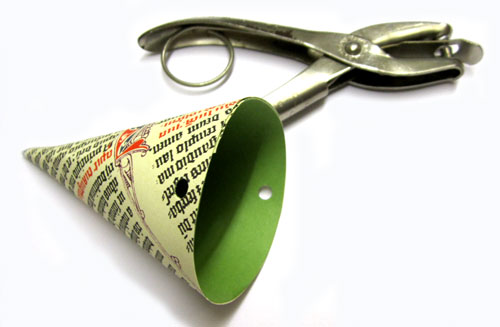
Take each decorated shape and roll into a cone. The two flat sides should overlap slightly and can be glued or taped together.

Next make a small hole in either side of the cone, this is to attach a ribbon for hanging later. I used a single hole punch, but any sharp object should work..

Favourpic6 

Step 5

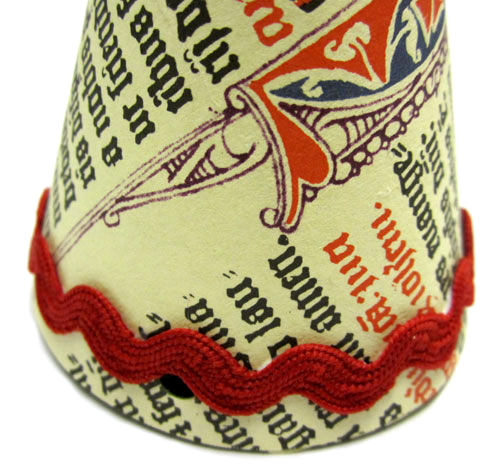
Finally add some finishing touches to the cones, I used lace, ric rac and sequins. Glitter glue looks fabulous, but anything will work.

 Favourpic7

Then thread a piece of ribbon through the holes on each cone and tie ready for hanging. Place a little tissue paper into the base of each cone to act as a cushion. Fill up with your chosen sweets and they’re ready to go.

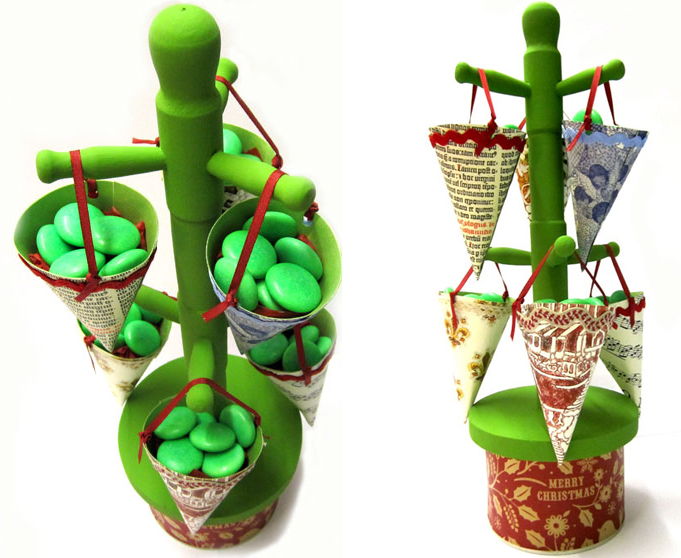
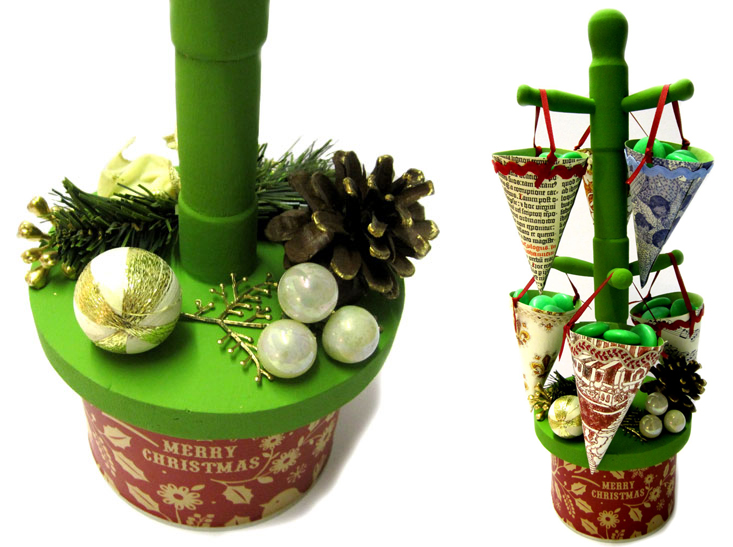
I like hanging the cones from a mug tree. I bought this from a local charity shop and painted it green. Then I decorated a tin can with Christmas paper and stuck the mug tree on top. You can even glue Christmas decorations onto the tin, making it into a lovely table centre. Of course you could hang them from anything you can think of. I add more cones as necessary while my guests take their yummy favours home.Favourpic8

I originally wrote this tutorial for the Boden Community which has now become the Boden Blog. You can find it if you look through the archives but it’s much quicker to share it direct with my readers over here. 🙂