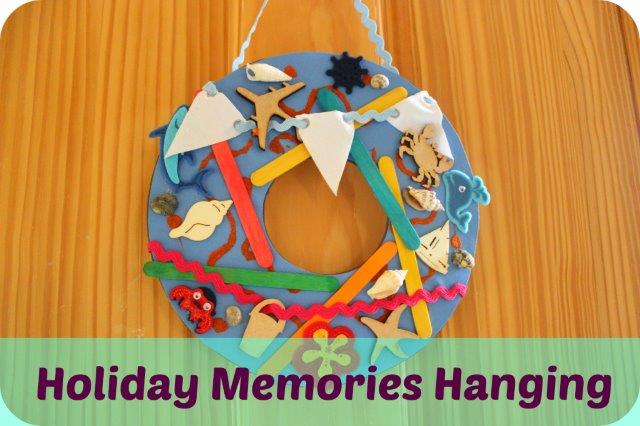
 Todays holiday memories craft tutorial is the perfect way for kids (or adults) to turn all those little mementoes into a hanging wreath to decorate your home.
If your family is anything like mine then you often come home with all kinds of bits and pieces like teeny tiny shells, postcards or even bits of sand. But what do you do with them when you get home? Getting crafty is one way to use those special collections and a door hanging means everyone can appreciate the fun you had. I received the materials used in this craft as part of the Bostik Craft Ambassador program.
What You’ll Need
Cardboard
Foam
Bostik Fine & Wide Glu Pen
Sand
Lolly Sticks
Wooden holiday shapes
Fabric Stickers
Small Shells
Ric rac or ribbon
Small bunting flags
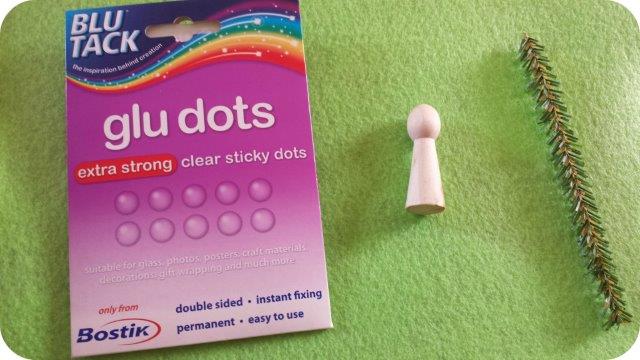
Bostik Glu Dots
Sticky Tape
All the instructions you need are contained in this video or you can follow the text version below.
Step 1
Begin by drawing around a dinner plate onto a piece of cardboard. Draw a smaller circle in the centre (I drew around a roll of tape). Then cut out.
Step 2
Using the Bostik Fine & Wide Glu Pen cover the back of the wreath shape in glue (use the wide end of the pen). Then stick onto a piece of foam or you could use some strong cardboard. Once dry cut out.
Step 3
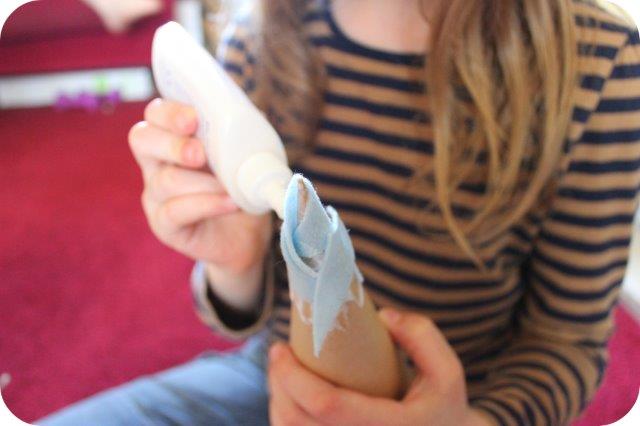
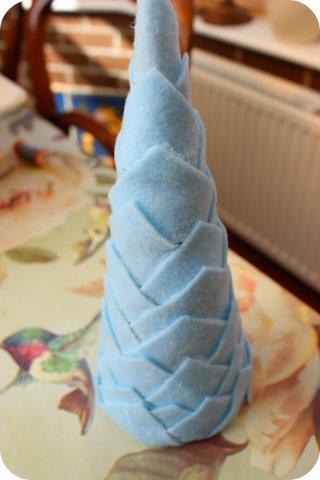
Using the fine end of the glu pen make swirls, dots or any pattern you fancy all over the front of the shape. Then pop some sand into a cup and sprinkle all over the glue pattern. Once the glue has dried shake off the excess sand.
Step 4
Time for decoration! You can use anything that you collected or that reminds you of your trip, I like to lay everything out before sticking into place. I used Bostik Glu dots to attach plain wooden holiday themed cut outs. Of course you could decorate these, I just think the bare wood looks really good. Next I laid lolly sticks to remind us of all those lovely iced treats and fabric stickers look great, especially if they have googly eyes!
Step 5
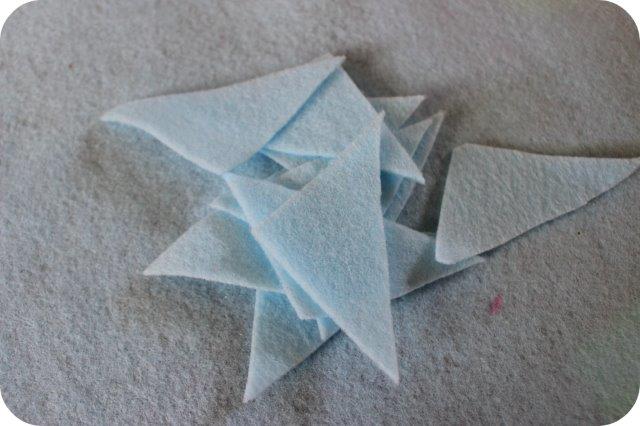
Bunting screams summer to me so I made some bunting using ric rac and ready made flags. If you can’t find any pre-made flags an alternative is to cut triangles from fabric and either stick into place or use a hole punch to loop the ric rac or ribbon through. The bunting was stuck to the reverse using sticky tape.
Step 6
Finally I stuck some miniature shells into place using glu dots. Then I used more ric rac to make a hanging loop, this was also stuck to the reverse of the hanging using tape.
Step back and admire your handy work!


19 Comments (Leave a comment)