 I’ve just returned from holiday with my family and we had an absolutely amazing time! We always take lots of photos and it’s great looking back over the memories. Condensing these recollections into one item can be a really useful way of sharing the adventure with family or friends and scrapbooking makes this really easy. With some help from my kids we made a scrapbook wall art picture to showcase one of the best days. I’m a Bostik craft ambassador and Bostik kindly send me a craft box fully of supplies every month. This month we got scrapbooking and if you’d like to join in take a look at the tutorial below.
What You’ll Need
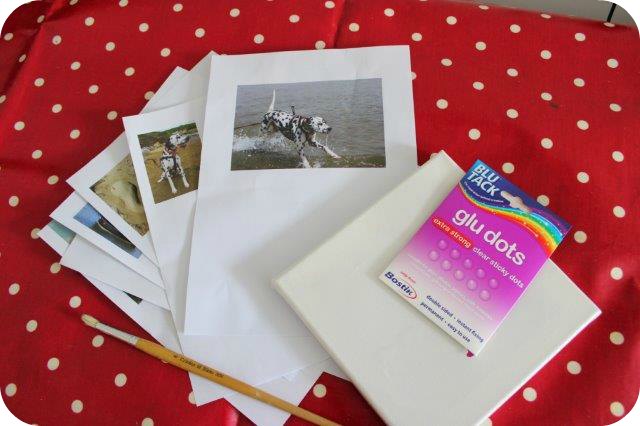
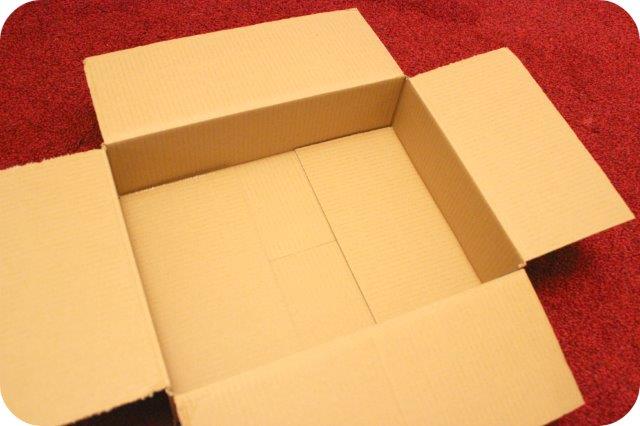
Blank Canvas
Photos printed onto paper
Bostik Glu Dots
PVA glue
Craft Tape
Fabric scraps
Stickers, ric rac, buttons or other embellishments
 Step 1
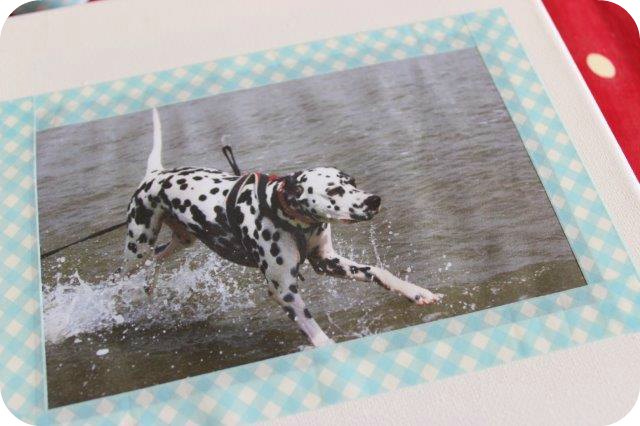
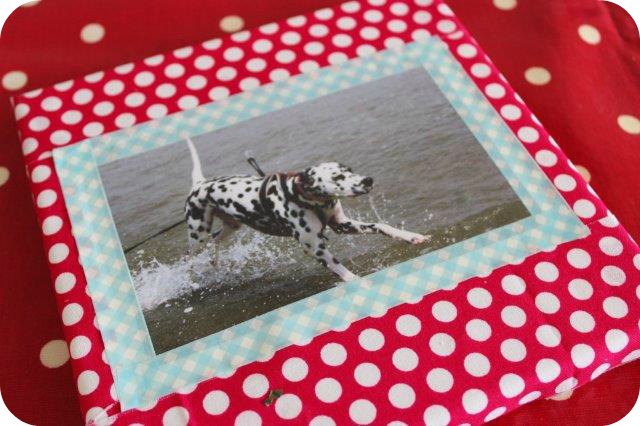
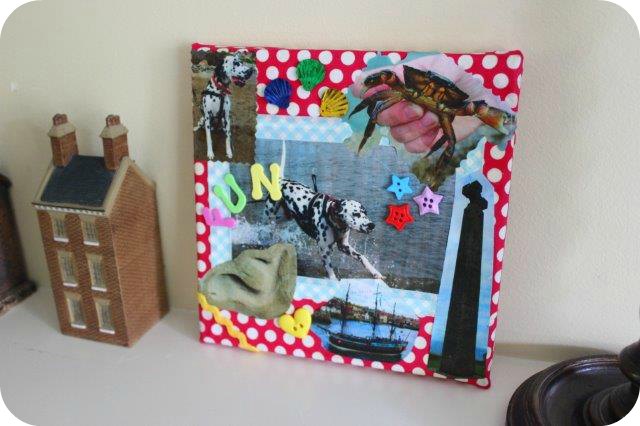
Pick an image to be the centre of your canvas, we chose one of our dog frolicking in the sea. Glue this to the centre of your canvas using the Bostik Glu dots. We then added craft tape to the edges to make a frame.
 Step 2
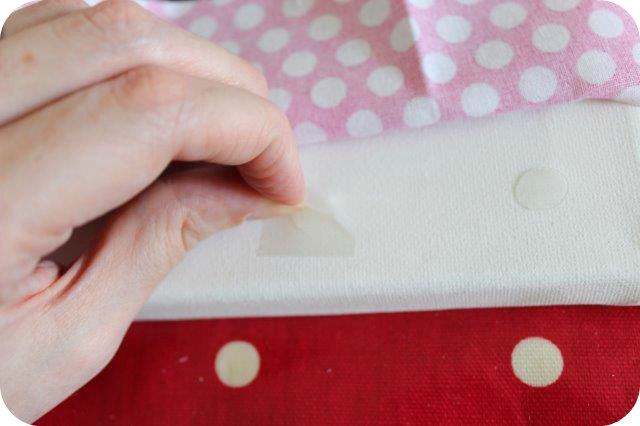
No one wants to see the plain white canvas peeking through your photos and a great way to cover it up is to use fabric scraps adhered with Glu Dots. Fold the fabric around the edge of the canvas and stick to the reverse.
Step 3
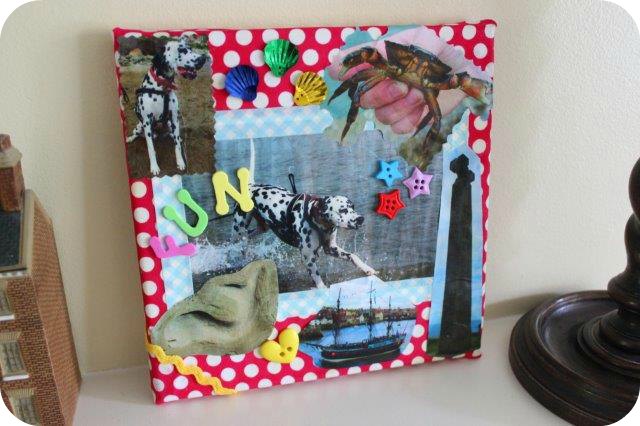
Start cutting out your photos. I printed these images in a slightly smaller size than my main image. We used special craft scissors which cut patterns (like zig zags) through paper. Lay the images onto the canvas and once your happy with your design secure using Glu Dots.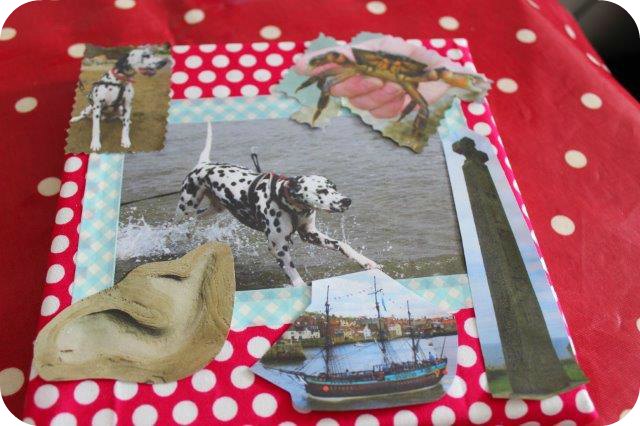
Step 4
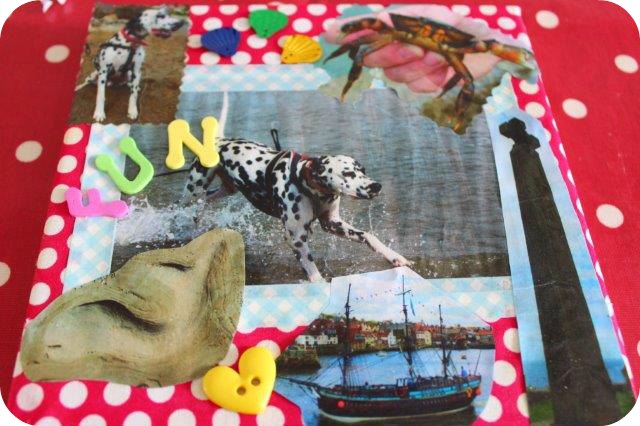
Grab a large paint brush and carefully paint PVA glue across the surface of your canvas. This creates a kind of varnish over the pictures and adds a layer of protection to your finished piece.
 Step 5
Time to add some fun embellishments! Small items like buttons, stickers or ribbons add depth to your design and can also be a great way to use commemorative items. We chose shell shaped sequins, the word fun and a heart shaped button. Stick into place using Glu Dots. Finally we added a piece of yellow ric rac to one of the corners.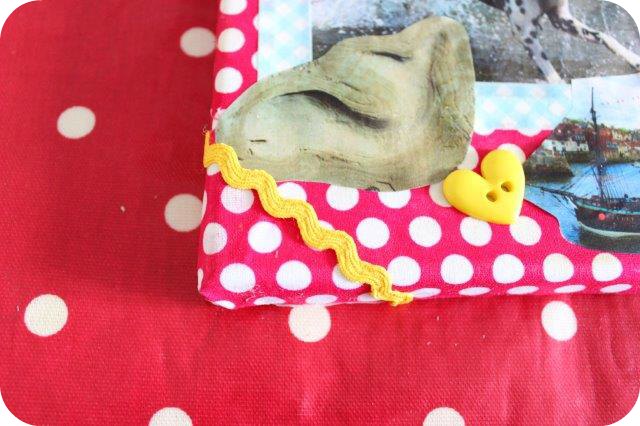
Hang your artwork proudly on the wall and smile everytime it brings back a fond memory.


 Easy Version:

16 Comments (Leave a comment)