Today I’m bringing you my first Valentine craft and card tutorial as part of the Bostik Craft Bloggers Network. Every month Bostik send members of the network a pack containing crafty materials and challenge us to create something to share with our readers!
Bostik sent me:

A tube of Bostik Glu & Fix all purpose glue
Blu Tack foam pads
2 blank white cards
A foil heart shape box
Foam heart shape
2 silver pom poms
A4 of red card
A4 sparkly red felt
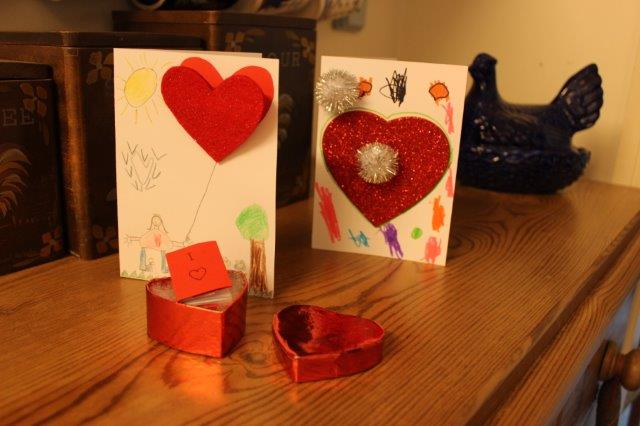
I enlisted my children and together we created two lovely cards and a tiny personalised book as a gift.
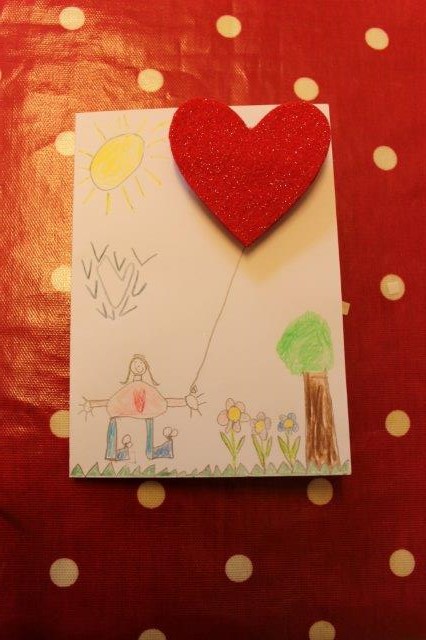 Badge Card
Adding a badge onto a card creates a wonderful 3d element plus it doubles as a small gift.
 Start by cutting two heart shapes from the red felt and gluing them together using the Bostik Glu & Fix. Next attach a badge back or safety pin through the back of the felt.
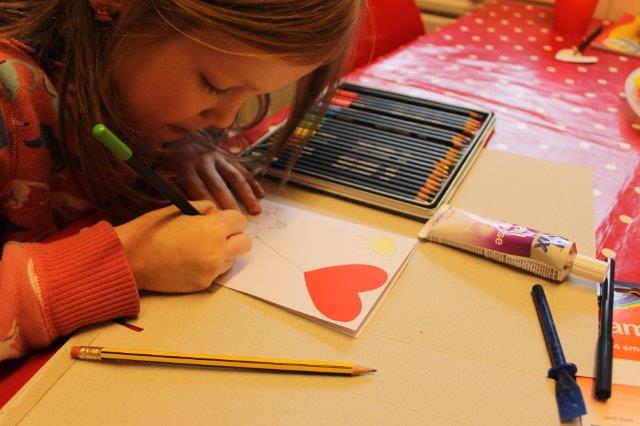 Cut another heart from the red card and glue onto the top right hand side of your greetings card. My daughter made the heart into a balloon and drew a woman holding it.
We then used the Blu Tack foam pads to attach the badge onto the top of the red heart on the card.
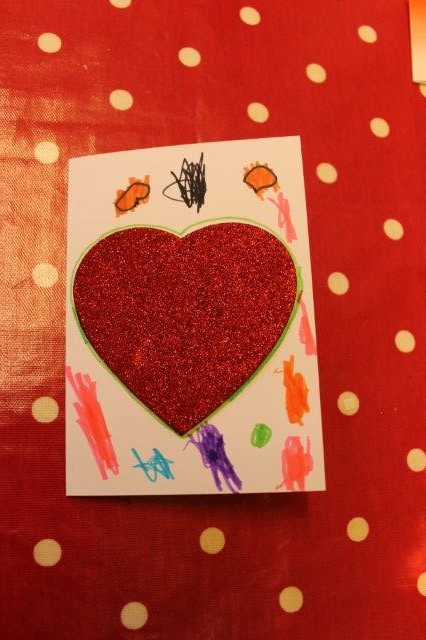 Foam Heart Card
My youngest son made this card on his own by sticking the sparkly foam heart onto the front of a card using the Bostik Glu & Fix. Then he decorated the card using felt tips. Finally he used the Blu Tack foam pads to attach the two silver pom poms to the front.
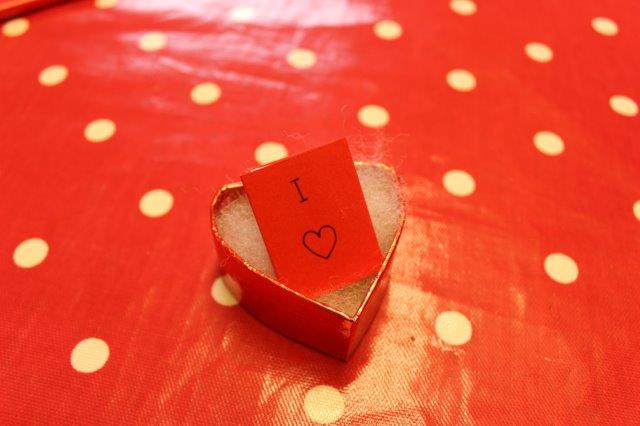 Love Tiny Book in Gift Box
My eldest son folded some plain white paper together to make a concertina and then we made a book cover from the red card and glued the concertina inside.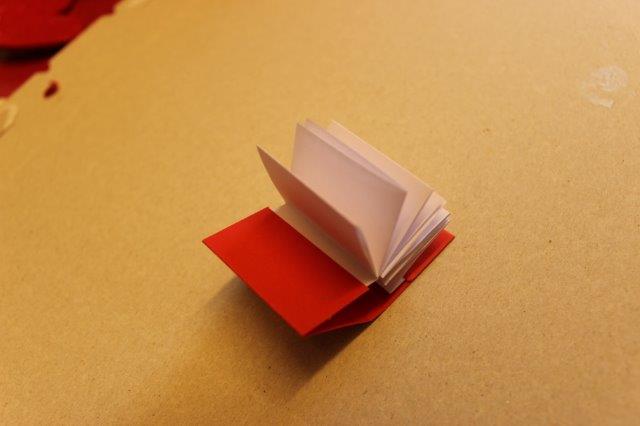
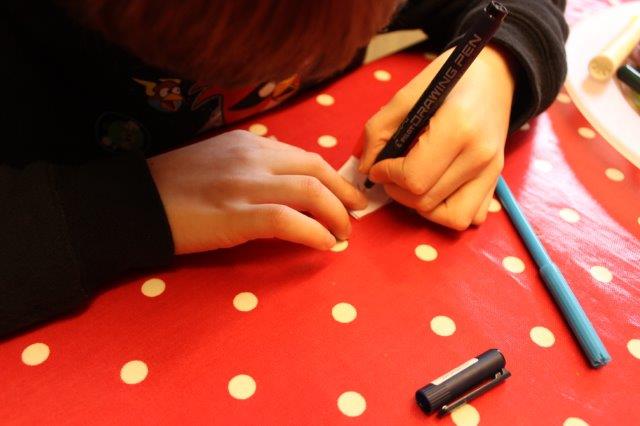
Next he drew all the things that he loves inside the book and placed it inside the foil gift box to present to his Daddy. 🙂
The kids had a fabulous time getting creative and Daddy is sure to love his gifts come Feb 14th!

One Response to Valentines craft and card tutorial with Bostik!