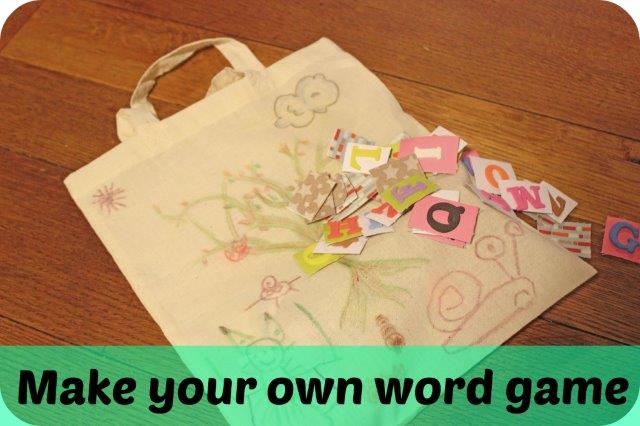
The summer holidays are a distant memory and school is back in full swing but there’s no need to feel gloomy because today’s post combines education with creativity. Whether your little student is learning to read or improving their spelling now you can make your own word game with my brand new tutorial. This was made using materials provided by the good folks at Bostik as part of their Craft Ambassador Program.
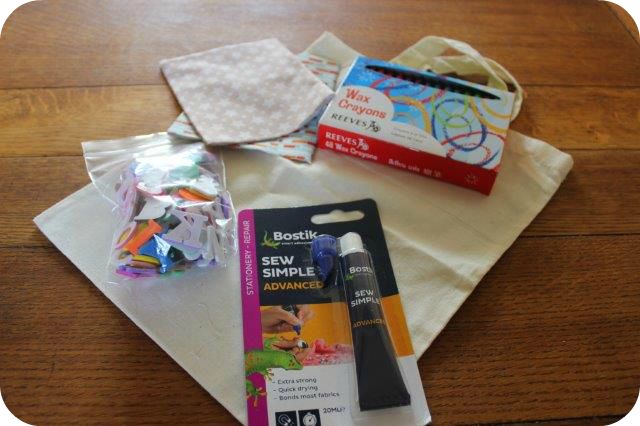
What You’ll Need
Plain Fabric Bag
Bostik Sew Simple Advanced Glue
Wax Crayons
Foam Letter Stickers
Cardboard
Fabric
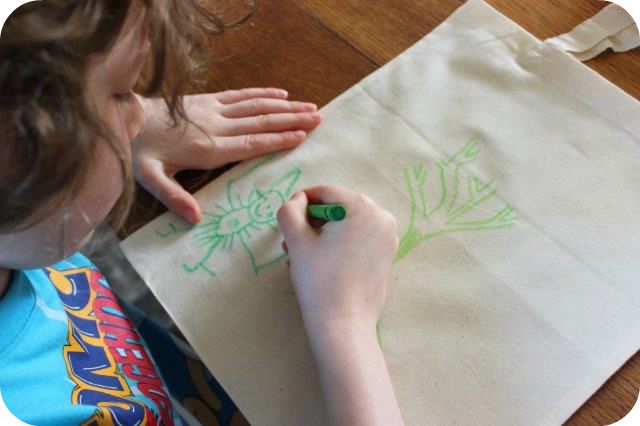 Step 1
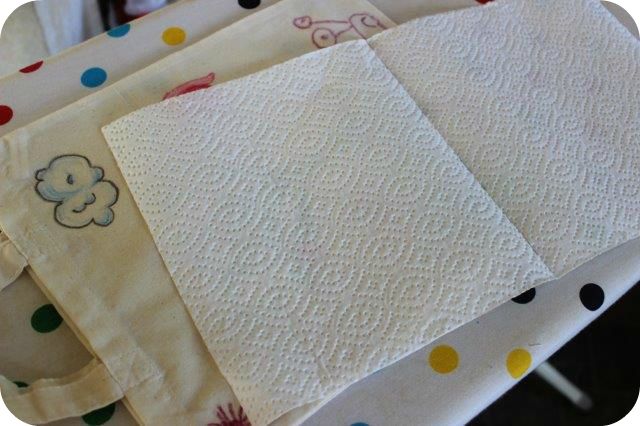
Start by decorating the fabric bag with wax crayons. Once your happy with the design it’s time to fix it. I do this by turning my iron onto a high setting with no steam. Cover the design with kitchen roll and gentle iron over. The kitchen roll will absorb some of the wax from the surface.
Step 2
Time to make the letter counters! Cut some small lengths of patterned fabric and use the Bostik Sew Simple Advanced glue to stick the fabric to coloured card. 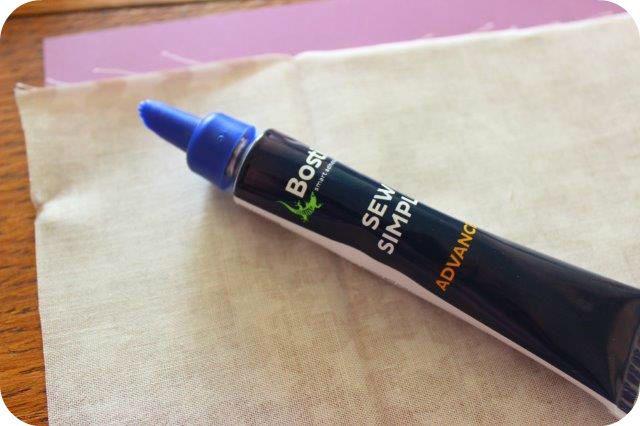
Step 3
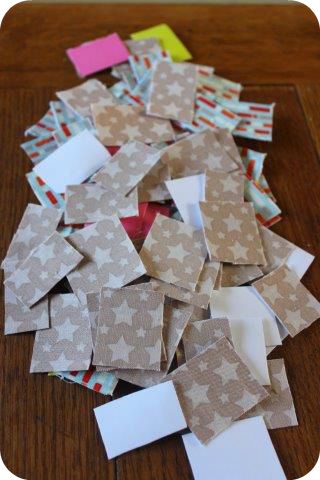
Once the fabric is completely dry cut into small squares.
Step 4
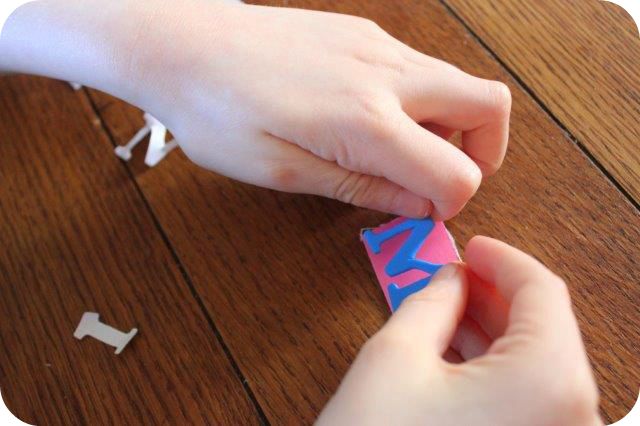
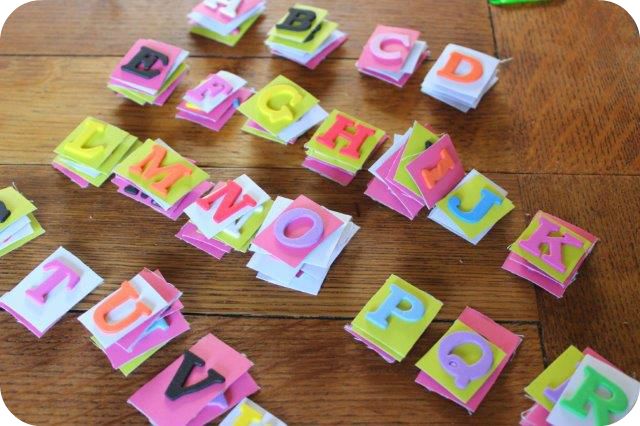
Stick a variety of foam letter stickers to the cardboard side of the counters. Make sure you have plenty of vowels.
Now you should have a good selection of letters and be ready to play!
How to Play
Put all the letter counters into the fabric bag and shake to mix them up.
Each player selects 15 counters on their first turn and tries to use as many of them as they can to make words.
On each subsequent turn each player grabs 5 more counters and tries to make more words (using any leftover letters from the previous draw). Carry on until all the letters have been drawn.
The winner is the player with the least amount of unused letters leftover.


25 Comments (Leave a comment)