 With the festive season fast approaching I decided to share my tutorial to sew your very own advent calendar! I originally wrote this for the Boden Community which has now become the Boden Blog. You might just be able to find it if you scour through the archives, but it seemed far simpler to share it direct with my readers over here.
You Will Need
A hanger (I chose a lovely old wooden one)
2 pieces of fabric to make the background (mine measured 34cm X 48cm but this may vary depending on the size of your hanger)
1 piece of fleece fabric 34cm X 48cm
4 pieces of ribbon approximately 28cm in length
35cm piece of ric rac or ribbon
5 pieces of fabric measuring 12cm X 36cm each
24 mini luggage labels
24 mini gold safety pins
24 Sweets of your choosing.
Step 1
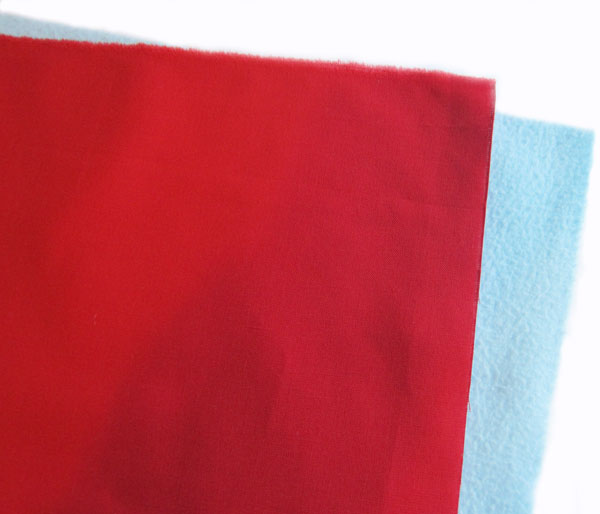
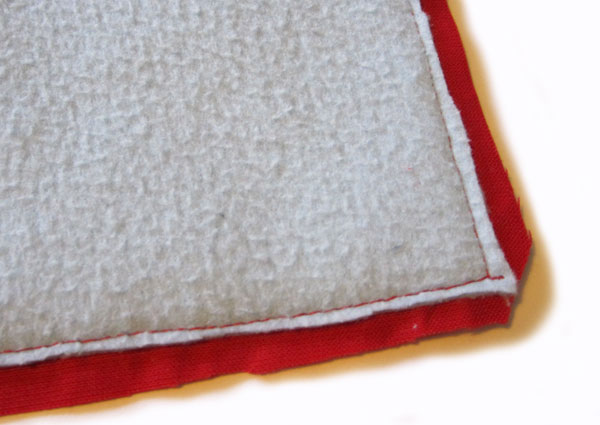
Begin by pinning the two background pieces of fabric together (right sides facing). Then place on top of the fleece fabric (I used an old blanket to cut the fleece from). Sew down one long side, across the bottom and back up the other side, leaving the top free. Iron the pieces together and then trim the fleece back close to your stitches, also trim the corners to aid turning.
Step 2
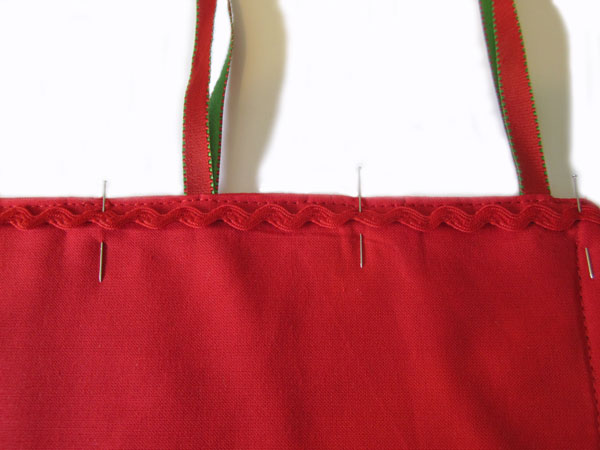
Turn the fabric the right way out and iron flat again, tuck in approximately 1cm of fabric at the open edge and iron ready for sewing. I chose to hang the calendar using pretty ribbon. Fold the 4 pieces of ribbon in half and tuck into the top open edge of your calendar. Sew across the open edge of the calendar, making sure to catch the ribbon as you go. For a little extra decoration I laid a piece of matching ric rac across my stitches at the top and sewed into place (ribbon would also work). You’ve now completed the background piece.
Step 3
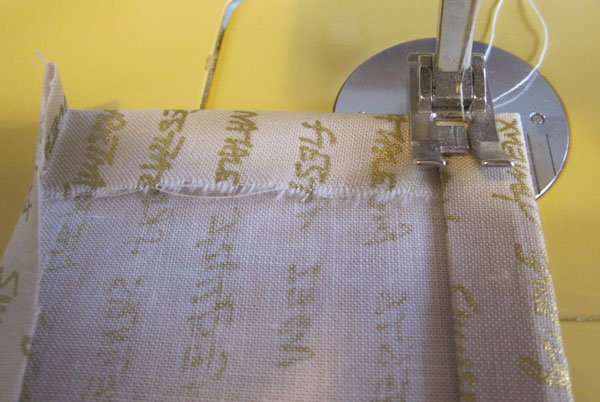
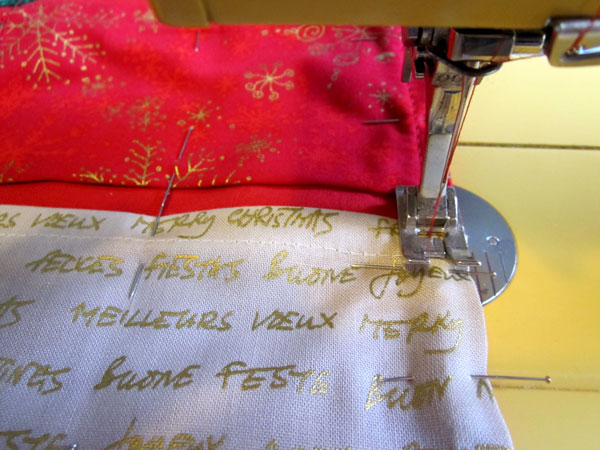
Time to make the pockets! On each piece of fabric turn over 1cm of fabric along one of the longer sides. Iron and then turn another cm over and iron again, this is the top edge of each set of pockets. Now turn each remaining edge over 1cm and iron. Machine stitch just the top edges of the pockets, leaving the other edges free.
Step 4
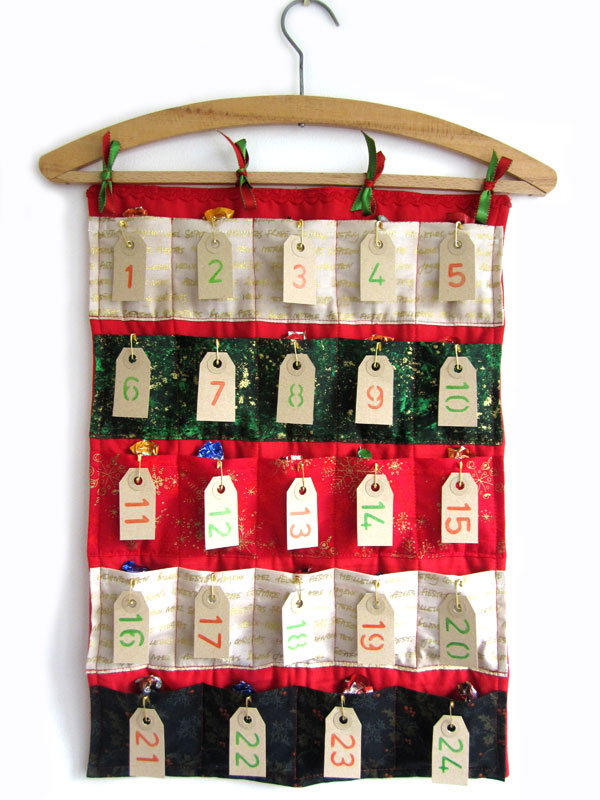
Position each set of pockets evenly across the background fabric and pin. Machine stitch across the bottom of each pocket and then around the entire edge of the calendar. You will now have 5 large pockets. In my example the first 4 rows have 5 pockets and the final row has 4 larger pockets. To create this you need to machine across each large pocket several times to make smaller pockets. On the first four rows I did this at approximately 6 ½cm intervals. On the final row I sewed at approximately 8cm intervals.
Step 5
To make the calendar numbers I bought some small luggage labels from a Stationary shop. I cut them down just slightly to make them smaller. Using a red and green crayon I then stencilled a number onto each label. These are then pinned to each pocket on the calendar using mini gold safety pins (again picked up from a Stationary shop).
Step 6
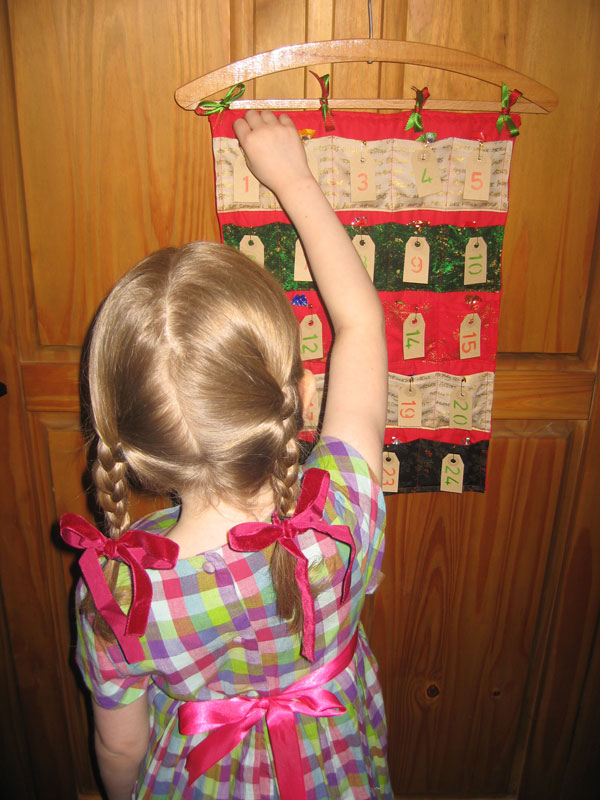
Decide who the calendar is for and fill each pocket with an appropriate sweet or gift. It could even serve two or three lucky recipients, just pop a couple of extra sweets in each pocket. Now you have an attractive and reusable advent calendar that should serve you for many years to come.
