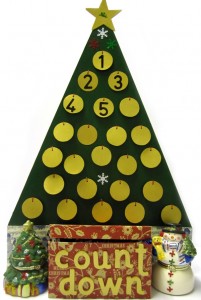
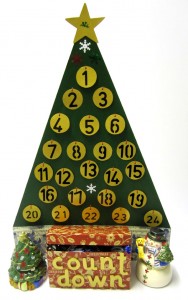
 I love Christmas! I love the decorations, the food and the exciting lead up. Most of all I love the excuse to get crafty. With this in mind I’m bringing you today’s tutorial. Inspired by my son’s constant need to know exactly how many days there are left to go, this is our homemade countdown calendar. You start at the beginning of December with 24 numbered baubles, each day turning one over until there is only one bauble left to turn! There’s also a handy box at the base, which you can fill with sweets to eat daily. You could also save all the sweets to enjoy on the big day.
You Will Need
A piece of thick card (I used mount board)
Thin card to cut baubles and star from
A cardboard box
Sweets
PVA glue
Paints (I used green and gold)
2 styles of Christmas wrapping paper
24 small buttons (these don’t have to match)
Black felt tip to write numbers ( I used a permanent one)
Small amount of coloured thread
Small sequins to decorate
Step 1
First begin by drawing out a triangle onto the thick card or mount board. Mine measured 37cm wide and 46cm high. Next place the cardboard box under the triangle and draw a rectangle the same size depth as the box but the same width as the bottom of the triangle.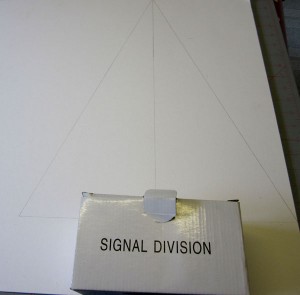
Step 2
Cut out your tree shape using a sharp craft knife. Paint the top part of your tree green (leave the rectangle at the base unpainted). I used acrylic paint as it’s quick drying and waterproof when dry.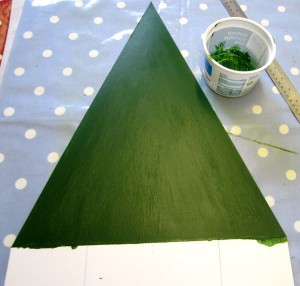
Step 3
Glue a piece of Christmas wrapping paper onto the unpainted rectangle. Then cover the cardboard box with a different design of paper.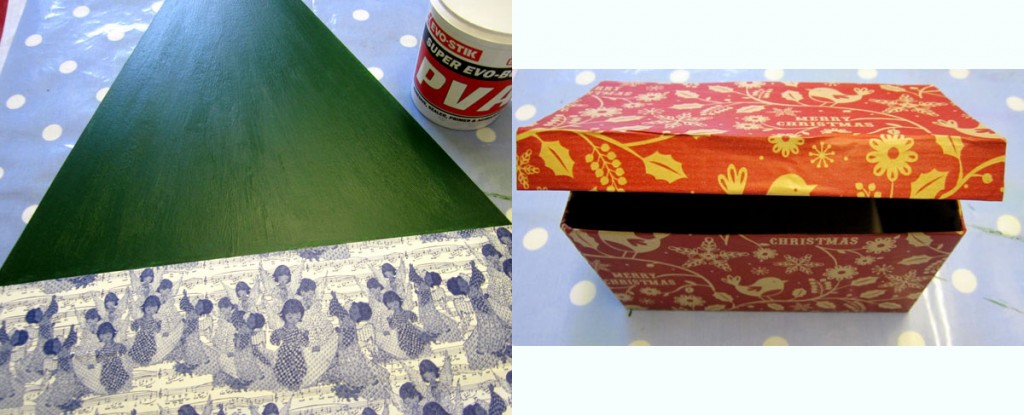
Step 4
Take the thinner card and draw out 24 identical circles. Cut out and paint both sides (I chose to use gold acrylic paint), it may take several coats. Once dry draw the numbers 1 – 24 onto the circles using a black marker. Punch a hole into the top of each circle.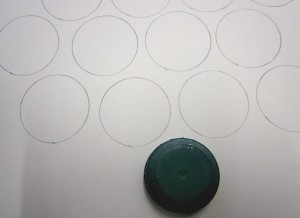
Step 5
Lay all the circles onto the tree and mark where you would like them to hang. Using something sharp, punch holes through the tree where you made your marks.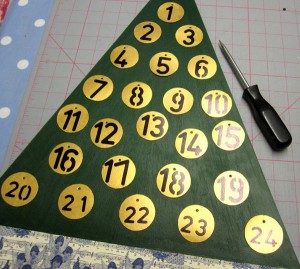
Step 6
Cut some pieces of thread and fold in half. Push the folded end through the hole in the circles, then thread the two loose ends through the loop to attach.
Step 7
Push the two loose ends through the correct hole on the tree. Then take a small button and tie the thread at least two or three times through the button’s holes. The following picture shows what the back of the tree should look like.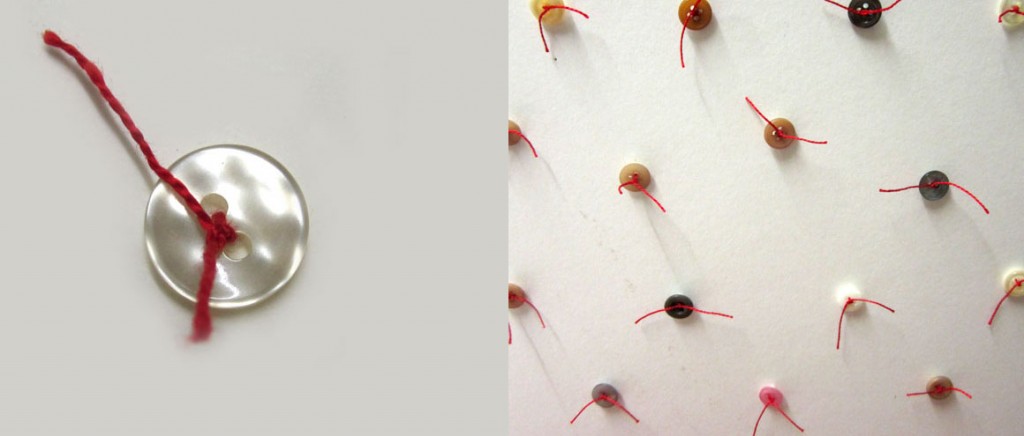
Step 8
I had some spare wooden letters that I painted gold and stuck to the front of the cardboard box to read ‘Countdown’. You could of course just write this on the front.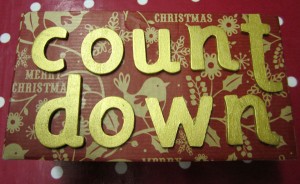
Step 9
Glue the box onto the decorated rectangle at the base of the tree. Glue some small sequins (I used snowflake shaped ones and a cherub on the star) around the tree to decorate. Cut out a star shape and paint gold before attaching to the top of your tree. Fill the box with sweets and hey presto a wonderful Christmas countdown!