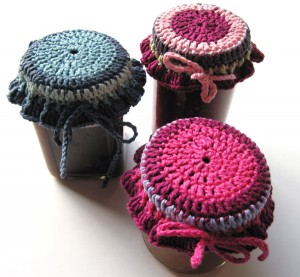
 Autumn is the season when trees are laden with delicious fruits and berries. This makes it the perfect time to make jam, marmalade, chutney, the list is virtual endless.
Home-made preserves and chutneys also make wonderful presents, with most varieties being able to be made well in advance. Adding your own label adds the first personal touch, but you can complete it with today’s tutorial. With a crochet hook in hand, you can make a very quick and simple Jam Pot Cover. I think it has a wonderful retro appeal which looks fabulous sat upon a shelf or dresser.
Pattern
I used DK Cotton yarn and a 3.5mm crochet hook.
ABBREVIATIONS
ch chain
sl st slip stitch
tr treble crochet
Round 1
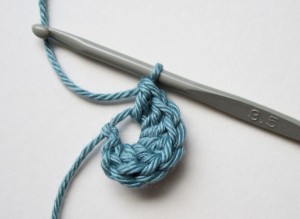
Start with a slip knot and work 3 chain.
11 tr into 3rd ch from hook, join with sl st to top of beginning ch 3, (12 stitches).
Round 2
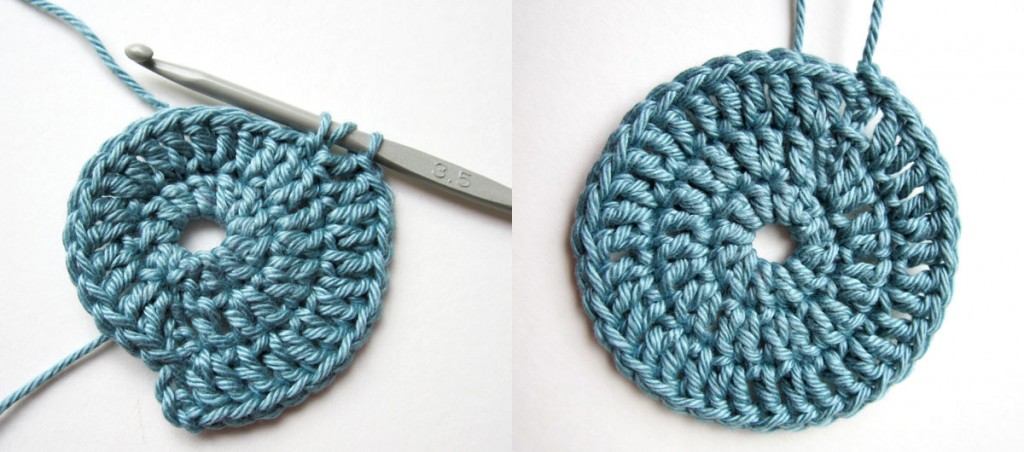
Ch 3, 1 tr into first st and then work 2 tr into every stitch from the previous round. Join with sl st, (24 stitches).
Round 3
Ch3, *1 tr into first stitch, 2 tr into next*, repeat from * to *round the circle and then close using a sl st. (36 stitches)
Round 4
Ch 3, *1 tr into first stitch, 2 tr into next*, repeat from * to *round the circle and then close using a sl st. (54 stitches)
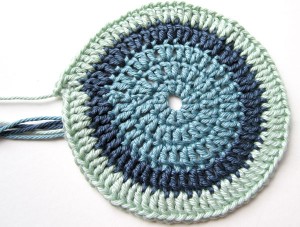
At this stage check whether the size of your work is the same as the top of the jar lid.
If it is the same size as the lid you will complete one more round in the same way as rounds 3 and 4, if it is smaller than the lid you will need to complete two more rounds.
Round 5
Ch 3, *1 tr into first stitch, 2 tr into next*, repeat from * to *round the circle and then close using a sl st. (82 stitches)
Round 6
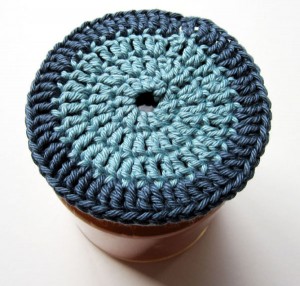
Ch 3, 1 tr into every stitch from the previous round and then close using a sl st. (82 stitches).
Round 7
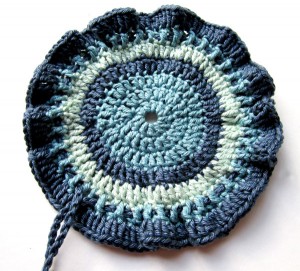
Ch 3, 2 tr into every stitch from the previous round and then close using a sl st. (164 stitches)
The jam pot cover is now complete. All the ends need to be woven through the back of the work and cut off. The cover could be gathered using a piece of ribbon or as I have done by making a length of chain. You will need a chain long enough to go around the edge of the circle and then add a few more centimetres.
Thread the chain or ribbon through the stitches of Round 6.
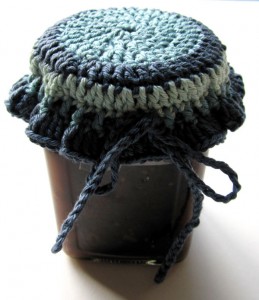
Place your cover over the top of your jar and gather by pulling the chain or ribbon and tie in a bow. This will make your jar of jam look really special and far more appealing!

6 Comments (Leave a comment)