 As a creative sort of person I love taking things apart and remaking them to suit my own needs. Not only is it a fun and inspiring occupation but it’s economical and environmentally friendly too. I’ve detailed my latest project as an upcycling tutorial and written the steps below in case you would like to have a go at making an old hat new!
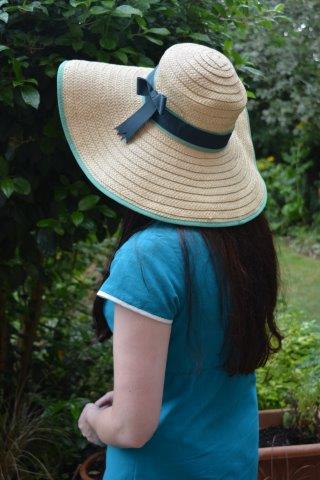
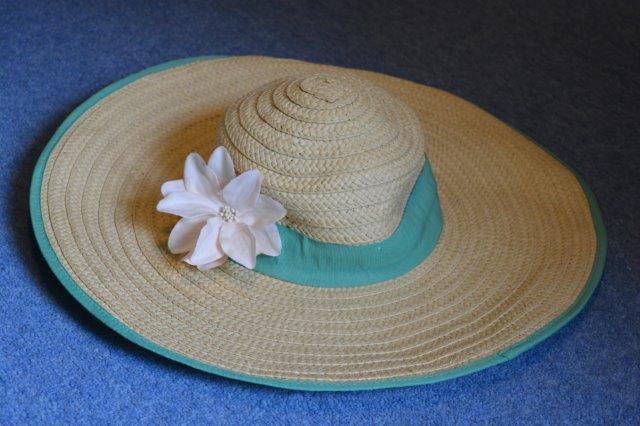 I wanted a large floppy hat to shield me from harmful rays (although the sun appears to be hiding today). I found my hat in a local Oxfam shop, but while I loved the fit (and the flop) I was less keen on some of the adornments. This picture shows the rather cheap looking flower that was stuck onto one side with a massive blob of glue.
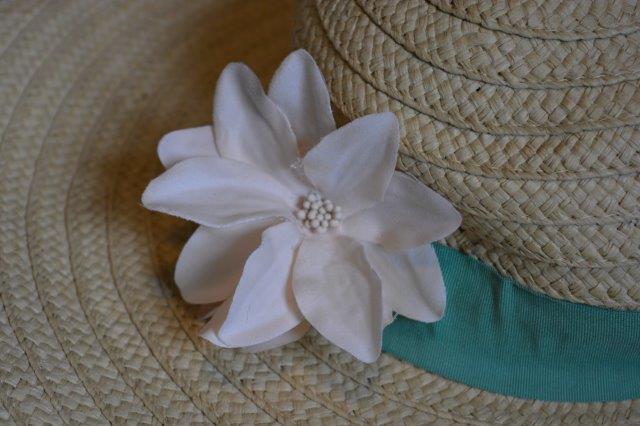
I removed the flower and as much of the glue as I could cut away but I was still left with a noticeable blob!
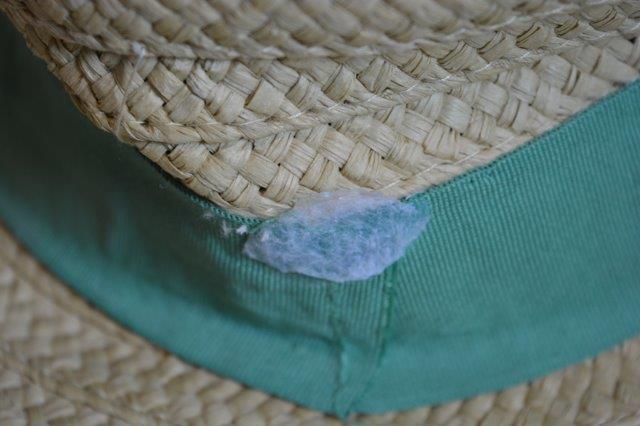
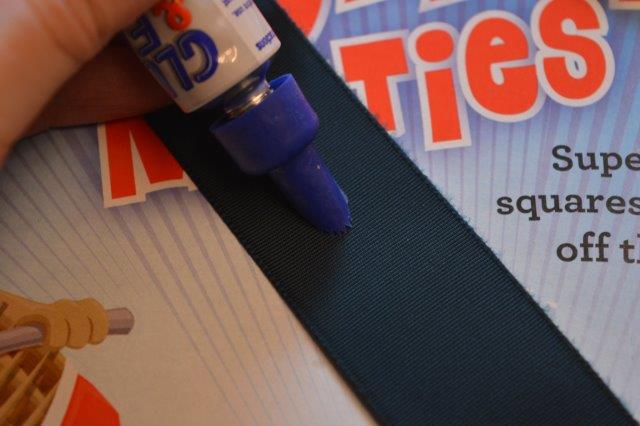
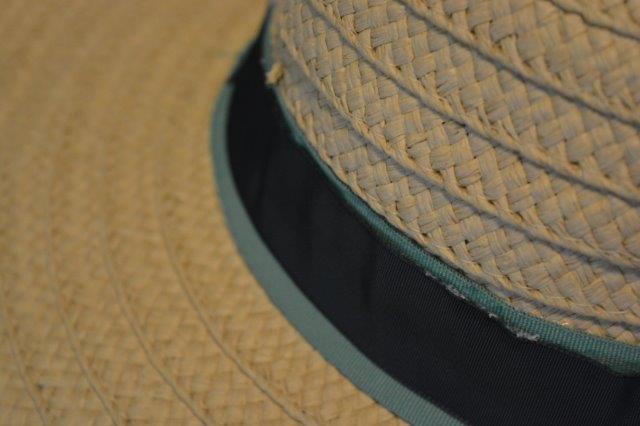
I covered the glue and crooked sewing with another band of contrasting ribbon. The hat was tough enough that sewing seemed a little difficult, so I used fabric glue to attach instead.
Next I sewed a simple fake bow from the contrasting ribbon, unfortunately I forgot to photograph this stage. The bow is created by cutting a length of ribbon and sewing the ends together to make a loop. A smaller piece of ribbon is folded in half and used to pinch the loop in the middle, this is then sewed together at the back. If you want ribbon tails just add in at the back with a couple of stitches. It creates a much flatter bow than a real one, making it easier to sew into place. I cut my tails into V shapes to stop them fraying and sewed the bow onto one side of the hat.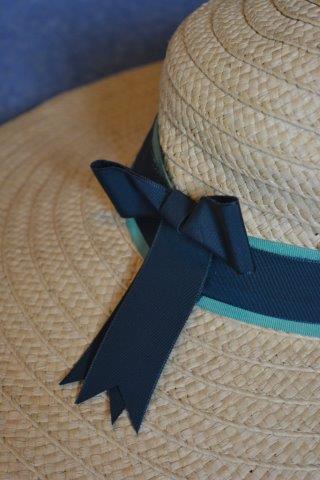
I was very pleased with my simple hat, it took hardly any time at all and became a truly unique creation. 🙂
