 Wow the last few weeks have been busy! My kids seem to positively collect Christmas events and every year there’s even more places they need to be. We’ve had parties galore, dance recitals (the rehearsals were constant!) plays, sleepovers and more! So when a rare non booked day presented itself last weekend I grabbed the opportunity to visit the wonderful Haddon Hall at Christmas time.
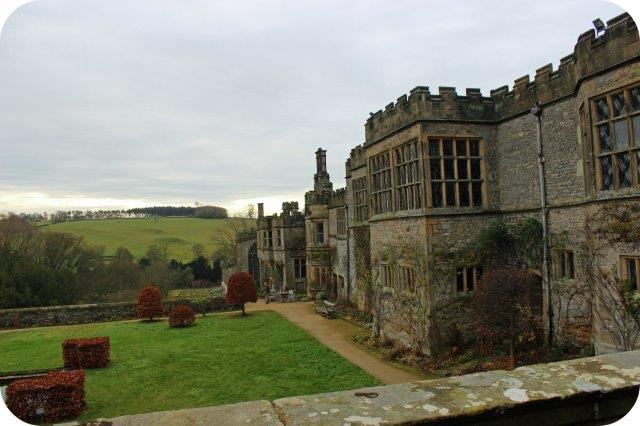
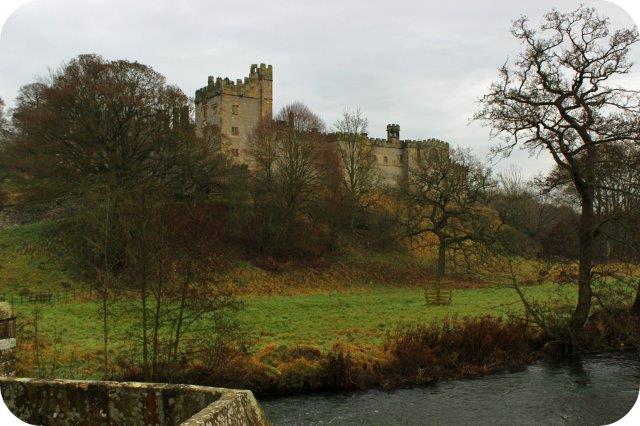
For those not in the know (I like to pretend that I am) Haddon Hall is a fortified Medieval house in Derbyshire owned by the Dukes of Rutland. If it looks familiar to you though that’s probably because it features regularly on film and TV. It’s used for just about every production of Jane Eyre (they might as well rename it Thornfield at this rate) and it even featured in the cult classic The Princess Bride!
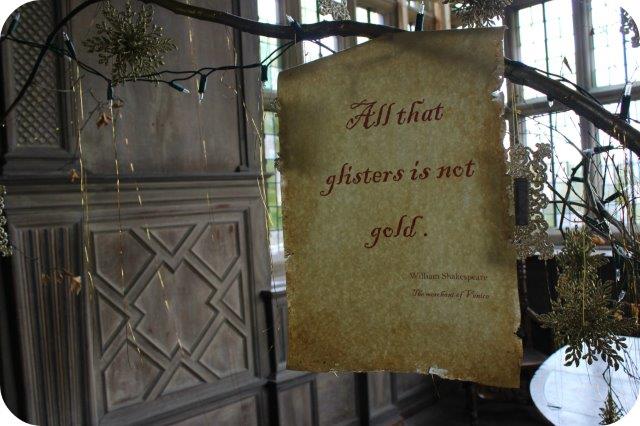
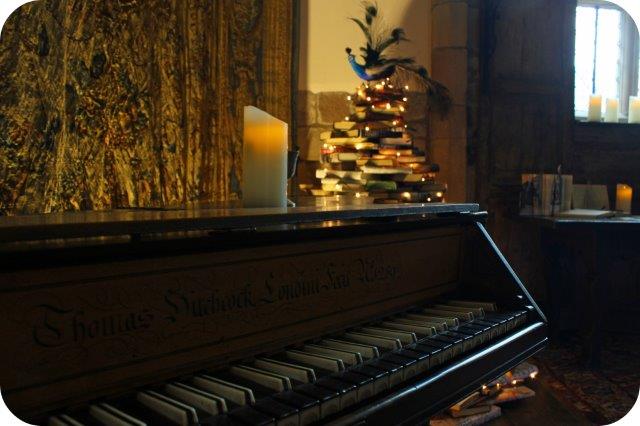
For the festive season however Haddon has been celebrating the year of the bard with Shakespearean themed decorations (we now have Will Shakespeare hanging on our tree thanks to the giftshop). 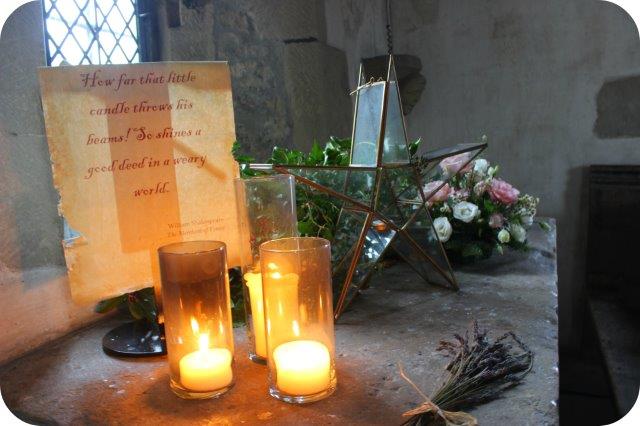
 Even more festive is the fact that their chapel is dedicated to good old St Nic himself. You can even spot the big man (looking more svelte) saving babies from being eaten in a time of famine amongst the outstanding paintings that adorn the chapel walls. Some of his other laudable (and perhaps slightly less gruesome) deeds are represented as well.
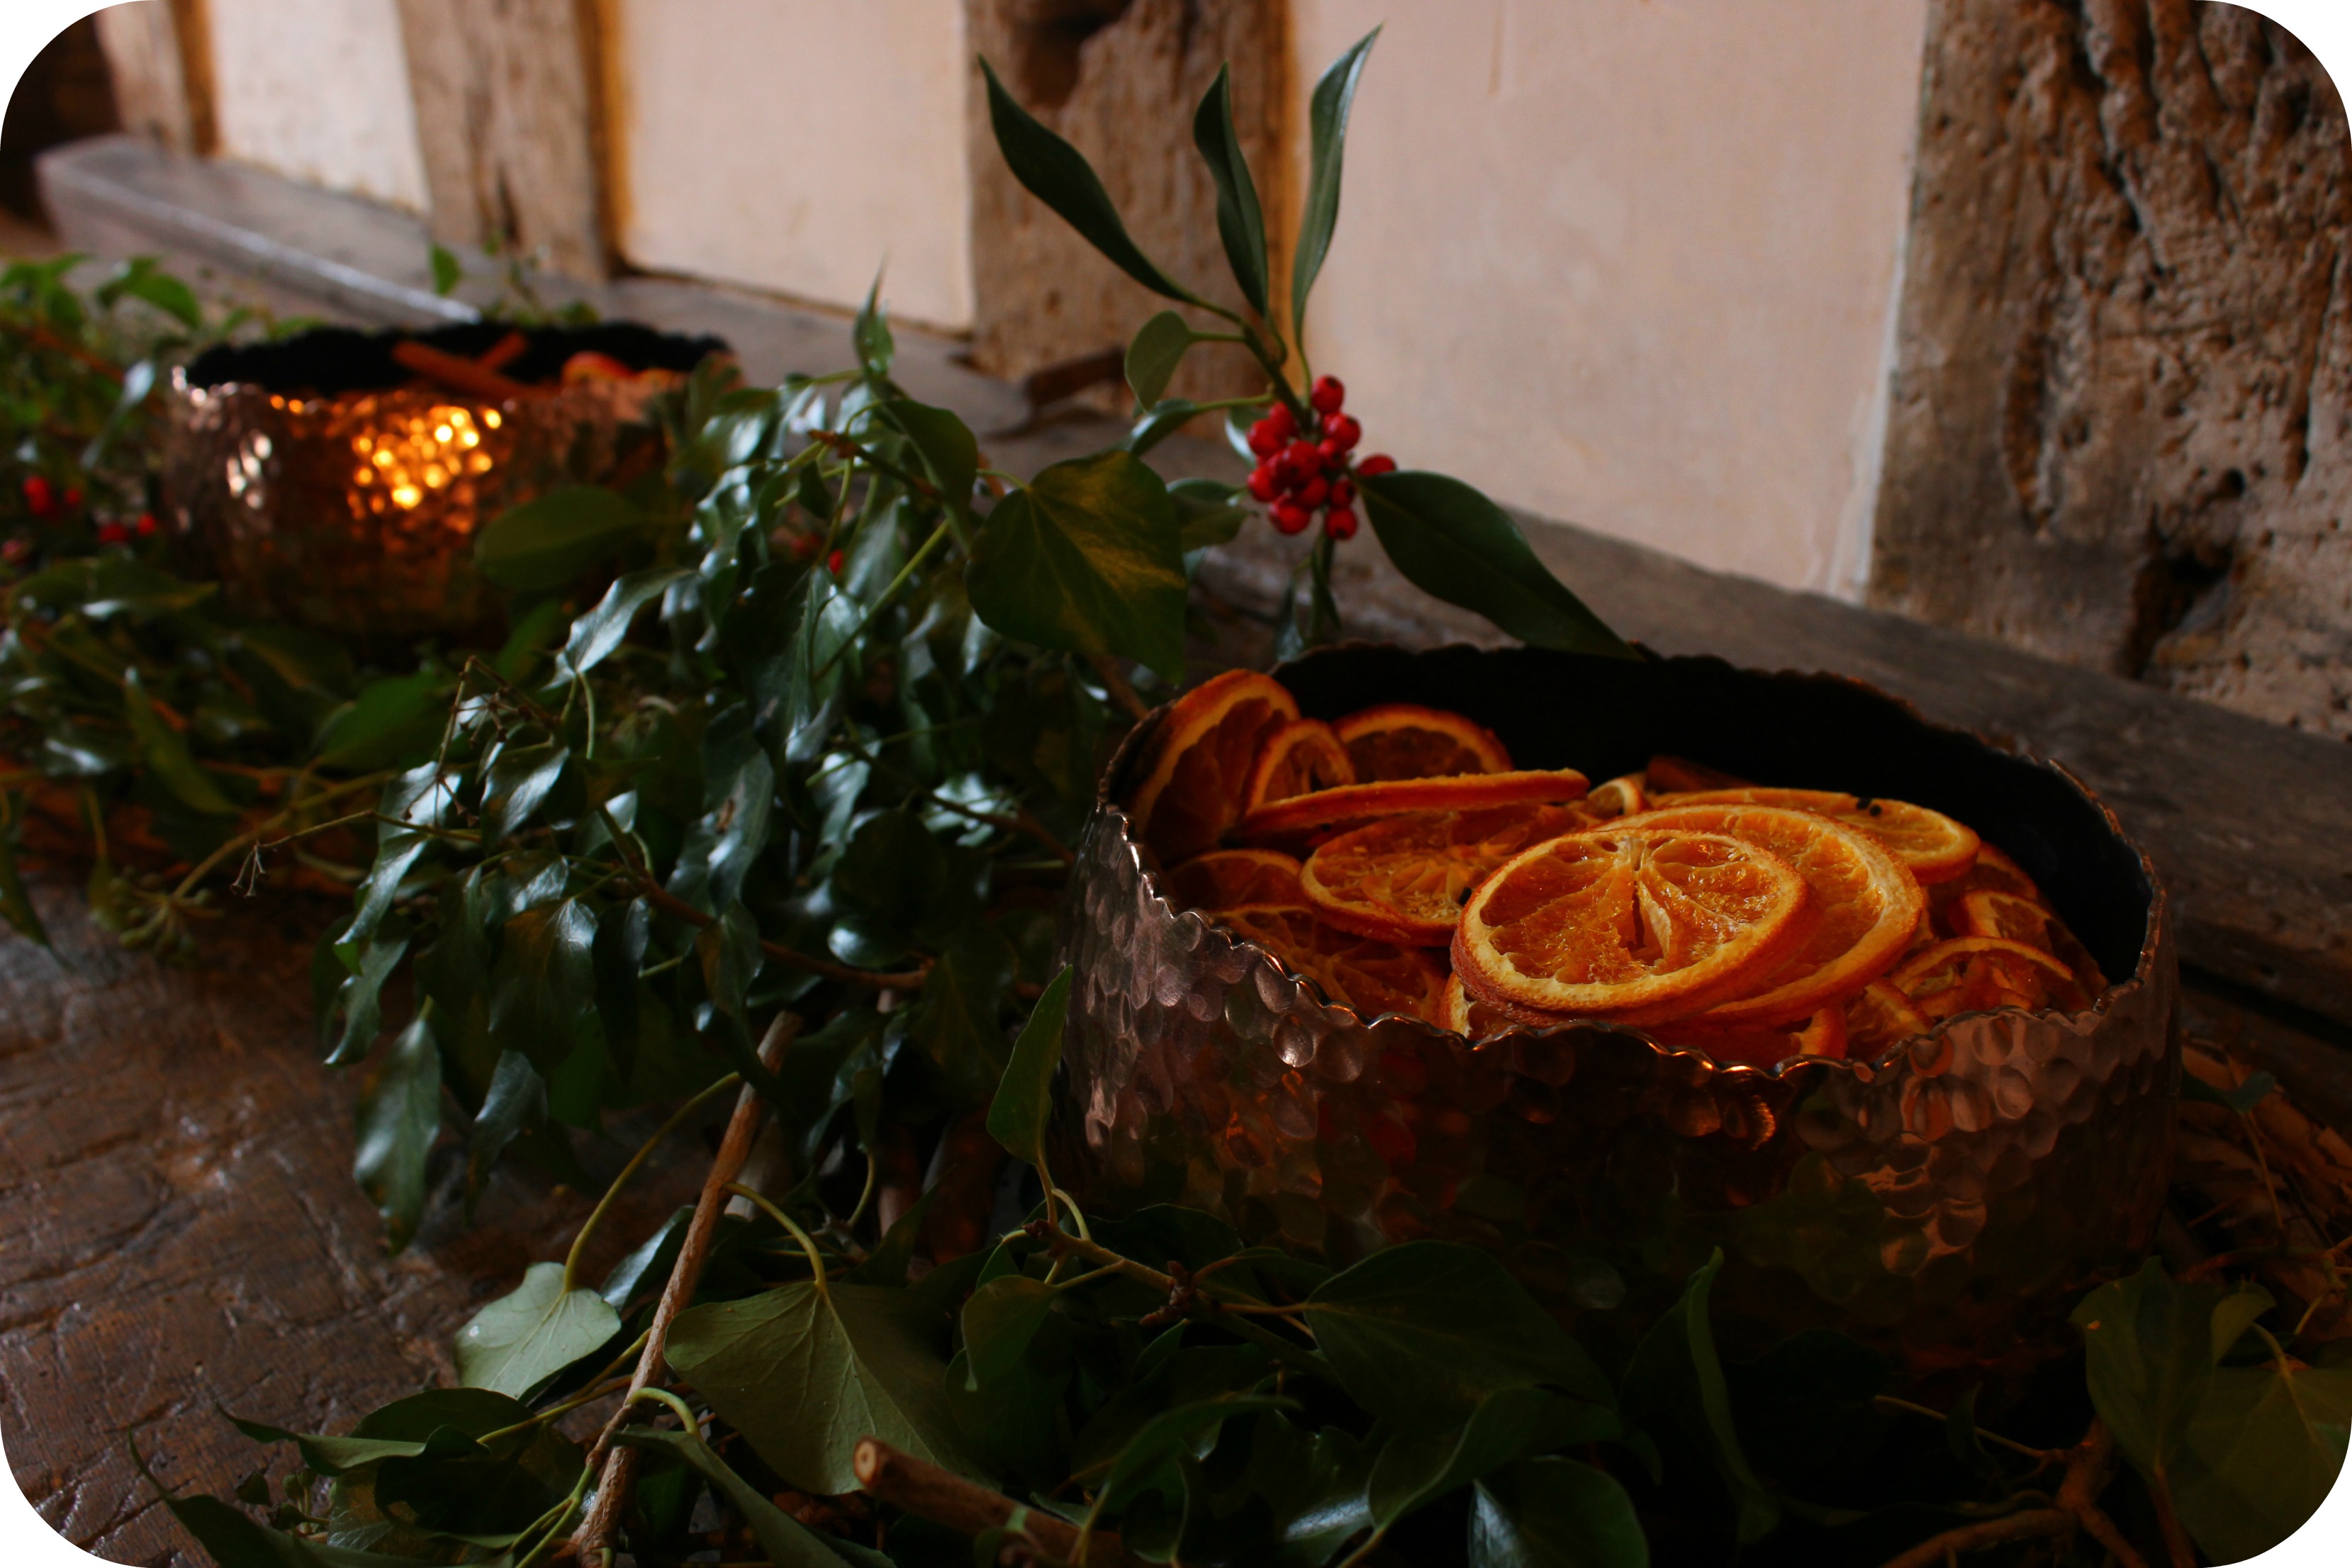
The hall while lovely at any time of year really comes alive at Christmas thanks to the decorations and general jollilility (made up festive word there) that seems to abound.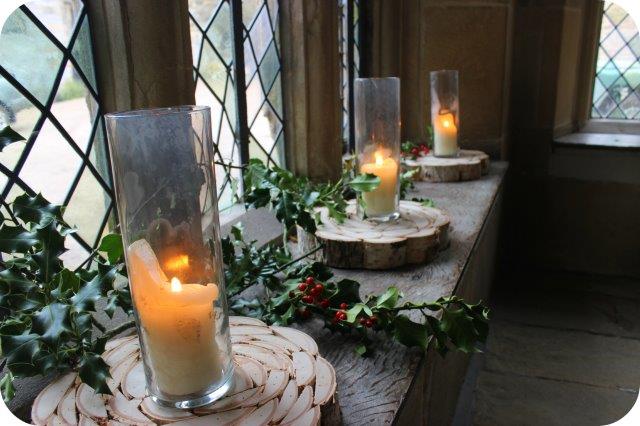
In between chatting to staff about stunt women throwing themselves off the battlements and just how polite Micheal Fassbender (or Micheal ‘Gorgeous’ Fassbender as they refer to him) the kids had some lovely festive poems read to them while seated on a genuine Tudor bench. 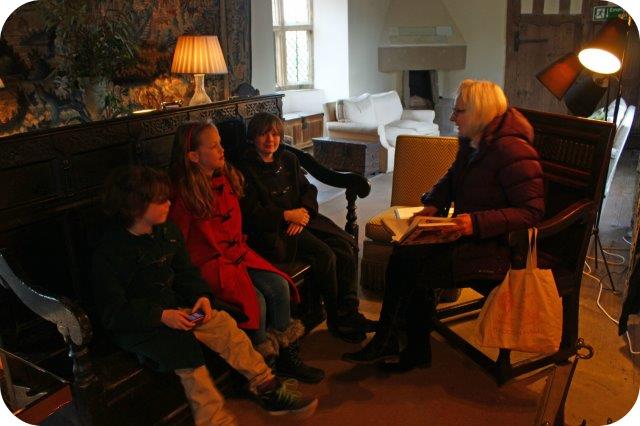
We even caught a performance by the Royal Northern College of music.
One lovely little addition this year was the opening of the normally shut gardener’s cottage as a Christmas pop up shop, I love the topiary outside 🙂
It’s such a fabulous place to visit and I hope my pics do the hall justice at least a little bit. I definitely recommend a visit if you’re in the area next year.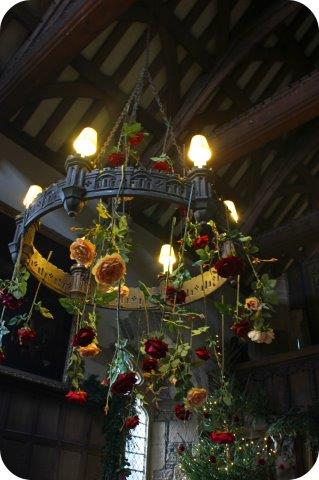


Comments Off on Haddon Hall at Christmas