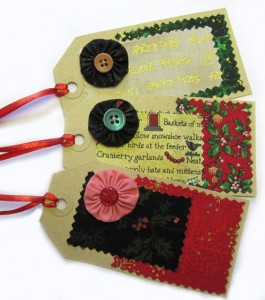
Christmas Gift Tag Ideas!

I may be an adult, but I still think there’s something very exciting about rummaging under a Christmas Tree, reading tags and guessing what gifts you might receive. It’s probably a nod to my inner child, but if you can’t get excited at Christmas, then when can you. In these economically challenged times, we may find that our trees are a little smaller and the gifts have shrunk in number. I don’t think that has to mean gift giving becomes diminished though. A little bit more creativity and the way we present a gift can make all the difference to the recipient. So today I’ll sure you some of my favourite ways to make gorgeous homemade gift tags, so you may adorn your presents with pride!
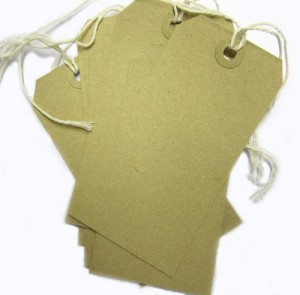
All of the tags are made from simple brown cardboard luggage tags, which are available from any good stationer.

Design No. 1

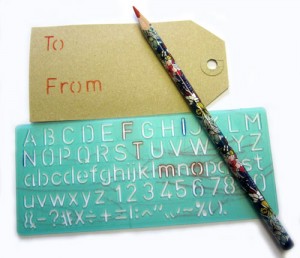
For the first set of tags I removed the string and cut a little extra from the corners to give a good shape. I then stenciled ‘To’ and ‘From’ onto the back.
Then using some pinking shears I cut up an old map, old Christmas paper and pictures and glued them into place. You could also use pictures from old magazines, old cards, anything really.
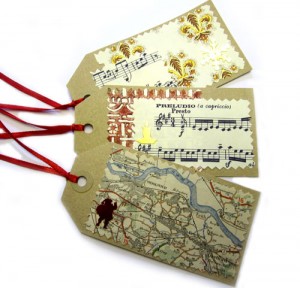
Next I added a couple of Christmas shaped sequins, but glitter would have worked just as well. Add a little ribbon to the top and you’re done!
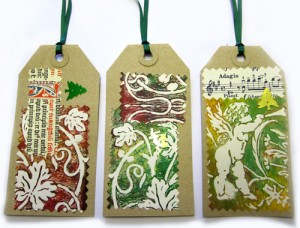
Design No. 2

For the next set I cut out some scraps of old Christmas fabric, but any bright fabric works well. I glued these onto the tags and then sewed on some buttons.
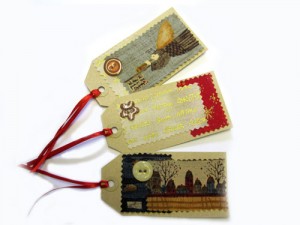
Design No. 3

This one is fairly similar to the previous design. The only difference is the introduction of a hand-sewn Suffolk Puff. These can be made up very quickly and when a button is sewn on top they look fabulous! For instructions on how to make a Suffolk puff see our tutorial here.
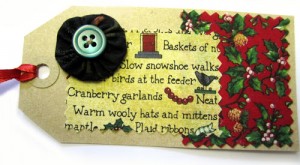
Design No. 4

I have a huge stash of leftover ribbon, pieces that were saved from earlier projects, chocolate boxes and so on. For this design I raided my stash and glued small pieces of ribbon and lace onto the tag. I left enough space to stencil on ‘To’.
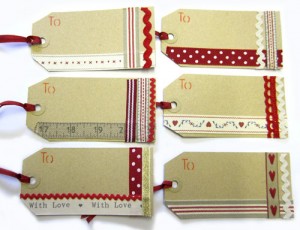
I think there’s no end to the possibilities when it comes to decorating gift tags, I just hope these few might inspire you a little bit 🙂
Country Living Christmas Fair

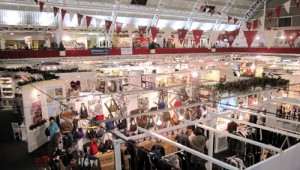
Yesterday I took great pleasure in attending the Country Living Christmas Fair at the Business Design Centre, Islington, London. I had a wonderful time, discovered some amazing new talent and was generally spoilt rotten. The fair ends on 13th November so there’s still time to get yourself down there. In the meantime, here are my must see stalls!

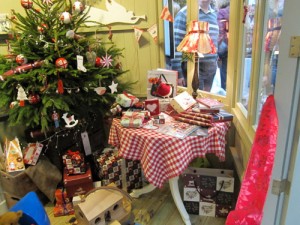
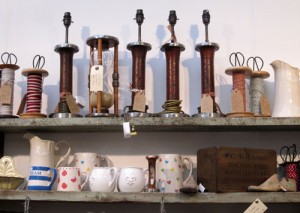
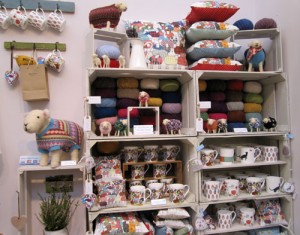
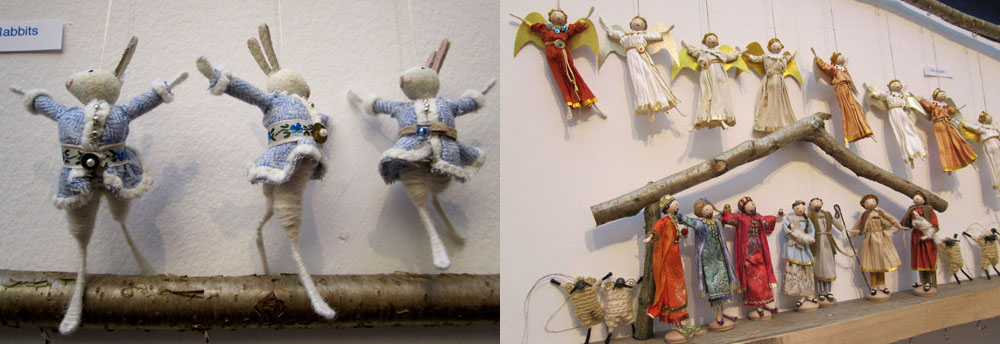
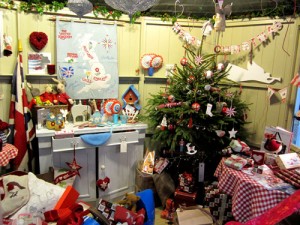
The fair, much like Country Living Magazine is always a beautiful spectacle before you even begin to start browsing. A giant Christmas Tree glittered away on the second floor, enormous bunting hung from the rooftop and the scent of Cinnamon, Spiced Apple and Mulled Wine seemed to follow you in a dreamy festive haze. After recovering from a slight sensory overload I made my way to this Christmas Cabin, designed by none other than textile extraordinaire Jan Constantine. You may have to fight an overwhelming desire to cross the barrier and spend an afternoon in this festive hideout, but take note as many of the items inside can be found on stalls at the fair.Vintage was a huge theme at this year’s fair, with everything from old milk bottles to bobbins upcycled into lights. So if your house is in need of a few unique and striking accessories make sure you keep your eyes peeled.Next I made a beeline for Mary Kilvert‘s stall. A designer and illustrator whose sheep design textiles and home-wares threaten to make even the most devout minimalist smile, I couldn’t resist her brightly coloured creations. Mary even designs wallpaper covered in quirky houses! Keeping in the festive mood I discovered a designer who was new to me Halinka’s Fairies. Halinka makes decorations that have such movement and skill, you could easily spend hours mesmerised by them. Halinka obviously has a real eye for movement as even her ballet dancers display lifelike turns and twists of their arms and waists.

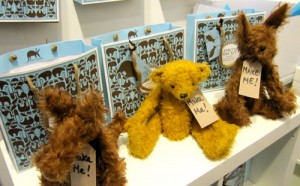
The fair is not limited to homewares or decorations though. There’s also adorable designers such as  Poppy Children. This stall stands out instantly due to their fabulous dress shapes and fabrics. They even make a few dresses in adult sizes (I can feel a mother daughter promenade coming on).  I challenge any Mother of a girl not to feel an almost uncontrollable urge to buy one of these designs. But how would you pick just one?My feet were rather worse for wear at this point, but that doesn’t mean you should automatically run for one of the cafes situated about the fair. Instead make your way to the food stalls and sample some of the most delicious homemade delicacies.After a good rest and several cups of tea I found my way to the Millstone Mills stall. Not ones to see pepper and salt grinders as mundane; they have taken this most basic of household items and transformed it into a stylish and functional piece that exudes class. If making your own is more to your taste though, there are plenty of stalls selling festive and fun kits. These beautiful traditional mohair toy kits are from Emily’s Ark. I did buy something larger and rather more blue from this stall but I’ll save that for a future post 🙂Unfortunately I can’t feature all of the wonderful stalls at the fair, so if you can make it along do try. Tickets can be purchased on the door, full details including an exhibitor list and floorplan are available on the website here.

I’ll post up some more pics in a few days including some of the wonderful items I brought home.

Countdown To Christmas Tutorial!

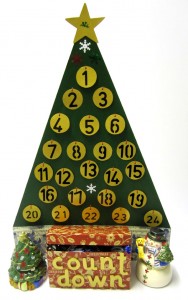
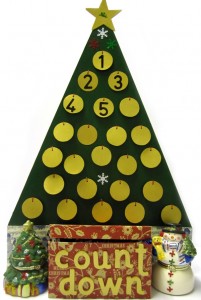
I love Christmas! I love the decorations, the food and the exciting lead up. Most of all I love the excuse to get crafty. With this in mind I’m bringing you today’s tutorial. Inspired by my son’s constant need to know exactly how many days there are left to go, this is our homemade countdown calendar. You start at the beginning of December with 24 numbered baubles, each day turning one over until there is only one bauble left to turn! There’s also a handy box at the base, which you can fill with sweets to eat daily. You could also save all the sweets to enjoy on the big day.

You Will Need

A piece of thick card (I used mount board)

Thin card to cut baubles and star from

A cardboard box

Sweets

PVA glue

Paints (I used green and gold)

2 styles of Christmas wrapping paper

24 small buttons (these don’t have to match)

Black felt tip to write numbers ( I used a permanent one)

Small amount of coloured thread

Small sequins to decorate

Step 1

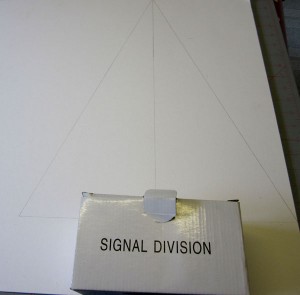
First begin by drawing out a triangle onto the thick card or mount board. Mine measured 37cm wide and 46cm high. Next place the cardboard box under the triangle and draw a rectangle the same size depth as the box but the same width as the bottom of the triangle.

Step 2

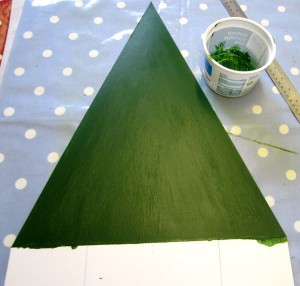
Cut out your tree shape using a sharp craft knife. Paint the top part of your tree green (leave the rectangle at the base unpainted). I used acrylic paint as it’s quick drying and waterproof when dry.

Step 3

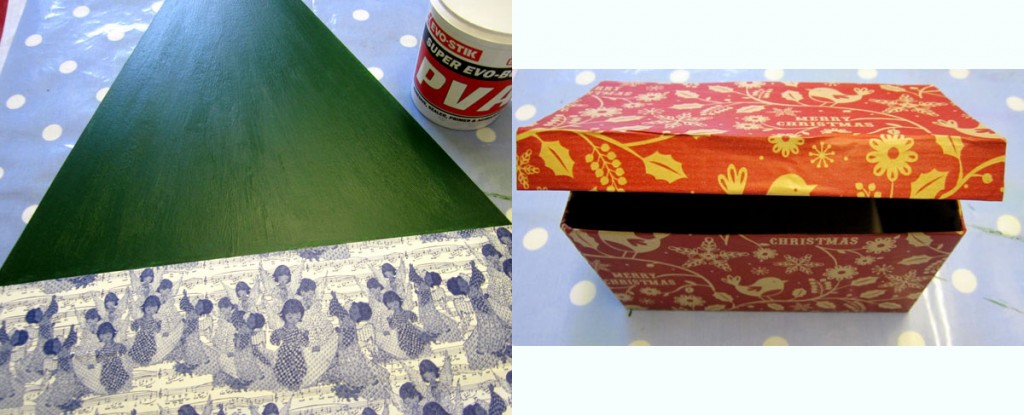
Glue a piece of Christmas wrapping paper onto the unpainted rectangle. Then cover the cardboard box with a different design of paper.

Step 4

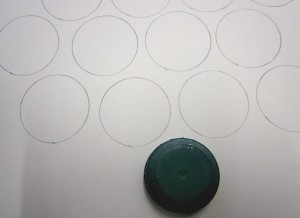
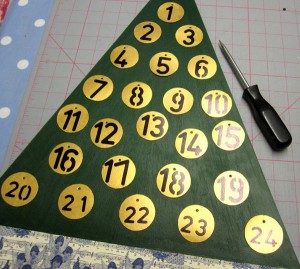
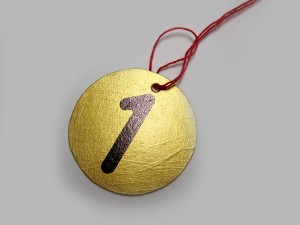
Take the thinner card and draw out 24 identical circles. Cut out and paint both sides (I chose to use gold acrylic paint), it may take several coats. Once dry draw the numbers 1 – 24 onto the circles using a black marker. Punch a hole into the top of each circle.

Step 5

Lay all the circles onto the tree and mark where you would like them to hang. Using something sharp, punch holes through the tree where you made your marks.

Step 6

Cut some pieces of thread and fold in half. Push the folded end through the hole in the circles, then thread the two loose ends through the loop to attach.

Step 7

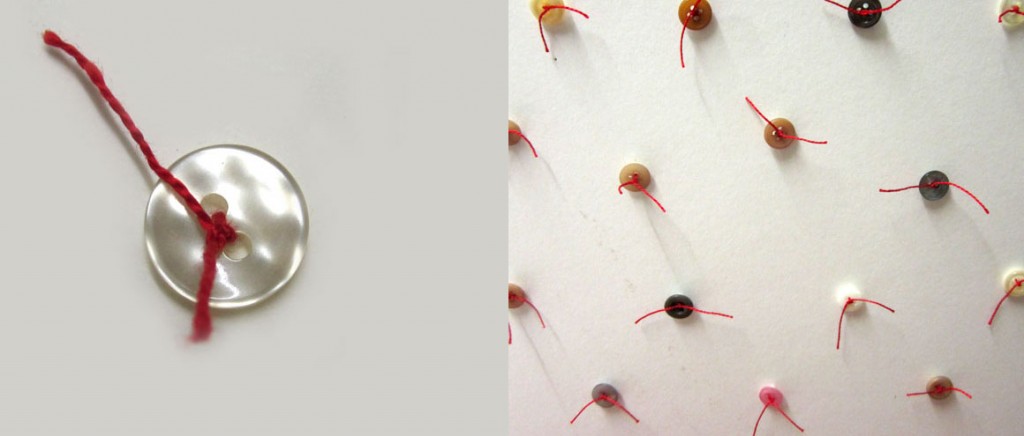
Push the two loose ends through the correct hole on the tree. Then take a small button and tie the thread at least two or three times through the button’s holes. The following picture shows what the back of the tree should look like.

Step 8

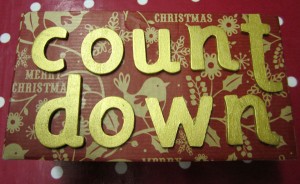
I had some spare wooden letters that I painted gold and stuck to the front of the cardboard box to read ‘Countdown’. You could of course just write this on the front.

Step 9

Glue the box onto the decorated rectangle at the base of the tree. Glue some small sequins (I used snowflake shaped ones and a cherub on the star) around the tree to decorate. Cut out a star shape and paint gold before attaching to the top of your tree. Fill the box with sweets and hey presto a wonderful Christmas countdown!