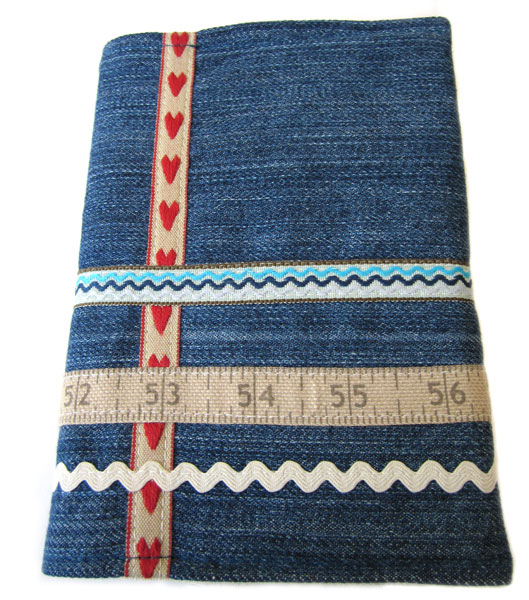
Notebook, Photo Album, Sketchpad Cover Tutorial

I orginally wrote this tutorial for the Boden Community, which has now changed into the Boden Blog. If you scour through their archives you can probably still find it, but I thought it would be great to share with all the readers over here, especially with the potential to make Christmas presents!

We’re going to make a covering for a book in this tutorial, I personally made a notebook cover. But this method works equally well to cover photo albums, Sketch-pads or any other kind of book.

What You’ll Need:

An old pair of jeans

Paper

Lining Fabric (I used an old pair of curtains)

Notebook or similar to cover

Measuring Tape

Thread

Sewing Needles

Pins

Ribbon, tape and/or buttons for embellishment

Step 1

To start you will need to create a paper pattern. With the book closed measure top to bottom and then add on 4cms (this is height of your rectangle). Next lay the book down flat and open. Measure from the inside of the book cover, taking your measuring tape over the back of the cover, across the spine and to the other edge and back inside. Take a couple of cms off the total length (this is the width of your rectangle). Now using these measurements, draw a rectangle onto paper and cut out.

Step 2

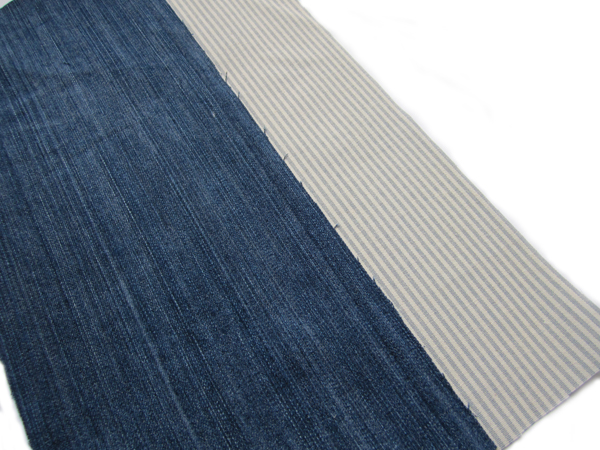
Get ready to cut into your jeans! Lay down and pin your paper pattern to the denim fabric and cut out. Then cut an identical rectangle from a piece of fabric to be used as lining.

Step 3

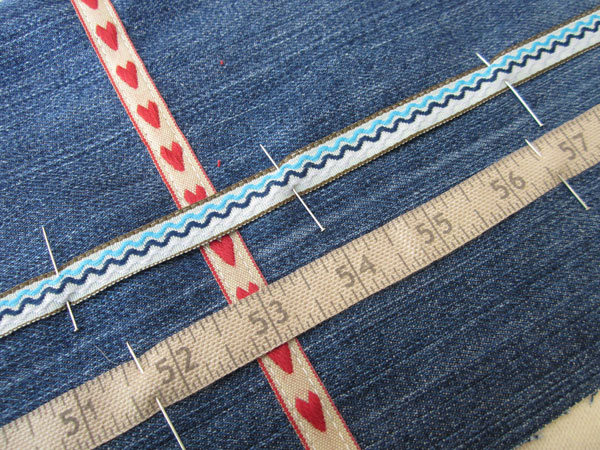
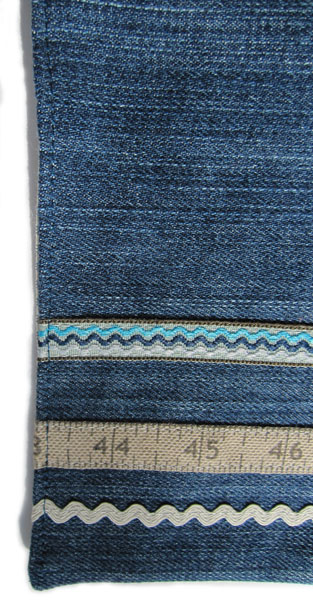
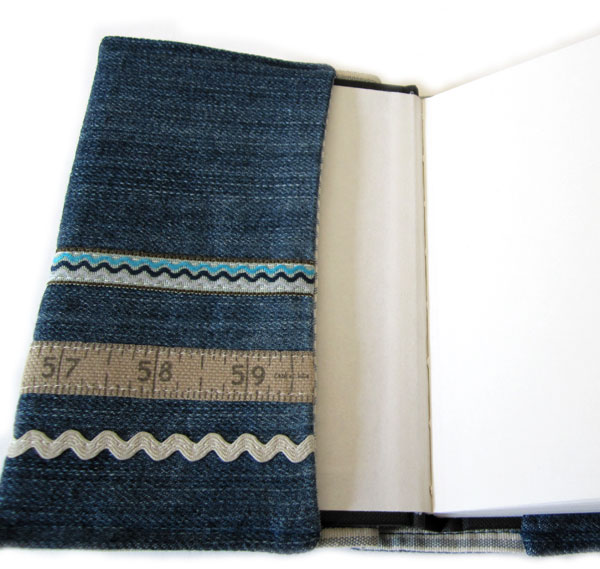
Now it’s time to add the decoration. You can be really creative here, so don’t hold yourself back. In my example I used some ribbon, tape and ric rac, buttons look fab too. Lay the embellishments onto the right side of your cut out piece of denim. I used three long pieces running the entire width of the cover and one shorter piece running top to bottom on the front. Pin down your ribbons etc. and sew into place securely.

Step 4

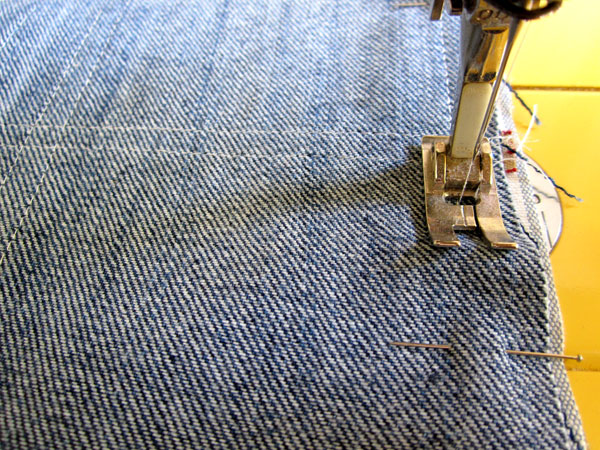
Lay down the lining fabric with the right side facing up. Place the denim fabric down right sides facing and pin together. Machine stitch around the edge, remembering to leave a gap approximately 10cms wide which you’ll use to turn the cover the right way out.

Step 5

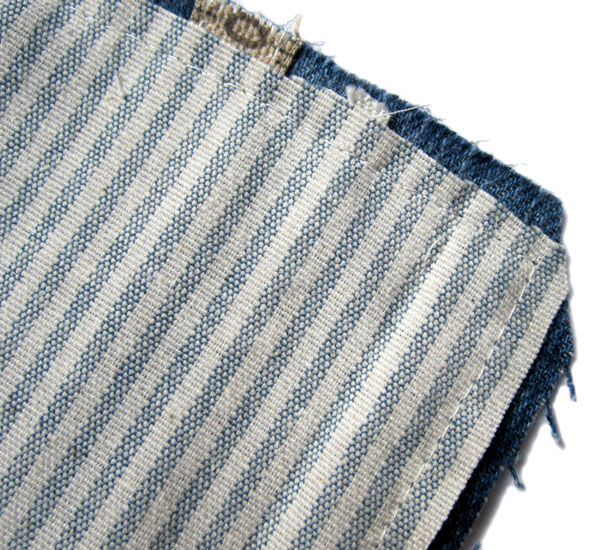
Before turning, cut the corners of the cover diagonally. This will ensure crisp corners once turned (remember not to cut into or too near your stitches).

Step 6

Turn the cover the right way out through the un-sewn gap. Carefully tease out the corners, a knitting needle is useful for this purpose. Fold in the edges around the un-sewn gap in the cover, iron the entire cover, then sew up the gap.

Step 7

You should now have a very pretty rectangle of fabric. Fold this in half and iron it to find the centre. Then lay the spine of your notebook onto the centre crease. There should be fabric extending past the notebook on both sides. Fold the fabric over the notebook’s cover to the inside and pin (this will create your inside flap). Make sure that your book closes comfortably and the cover is snug enough. Once happy, machine stitch your flaps close to the edge on either side.

Step 8

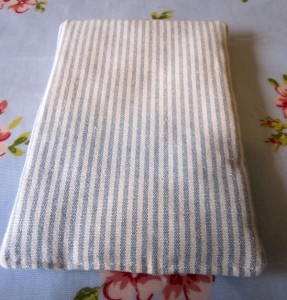
Your cover is now finished! Fold the cover of your notebook back (as in pic.) to slip the cover on. If you can bear to give it away, then this would make a fabulous present. But I’m convinced you’ll love it so much that you’ll never want to part from it.

Mollie Makes Mouse Bed Tutorial

I have always had a fascination with mice, the stuffed variety that is not the ones that live in the skirting boards and leave holes everywhere!

In issue 11 of Mollie Makes magazine there was a a pattern to make a trio of cute mice from scraps of fabric. I couldn’t have been more happy!

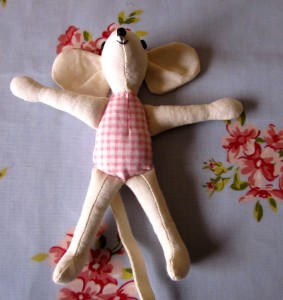
I barely had the magazine home two seconds before I eagerly started to make the larger mouse, complete with pretty summer dress and cardigan.

The pattern for the dress can be found in Mollie Makes Issue 11 and the instructions for the cardigan can be found on the blog

of the designer

I also I wanted a way to display my little mouse. She was obviously very refined, so it seemed only fitting that she had a beautiful bed to recline in. As she needed to lie down I did make a tiny alteration to the Mouse pattern, choosing to join her legs to the bottom of her body rather than her tummy as the original pattern stated.

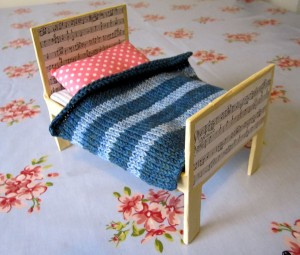
I made the bed from cardboard, masking tape, newspaper, PVA glue and paint. I also made a mattress, pillow and blanket.

The side pieces of the bed were cut from thick card. The card was from the back of a child’s sketchbook, but mount board would do just as well.

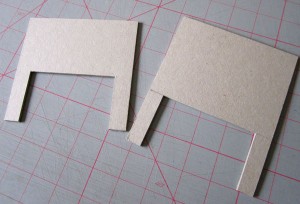
The two ends were cut with the headboard being larger than the bed end.

The headboard measures 12cms X 14cms.

A rectangle measuring 9cms X 5cms was cut from the end to make the shape of the two legs.

The bed end measures 12cms X 12cms and then a rectangle cut from the bottom the same size as the headboard end.

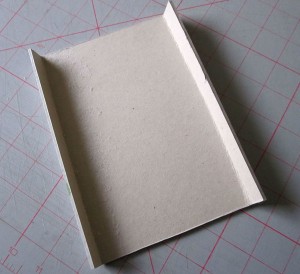
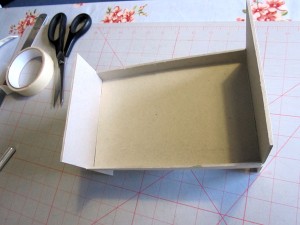
The base of the bed was cut from the same card. This piece measured 15cms X 18cms and a line was drawn along each long size 1 1/2cms from the edge. This line was scored with knife so the it could be folded up to make a base that a mattress could sit in.The pieces of the bed were taped together with masking tape. It’s a

good idea to use plenty of tape so that the bed feels firm.

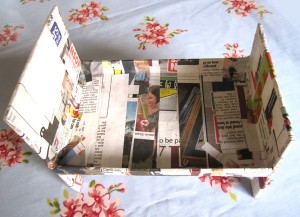
I now cut strips of newspaper and glued these onto the bed to give

extra strength. PVA glue works well for this stage.

I carried on pasting paper until the whole bed was covered. I then reinforced by sticking on a further layer before allowing the glue to completely dry, usually about 24 hours.

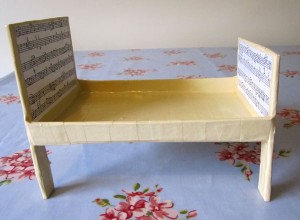
Once I was satisfied that the bed was dry and felt nice and firm, I painted it with a small tester pot of emulsion paint in a cream colour. I found I needed three coats of paint to completely cover the newspaper print.

To give some pattern to the bed ends I cut some paper from some old music to paste on the ends. The pieces for the headboard end were 11cms X 7cms. The size for the foot end were 11cm X 5.5cms.

Once these pieces were dry I varnished the bed with two coats of quick drying gloss varnish.

Now to make some bedding. Firstly I made a mattress to fit inside the edge pieces. I cut 2 rectangles of fabric from some striped fabric and one piece from some wadding. These rectangles measured 14cms X 20cms. The two pieces of striped fabric were placed right sides facing with the wadding place underneath. I used a 1cm seam allowance and stitched around the edges leaving a 5cm gap at one of the shorter ends. I trimmed some of the fabric off at the corners and turned the mattress the right way out. On the side with the gap the fabric was tucked under and that edge sewn across to complete.

I decided to use a small scrap of pretty pink fabric for the pillow. Two rectangles were cut measuring 13cms X 8cms. These were placed right sides facing and sewn around leaving a gap on one of the shorter sides to turn out the right way. Once complete I turned this was stuffed with a small amount of toy stuffing and the gap sewn shut.

Finally the blanket was knitted by casting on 40 stitches with DK wool using size 4mm needles. I used two different colours to give a striped design. The blanket was knitted in stocking stitch, alternate rows of knit and purl. The stripes were as follows; 8 rows dark blue, 4 rows pale blue, 6 rows dark blue, 4 rows pale blue, 6 rows dark blue, 4 rows pale blue and finally 8 rows dark blue.

The bed was now ready for the small mouse.

Julie Arkell Workshop

Last weekend Anne was lucky enough to attend a workshop run by Julie Arkell, one of the UK’s most celebrated folk artists. Here is a little insight to her day.

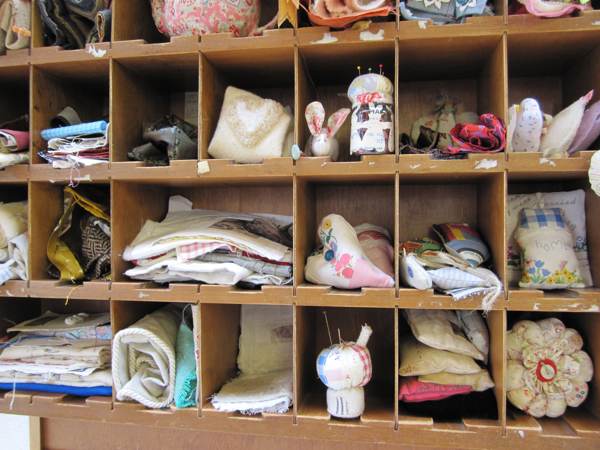
The workshop was held at Hope and Elvis, a studio owned by Louise Presley. Louise organises a wide variety of workshops taught by herself and various guest tutors.

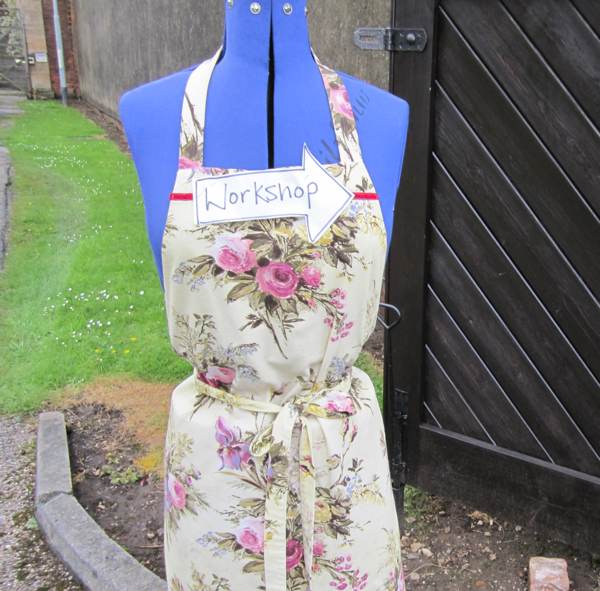
This wonderful apron notice lead the way into the workshop.

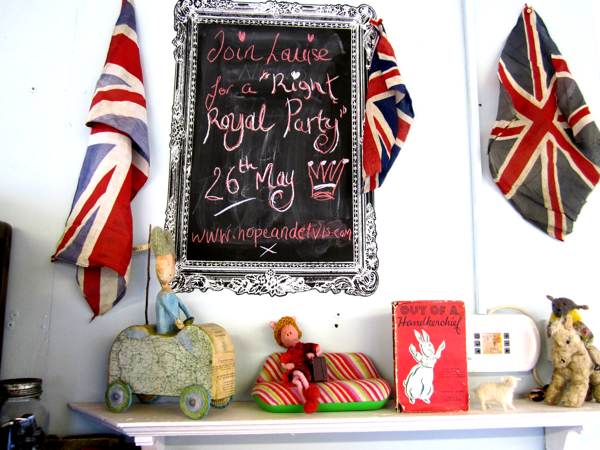
I love the inventive way that Louise advertises her other workshops!

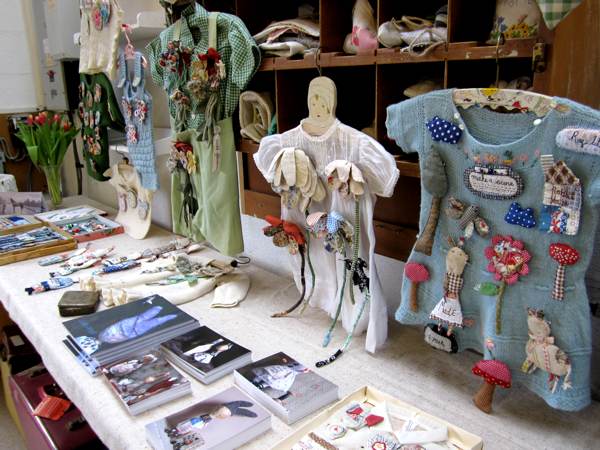
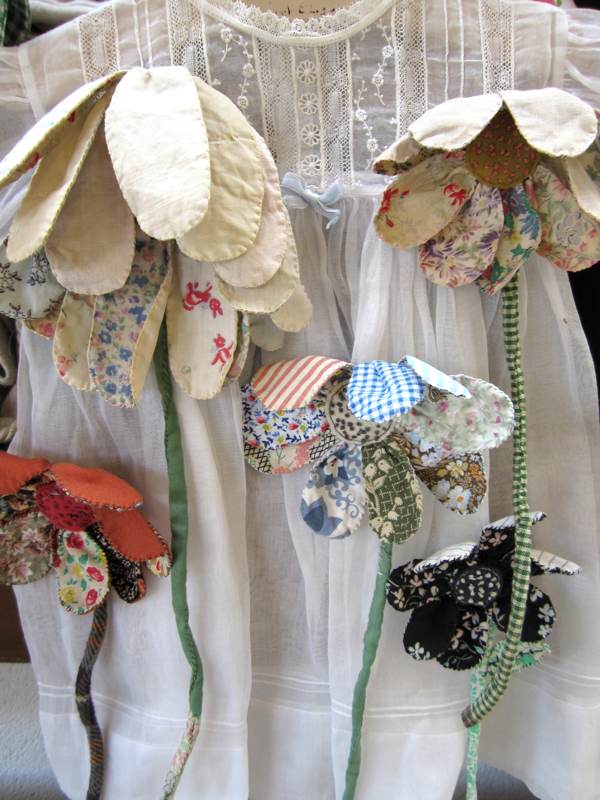
When Julie arrived she set up a small display of items that she had made. Some were available for purchase on the day or could be used as inspiration. I love the use of vintage clothing as a means of presentation.

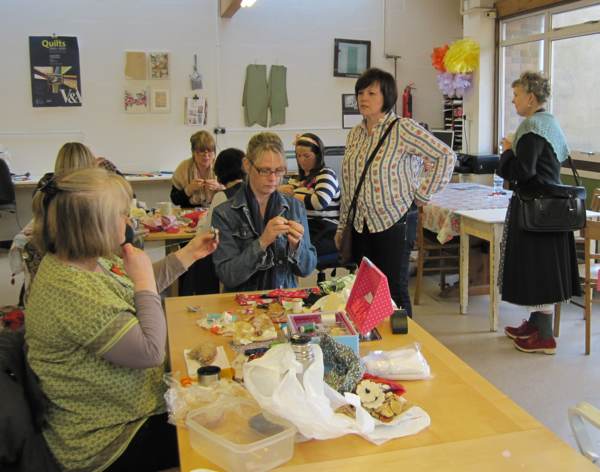
Duly inspired everyone got down to the act of being creative. I’m told that everyone was so engrossed in their work that many forgot to stop for lunch!

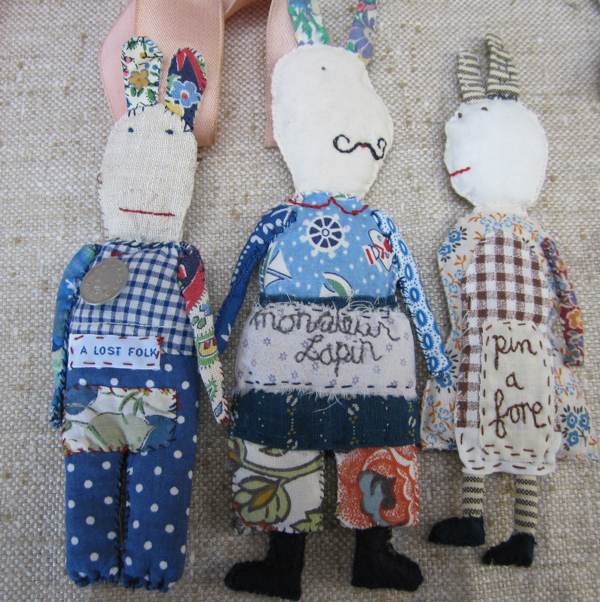
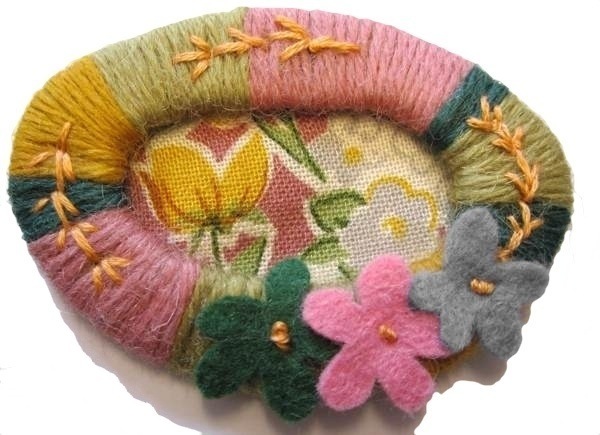
Some closeups of Julie’s wonderful brooches.

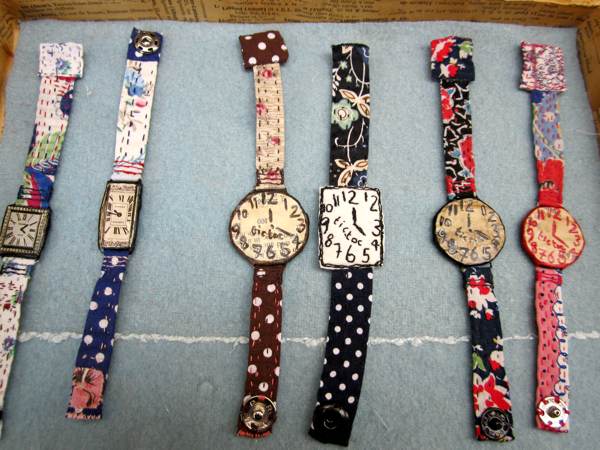
A few of her gorgeous fabric bracelets.

Finally here are Anne’s wonderful creations, she managed to complete three brooches during the day. The first is a take on a wartime brooch.

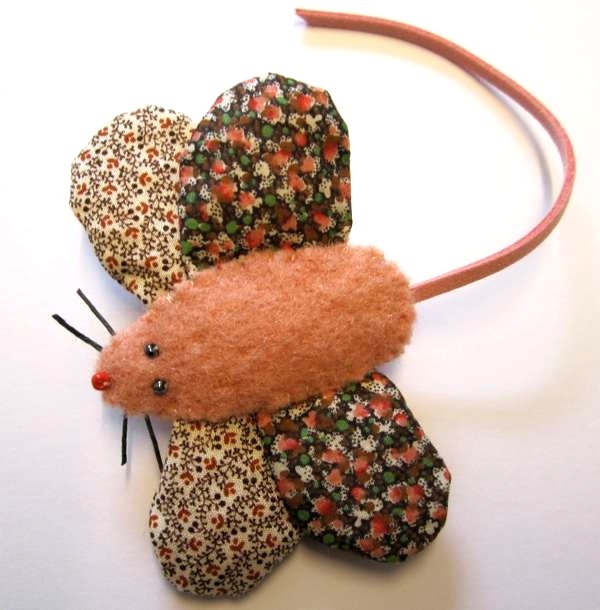
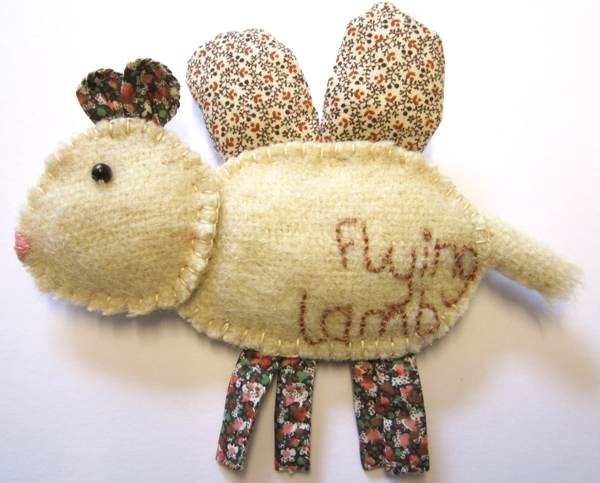
Then two wonderfully quirky flying creatures, a lamb and a mouse!