Just before Christmas I was contacted by the lovely folks over at Laughing Cow to tell me about their new product ‘Laughing Cow Extra Light’. They challenged me to create a recipe using Extra Light with any leftovers I had. One wonderful and slightly more unusual way to use leftover food is to make a cheesecake, that’s right a cheesecake! I looked in my cupboards and dug out leftover Chestnut Puree (I’m a bit obsessed with Chestnuts at Christmas) cooked bacon in the fridge and a myriad of random crackers. So today I’m sharing my Bacon and Chestnut Savoury Cheesecake Recipe!
Ingredients
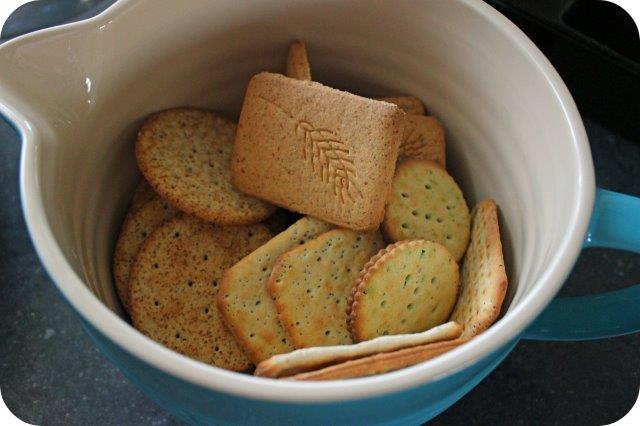
200g Crushed Crackers
500g Laughing Cow Extra Light
125g Melted Butter
3 Large Eggs
100g Cooked Bacon
1 Tsp Chopped Garlic
2 Tbsp Chestnut Puree
4 Tbsp Sage & Onion Stuffing Mix + extra for sprinkling
Shake of Parsley
Small Plum tomatoes
Basil
Salt & Pepper
Step 1
Preheat the oven to 170C/ Gas Mark 3. Grease and line a spring form tin.
Time to work out all your stresses with some dedicated cracker destruction. I used a mixture of crackers that were left in the box, cheese, herb, salted and so on. Pop in a bowl and whack them with the end of a rolling pin until crushed. Mix in the melted butter and then press into the base of the tin. Pop into the fridge to set.
Step 2
In a large bowl whisk together the Laughing Cow, Eggs and Chestnut Puree. If your using leftover bacon then add it now, if your bacon is not already cooked, then fry up with the chopped garlic, cool then add to the mixture. Add the Sage and Onion Stuffing mix, Parsley and Basil and season with salt and pepper. Grab the tin from the fridge, give one final whisk then pour the mixture over the base.
Step 3
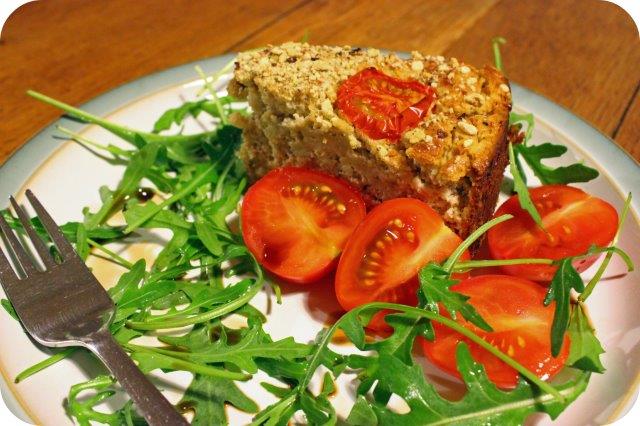
Sprinkle the extra stuffing mix over the top of the cheesecake, then slice the tomatoes and lay over the top for decoration. Bake in the oven for approximately 40 minutes. Allow to cool before removing from the tin (sliding a sharp knife around the edge of the tin before removing will help). Chill for several hours before serving. Serve with salad and extra tomatoes.
Tip. This cheesecake is hugely adaptable so just have a play with it. Change the meat to chicken, add extra cheese, whatever you have leftover or fancy using!
And for Dessert!
I discovered that Laughing Cow Extra Light makes superb (and somewhat less guilty) Cream Cheese Frosting! I spread it liberally on top of a carrot cake, which is the perfect way to use up all those carrots hiding in the veg drawer.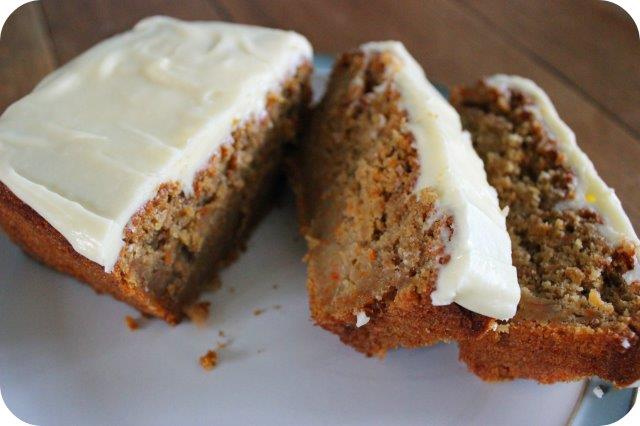
Cream cheese frosting is basically just butter cream with soft cheese added, start by mixing together the butter and icing sugar then add in the cream cheese, don’t over mix though or it will go runny!
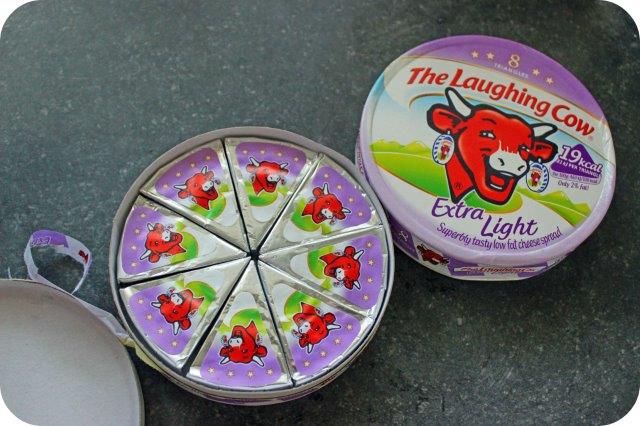
I forgot to mention earlier that I was very surprised by Laughing Cow Extra Light, I don’t think you’d ever guess it was lower in fat (in fact my Mum didn’t!) the taste and texture and both fantastic. I’m far more accustomed to ‘light’ cream cheeses being a bit weak and almost watery. So thumbs up even if you’re just eating it on toast (like me right now!). It has just 19 calories per triangle and only 2% fat which is wonderful.
For more Info
Visit the Laughing Cow website or facebook page for more fabulous recipes and information!


7 Comments (Leave a comment)