
It felt like time for a tutorial, so today I am going to teach you all how to make a hairclip. These are great for children and adults alike and make fantastic gifts.
What You’ll Need
Small piece of felt
Undecorated Hairclip
Needle
Thread
Buttons
1cm wide ribbon or cotton tape

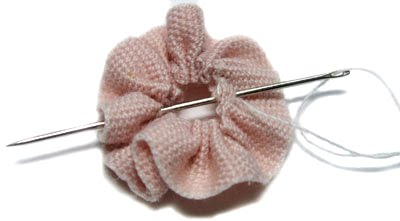 Step 1
 Cut a small length from your ribbon or cotton tape. Sew the ends together and then stitch a long running stitch along one edge, pull your thread to gather the ribbon into a rosette.
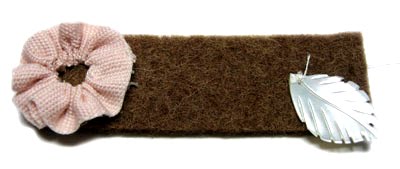
Step 2
Cut a rectangle from your felt fabric. This needs to be just slightly longer than your hairslide so the clip will be completely covered when finished. Sew your rosette to one end of the felt. Next sew a button or charm to the other end.
Step 3
Now we need to build up the design, use whatever you fancy, trimming cut offs, lace flowers etc to create the background design. Remember to overlap them slightly.
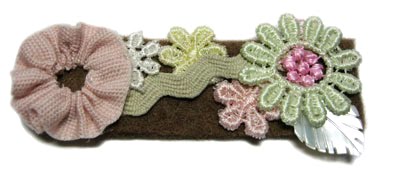
Step 4
I then used ribbon roses and buttons sewn on top of my fabric background.

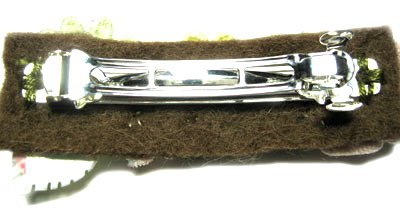 Step 5
To finish we have to sew our design onto the hairclip. Flip your design over and lay the hairclip on to the back. There is usually a hole either end that you can sew through. Try to do it from several angles to make sure the clip is secure.
Ta Da! You have a beutiful hairclip!

2 Comments (Leave a comment)