Make Your Own Sweet Candy Christmas Tree Decoration!

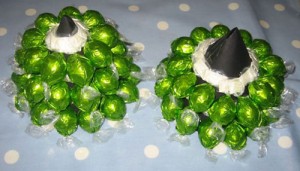
Modern interiors often demand simplicity and a lack of clutter, but at Christmas these mantras get forgotten and many of us decorate every surface in sight. One of my favourite decorations has to be my Sweet Candy Christmas Tree. Incredibly easy to make, it’s the perfect craft for children and makes a wonderful table centre or side table piece. Plus it has the added benefit of being edible once the festivities are over!

What You’ll Need

Cardboard to make the tree and star

Tape

Double sided tape or pads

Sweets

Gold Paint

Step 1

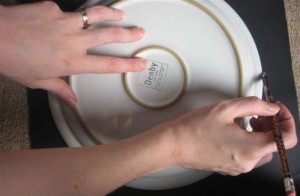
First you need to make the base of the Christmas Tree. This is done by drawing around something circular, I used a medium dinner plate. I wanted two layers to my tree so drew out two circles, but one larger circle would work if you only require one layer. Cut out the circle(s).
Step 2

Cut a slit in one side of the circle, this should reach from the edge into the centre. Grip both sides of the slit and form the circle into a cone shape. Secure the shape with tape.

Step 3

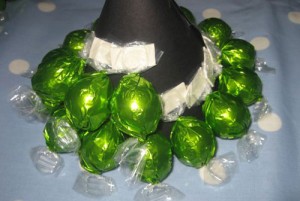
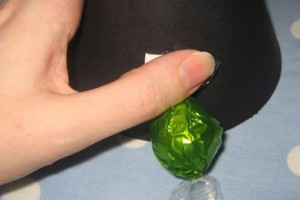
Cut out some double sided tape and attach to one edge of a sweet. Peel off the other side of the tape and stick to the bottom of your cone. Continue sticking sweets in a line at the base of the cone. When you reach the first sweet begin another line just above the first. Make sure you cover up any tape and leave as few gaps as possible.
Step 4

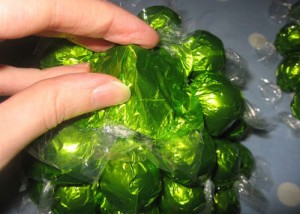
If you are creating two or more layers remember that the bottom layer will not need as many sweets as the top. Unwrap one sweet and use the wrapper to cover the point at the top of the tree.
Step 5

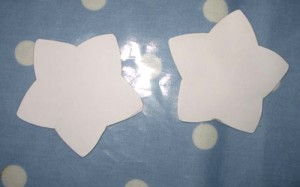
Next draw and cut out two simple stars from cardboard. Cut a slit from the top of one of the stars into the centre. Then cut a slit from the bottom of the other star into the centre. Slide the two stars together to make a 3D shape and paint gold. Once dry stick to the top of your tree. If you have more than one layer to your tree place them on top of each other now.

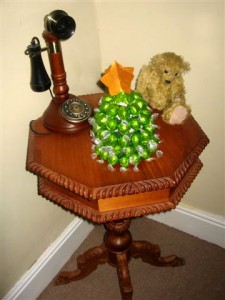
Ta Da! You have made a beautiful and edible Christmas Tree!

TIP. If you can’t find green sweets don’t worry, these trees look great in multi colours. Or you can decorate primarily in green with the occasional coloured sweet as a bauble!
Christmas Gift Tag Ideas!

I may be an adult, but I still think there’s something very exciting about rummaging under a Christmas Tree, reading tags and guessing what gifts you might receive. It’s probably a nod to my inner child, but if you can’t get excited at Christmas, then when can you. In these economically challenged times, we may find that our trees are a little smaller and the gifts have shrunk in number. I don’t think that has to mean gift giving becomes diminished though. A little bit more creativity and the way we present a gift can make all the difference to the recipient. So today I’ll sure you some of my favourite ways to make gorgeous homemade gift tags, so you may adorn your presents with pride!

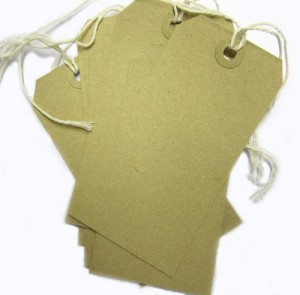
All of the tags are made from simple brown cardboard luggage tags, which are available from any good stationer.

Design No. 1

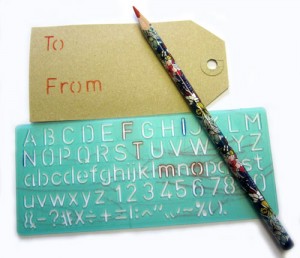
For the first set of tags I removed the string and cut a little extra from the corners to give a good shape. I then stenciled ‘To’ and ‘From’ onto the back.

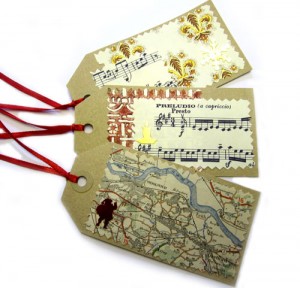
Then using some pinking shears I cut up an old map, old Christmas paper and pictures and glued them into place. You could also use pictures from old magazines, old cards, anything really.

Next I added a couple of Christmas shaped sequins, but glitter would have worked just as well. Add a little ribbon to the top and you’re done!

Design No. 2

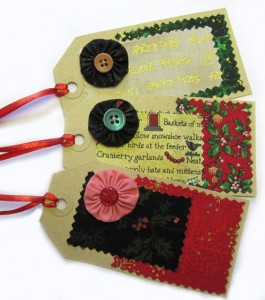
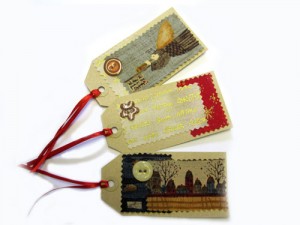
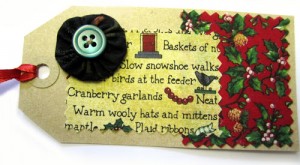
For the next set I cut out some scraps of old Christmas fabric, but any bright fabric works well. I glued these onto the tags and then sewed on some buttons.

Design No. 3

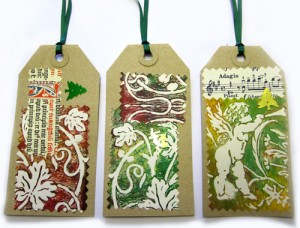
This one is fairly similar to the previous design. The only difference is the introduction of a hand-sewn Suffolk Puff. These can be made up very quickly and when a button is sewn on top they look fabulous! For instructions on how to make a Suffolk puff see our tutorial here.

Design No. 4

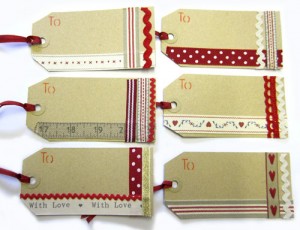
I have a huge stash of leftover ribbon, pieces that were saved from earlier projects, chocolate boxes and so on. For this design I raided my stash and glued small pieces of ribbon and lace onto the tag. I left enough space to stencil on ‘To’.

I think there’s no end to the possibilities when it comes to decorating gift tags, I just hope these few might inspire you a little bit 🙂

Win an Angel Eden Handmade Solid Silver Necklace!!

Like it or not Christmas is on the way and while most of us enjoy the festive season, there’s no denying that it can be a huge drain on finances. So today we are giving you the chance to win a fabulous Christmas gift either for yourself or a friend.There’s even a fabulous runner’s up prize!

We are giving away a handmade sterling silver Key Pendant from the Angel Eden Heritage Range (RRP £45). The key is joined by a removable Swarovski Pink Crystal Heart and hung upon an 18″ silver chain. This particular key is a one off and is not available on the website. It will all arrive beautifully presented in a black jewellery box and tied with Angel Eden ribbon, ready to place under the tree

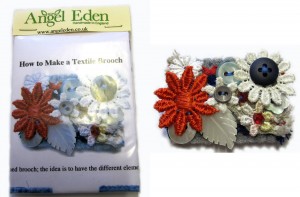
For the runner up we are giving away an Angel Eden Textile Brooch Kit (RRP £10). One of our most popular kits, it contains everything you need (bar a needle) to make one of Angel Eden’s signature textile brooches.

For more fabulous gift ideas for Christmas and beyond please visit the Angel Eden store.

How to Enter

Step 1. is mandatory and entries will not be valid unless this is followed, extra entries without step 1. being fulfilled will unfortunately not count.

Step 1. Follow this blog publicly (using either Google Friend Connect, Bloglovin or Feedburner on the right) and leave a comment mentioning you are following the blog (current followers need only comment). Remember to leave me a way to contact you if you win.

Extra entries – for each extra entry leave a comment to let me know:

1. Tweet about the comp for an extra entry

2. Follow us on Twitter

3. Like our page on Facebook (links on the right)

The competition will end at midnight 2nd December 2011.