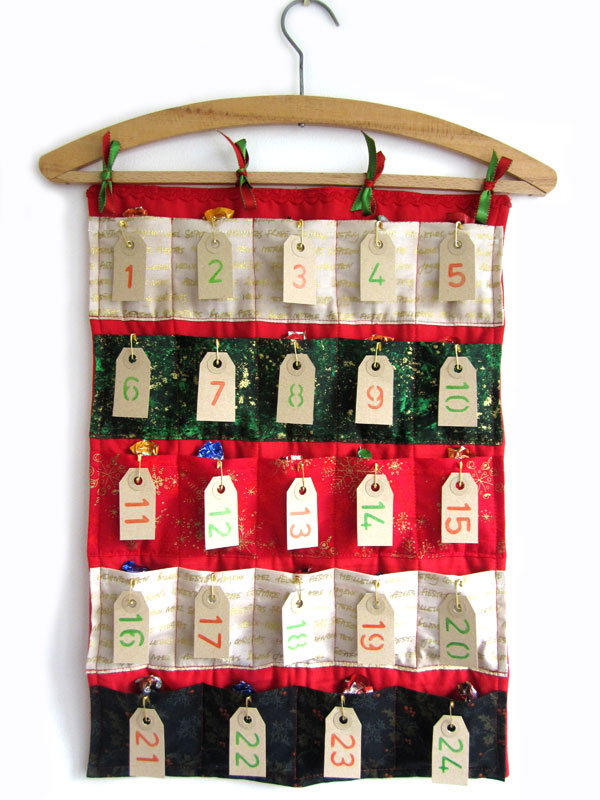
Advent Calendar Sewing Tutorial

With the festive season fast approaching I decided to share my tutorial to sew your very own advent calendar! I originally wrote this for the Boden Community which has now become the Boden Blog. You might just be able to find it if you scour through the archives, but it seemed far simpler to share it direct with my readers over here.

You Will Need

A hanger (I chose a lovely old wooden one)

2 pieces of fabric to make the background (mine measured 34cm X 48cm but this may vary depending on the size of your hanger)

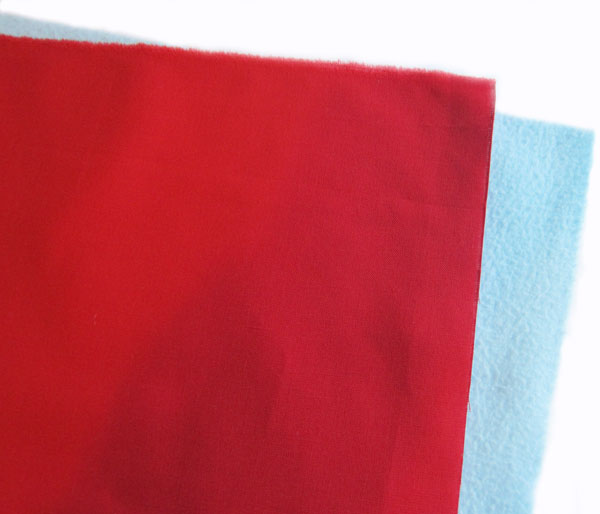
1 piece of fleece fabric 34cm X 48cm

4 pieces of ribbon approximately 28cm in length

35cm piece of ric rac or ribbon

5 pieces of fabric measuring 12cm X 36cm each

24 mini luggage labels

24 mini gold safety pins

24 Sweets of your choosing.

Step 1

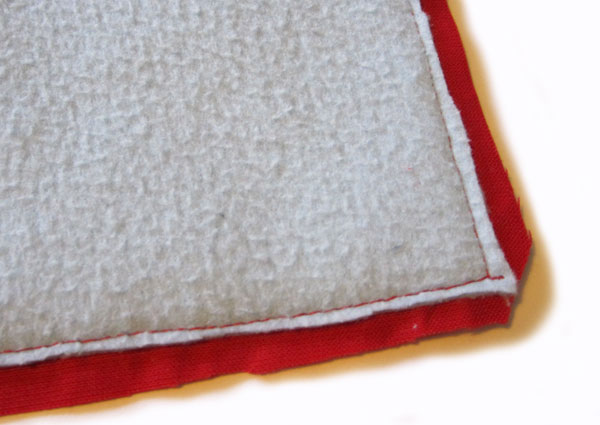
Begin by pinning the two background pieces of fabric together (right sides facing). Then place on top of the fleece fabric (I used an old blanket to cut the fleece from). Sew down one long side, across the bottom and back up the other side, leaving the top free. Iron the pieces together and then trim the fleece back close to your stitches, also trim the corners to aid turning.

Step 2

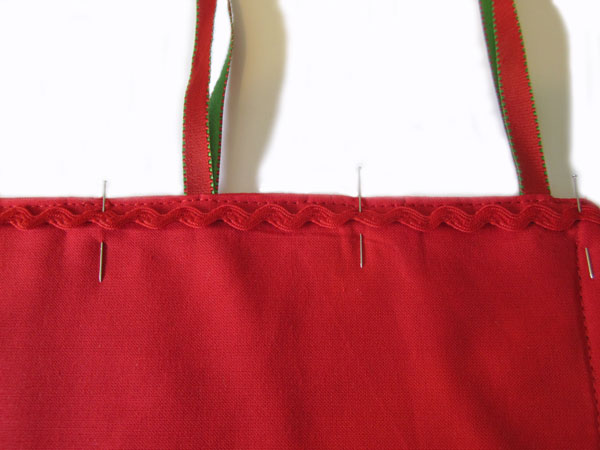
Turn the fabric the right way out and iron flat again, tuck in approximately 1cm of fabric at the open edge and iron ready for sewing. I chose to hang the calendar using pretty ribbon. Fold the 4 pieces of ribbon in half and tuck into the top open edge of your calendar. Sew across the open edge of the calendar, making sure to catch the ribbon as you go. For a little extra decoration I laid a piece of matching ric rac across my stitches at the top and sewed into place (ribbon would also work). You’ve now completed the background piece.

Step 3

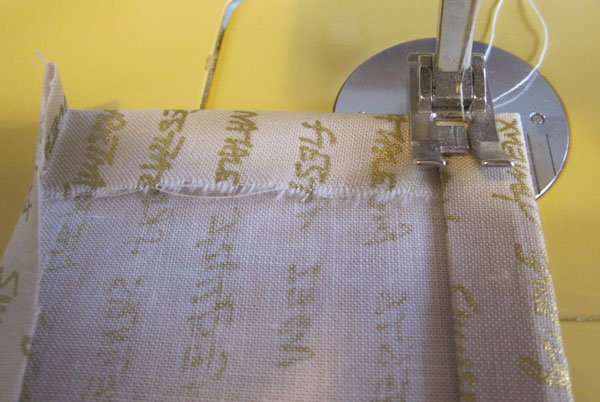
Time to make the pockets! On each piece of fabric turn over 1cm of fabric along one of the longer sides. Iron and then turn another cm over and iron again, this is the top edge of each set of pockets. Now turn each remaining edge over 1cm and iron. Machine stitch just the top edges of the pockets, leaving the other edges free.

Step 4

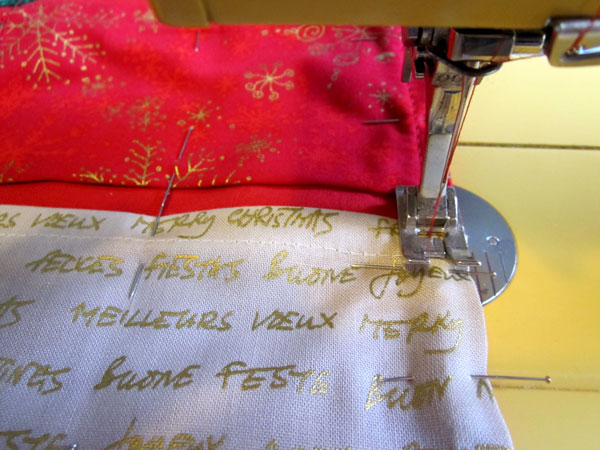
Position each set of pockets evenly across the background fabric and pin. Machine stitch across the bottom of each pocket and then around the entire edge of the calendar. You will now have 5 large pockets. In my example the first 4 rows have 5 pockets and the final row has 4 larger pockets. To create this you need to machine across each large pocket several times to make smaller pockets. On the first four rows I did this at approximately 6 ½cm intervals. On the final row I sewed at approximately 8cm intervals.

Step 5

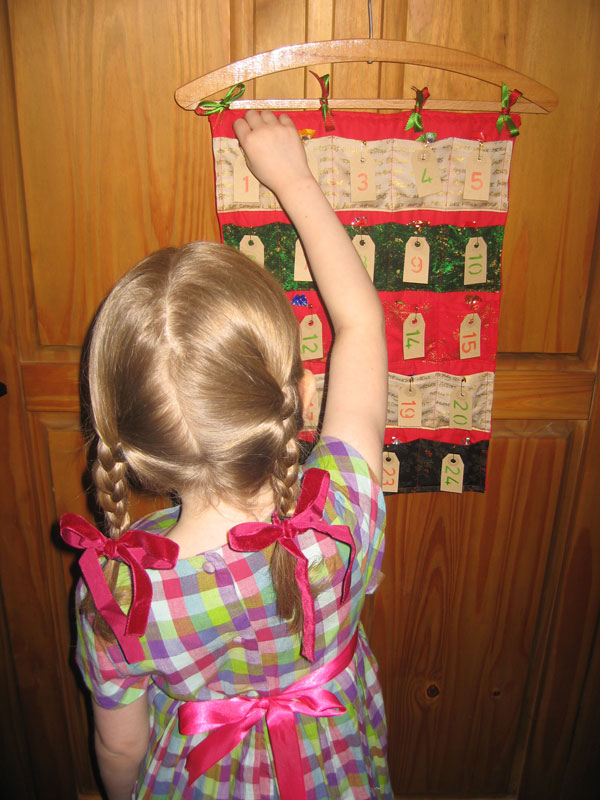
To make the calendar numbers I bought some small luggage labels from a Stationary shop. I cut them down just slightly to make them smaller. Using a red and green crayon I then stencilled a number onto each label. These are then pinned to each pocket on the calendar using mini gold safety pins (again picked up from a Stationary shop).

Step 6

Decide who the calendar is for and fill each pocket with an appropriate sweet or gift. It could even serve two or three lucky recipients, just pop a couple of extra sweets in each pocket. Now you have an attractive and reusable advent calendar that should serve you for many years to come.
Julie Arkell Workshop

Last weekend Anne was lucky enough to attend a workshop run by Julie Arkell, one of the UK’s most celebrated folk artists. Here is a little insight to her day.

The workshop was held at Hope and Elvis, a studio owned by Louise Presley. Louise organises a wide variety of workshops taught by herself and various guest tutors.

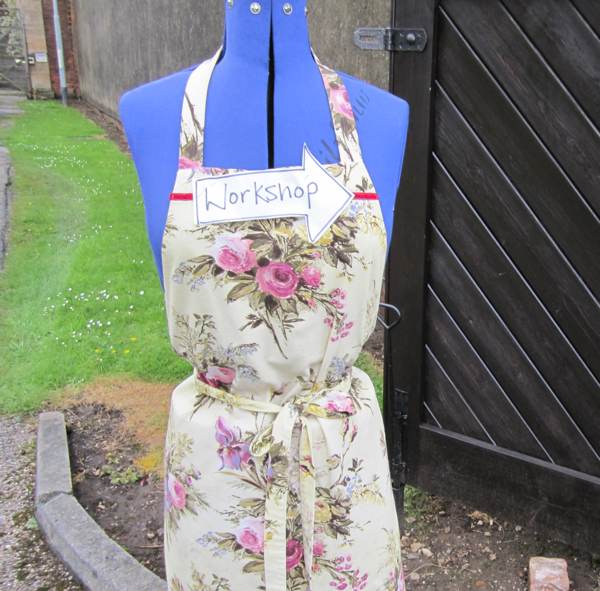
This wonderful apron notice lead the way into the workshop.

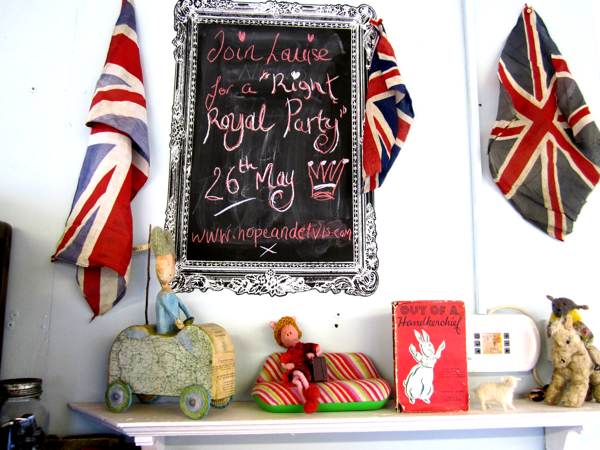
I love the inventive way that Louise advertises her other workshops!

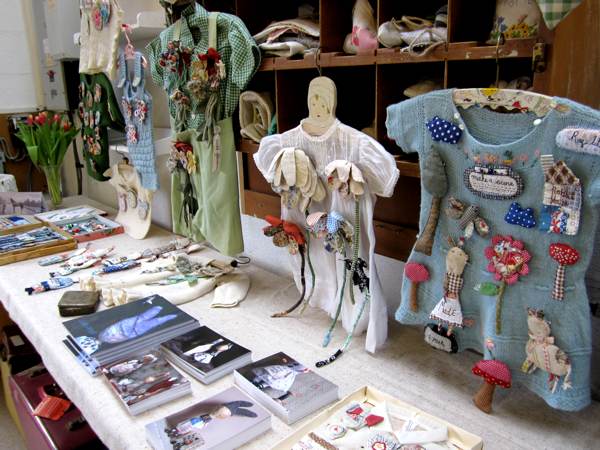
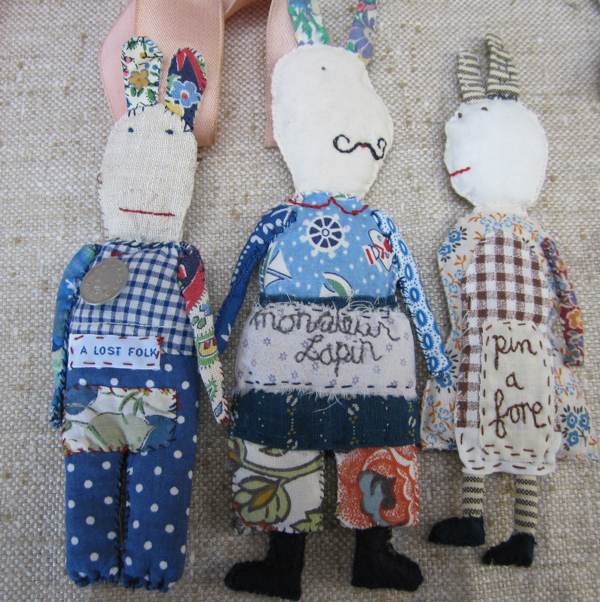
When Julie arrived she set up a small display of items that she had made. Some were available for purchase on the day or could be used as inspiration. I love the use of vintage clothing as a means of presentation.

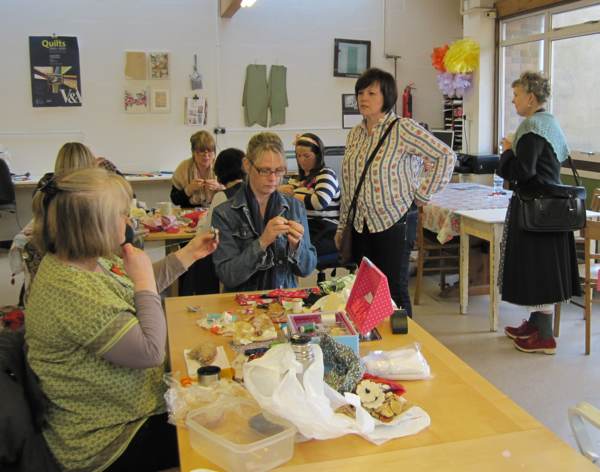
Duly inspired everyone got down to the act of being creative. I’m told that everyone was so engrossed in their work that many forgot to stop for lunch!

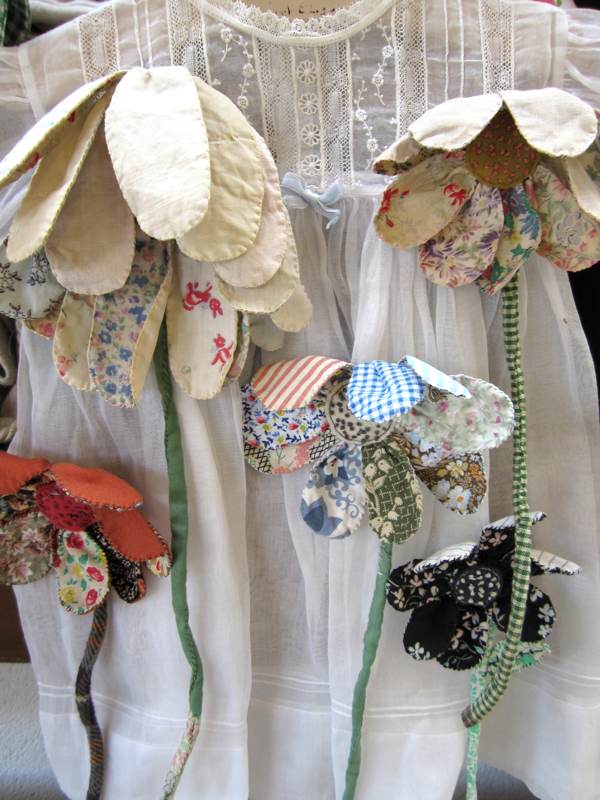
Some closeups of Julie’s wonderful brooches.

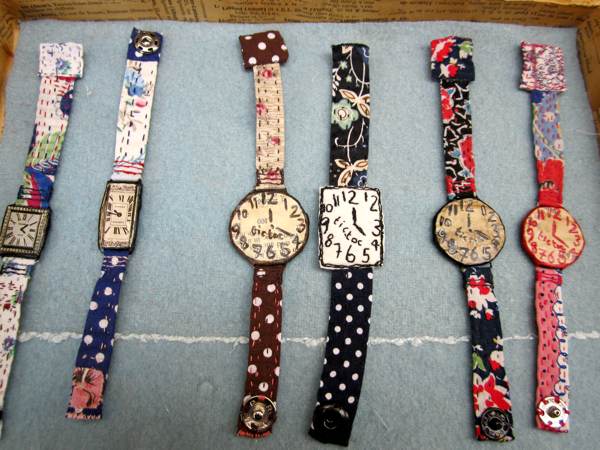
A few of her gorgeous fabric bracelets.

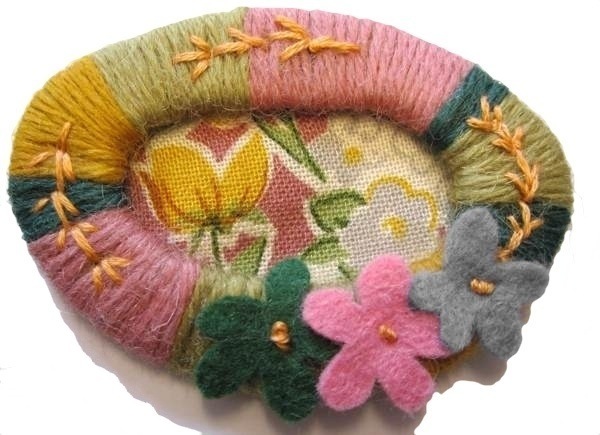
Finally here are Anne’s wonderful creations, she managed to complete three brooches during the day. The first is a take on a wartime brooch.

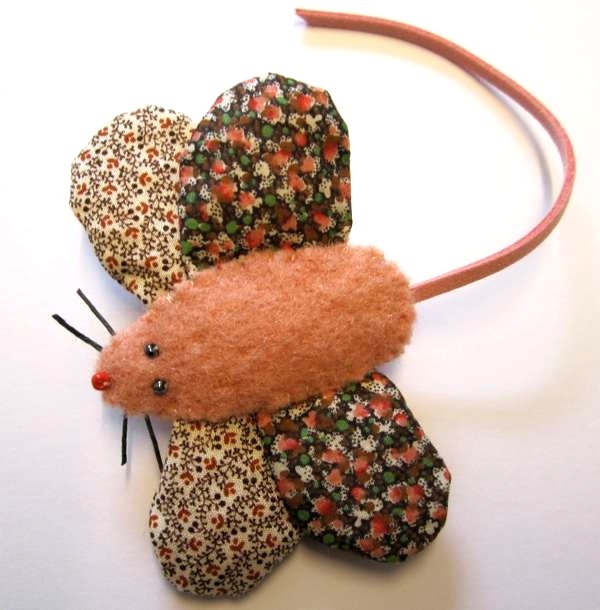
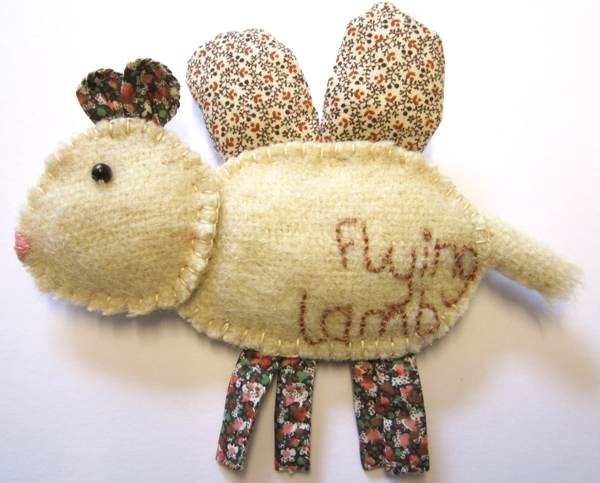
Then two wonderfully quirky flying creatures, a lamb and a mouse!


Fat Quarter Clutch Bag Tutorial

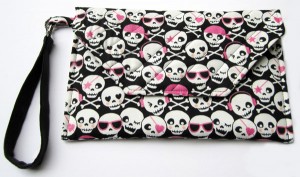
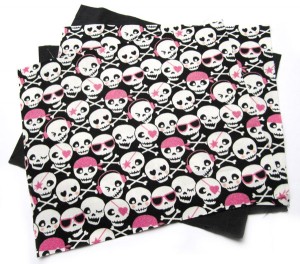
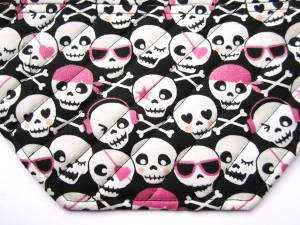
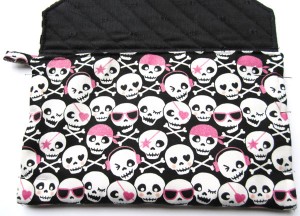
A little while ago I fell in love with a gorgeous Japanese print fabric. But when I enquired at the store they only had fat quarters left and none on the roll. Unable to resist the print, I bought it anyway. Aside from quilting there is one project that fat quarters are perfect for and that’s making Clutch Bags! I loved my new bag so much I decided to share this tutorial with you all. Incidentally it took far less than a fat quarter to complete (as I lined in a plain black fabric) so I now have a make up bag as well (two bags out of one piece of fabric is not bad going 🙂 ).

What You’ll Need

Fat Quarter of gorgeous fabric

Lining fabric (unless you are also lining with your fat quarter)

Wadding

Thread

Velcro or Poppers

Metal Handbag Clip

Step 1

Lay out your fat quarter and cut 2 pieces sized 29cm x 18 cm, one for the back and one for the front. Then cut a piece 29cm x 13cm for the front flap. You could have a completely square flap, but if you’d like to add a bit more shape cut off two corners on one of the longer sides. Tip. It’s easiest if you fold the flap piece in half and cut the two corners off in one go. With the remaining fabric cut a small piece 13cm x 4cm to make the loop needed to attach the wrist strap.

Step 2

We’ll start with the easiest piece, the small loop for the wrist strap. Fold the small rectangle in half (right sides of fabric on the outside). Iron and then fold the sides into the middle again. Iron and edge stitch along the folded edges. Fold in half ready to be sewn into the bag later on.

Step 3

Sew the front and back bag pieces together on the wrong side of the fabric and along the longest lengths to make a long rectangle. Then attach the flap piece to one of the rectangles, making sure the two cut off corners are at one end.

Iron the seams open and  use this piece as a pattern for cutting out the lining fabric and wadding.

Step 4

Lay the three pieces on top of each other. The lining and main fabric are right sides together and then the wadding is placed on top. Now pick up the loop you made earlier and tuck it inside the three pieces of fabric so that only the ends are protruding. This needs to be placed at the top edge of the middle piece of the outside fabric.

Step 5

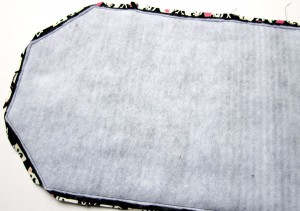
Pin and sew all the way around the edge, making sure to leave a 3cm gap on the shorter straight edge, this enables the bag to be turned the right way out. Trim the edge of the wadding back to the stitching. Trim all the corners to make turning easier, but make sure you don’t cut through your stitching.

Step 6

Turn the bag the right way out and ease the corners out using the end of a spoon or knitting needle. Iron the entire piece and then edge stitch or hand stitch the open gap closed.

Step 7

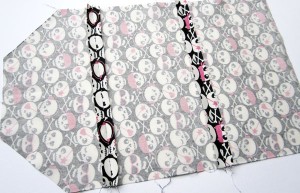
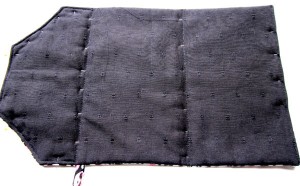
To make nice crisp folds sew through all the layers along the two seams on the outside piece of fabric. To make the flap sit more comfortably when the bag is finished, sew diagonally several times across the flap piece.

Step 8

Now fold the bottom straight edge of your bag up to meet the line of stitching at the base of the flap. Pin the edges and edge stitch to create the body of the bag. To strengthen sew backwards and forwards a few times at the top and bottom of your seams.

Step 9

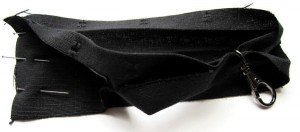
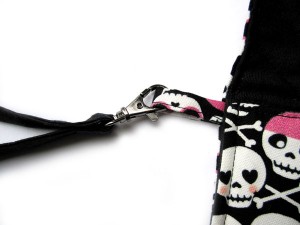
Sew on either two large poppers or pieces of velcro to the bag and flap to keep them closed when in use.To make the wrist strap cut a piece of the lining fabric 26cm x 6cm. Fold in half lengthways and then fold the two sides into the middle and iron. Don’t sew at this point, thread through the end of the metal hangbag clip and then sew a seam across the short edge. Then sew along the long edge to close, moving the clasp around as you go. You could of course either omit the wrist strap or sew it on permanently, but I like having the option of either.All you need to do now is take your lovely new bag out for a test drive 🙂