 I love relaxing into a warm bath in the morning, those few moments of quiet solitude can set you up for a wonderful day. But my bathroom is not quite the sanctuary it should be.
My bath tub has quite a few chips, it’s old and has held up very well but it’s time has most definitely come. My sink suffers from a similar affliction and just looks generally tired. The toilet on the other hand, well that is quite the comical fellow with a handle that only works if it’s attached upside down!
The truth of it is that my bathroom is old, tired and in need of a little lot of love! When it is finally made over I promise I’ll show you all it’s awful faults, so you can marvel at it’s transformation 🙂
For now though I’ll have to console myself by dreaming of my future haven of tranquility. I’d love a large deep possibly clawed bath under the window. The sink and toilet would also follow traditional lines with glinting taps and Edwardian style elegance. Think this bathroom suite from Bathshop 321, it’s called the Hamilton (even the name sounds elegant!). I suppose if we’re dreaming then my bathroom would never need cleaning and would always smell of fresh linen. Maybe I need an Edwardian maid to match my scheme, probably a butler as well because… well because having a butler would just be amazing! I may or may not be humming the theme tune to Downton Abbey as I type ;P
Of course the very best way to illustrate my vision would be through the medium of cake! It may not be as good as the real thing but at least it’s a bit of tasty consolation! So here I am languishing in my gorgeous new bath, filled to the brim 🙂 The foot shaped bathmat is essential!
If you’d like to make your own Bathtub cake below are intstructions for how I made mine 🙂
Step 1
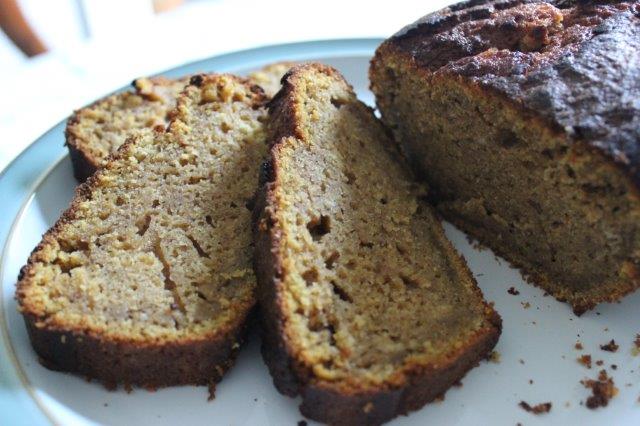
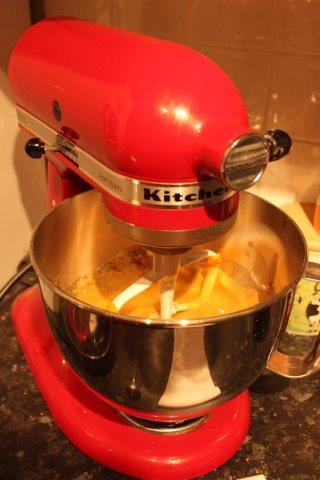
Bake your favourite cake in a loaf tin. I made a madeira cake as I find them easier to carve.
When cooled use a knife to round the corners of your cake until it looks bath shaped.
Step 2
Spread a thin layer of buttercream over your bath.
Step 3
Roll out some ready made white fondant and cover the cake. Next I sprayed the cake lightly with a silver cake decorating spray, this gives an enamel finish to your bath.
 Step 4
Cover a cake board with fondant, I made mine slate grey. Then using something long and thin (such as a ruler) lightly press lines into the fondant to create tiles. When finished pop your bathtub onto the board.
 Step 5
Now the fun begins, using fondant make a rubber duck (one larger ball pinched at one end for the tail, plus one smaller ball for the head) paint his eyes on with a tiny bit of food colouring.
Then make a bathmat, mine is foot shaped yours could be square or circular etc. I used a cocktail stick to make tiny dots all the way around to simulate sewing marks. Then paint ‘Bath’ on your mat using colouring.
 The tap is created out of sausage shapes, one large sausage for the centre bent over slightly. Two smaller sausages on either side, with teeny tiny crosses for the top. I dusted then with edible gold shimmer.
The person is actually just a head and two arms. The arms and made by rolling sausage shapes, one end is flattened slightly then use scissors to snip the fingers. Place into the bathtub on either side.
The head is made by rolling a ball shape, add a smaller ball for the nose and shape using your fingers or tools. Make little indentations for the eyes and mouth (these are painted on using food colouring). There is an ear either side made by rolling a ball shape. Place this onto the bath end.
 The hair is made by rolling out fondant very thin, then use a sharp knife to create strands, attach these from the base of the head layering up to the crown.
 Step 6
Now to fill the bath, I used buttercream but royal icing would also look good. Mix a little blue colouring into your icing, I didn’t mix it fully to leave a slightly mottled colour. Using a small knife spread this over the top of your bath. Once finish add your rubber duck.
Voila one bath cake 🙂


2 Comments (Leave a comment)