
SLR Camera Bag
I am a member of the Collective Bias® Social Fabric® Community. This shop has been compensated as part of a social shopper insights study for Collective Bias and their client.
For a long time I have salivated over the cameras of others, looking down on my humble compact and feeling somewhat inferior. I dearly love photography, even possessing a photography qualification but since the introduction of digital cameras, an SLR has alluded me. So when I write that I am now the proud owner of a beautiful Canon DSLR you will understand my paranoid need to protect it. However my own personal sense of style demands that I don’t just buy any old camera bag, I wanted something that suits me and my lifestyle.

Pinterest Camera Bags
I began to research into camera bags and cases, but I found none that I liked 🙁 With a family trip looming I turned to Pinterest for inspiration and created my own camera bag based around some of the bags that I viewed. Some of these were available to buy from stores and some had been handmade.

Pinterest Backpacks
I also wanted to make my kids some simple backpacks to hold a few bits and bobs to keep them occupied during our trip, again I found a great deal of inspiration on Pinterest. I shopped for the majority of my supplies at Wilkinsons and you can see my shopping trip by clicking here.

Kids Backpacks
I’m rather proud of my finished bags 🙂 The camera bag could perhaps benefit from some extra pockets or internal dividers but for my own personal needs it works brilliantly. The kids bags are comfortable and practical and they love them. If you would like to make your own version of either of my bags the instructions are below 🙂
SLR Camera Bag
Simple Camera Bag Tutorial
Supplies:
2 pieces of liner fabric 36cm (w) X 30cm(h) with 9cm squares cut out of bottom of width
2 pieces of outer fabric 36cm(w) X 30cm(h) with 9cm squares cut out of bottom of width
2 pieces of pvc fabric 36cm(w) X 30cm(h) with 9cm squares cut out of bottom of width
1 piece of foam 18cm X 16.5cm
2 pieces of foam 18cm X 18cm
2 pieces of foam 15cm X 18cm
2 pieces of 10cm square of outer fabric
2 D-rings
1 piece fabric 36cm X 19cm for flap
1 piece pvc fabric 36cm X 19cm for flap
1 piece Lining Fabric 36cm X 19cm for flap
1 piece of fusible Interfacing 36cm X 19cm for flap
2 buckles or clasps
Straping/webbing for bag strap
Velcro

Step 1
1. Begin by pinning the pvc fabric to the outside fabric pieces on the wrong side of the outer fabric. Zigzag around each piece to attach the pvc to the outer fabric.
2. Pin the two outer fabric pieces right side together. Sew across the bottom and down the sides, but do not sew any part of the square shape, we are creating a T seam. I used a 3/8” seam allowance. Repeat step with lining fabric. You should now have two open box shapes.
3. Squash the (cut out) square shape flat, lining up seams and then sew across to create a T seam, do this on the outer and liner fabric pieces.

Step 3
4. Take the foam piece 18cm X 16.5cm and stitch by hand to the bottom of the liner fabric on the wrong side (against raw seams). Do not attach the side pieces of foam, we’ll slot them in later.
5. Take one of the 10cm squares of outer fabric, zigzag around the entire square. Iron over approximately 1cm on each side of the square, then iron in half length ways.
6. Sew along the edge to close, then pass through the D-ring and sew to the side seams of the outer fabric box to make loops for the bag strap.
7. Take the flap outer fabric & PVC fabric and attach them together by zig zagging around the edge. Iron the fusible interfacing onto the lining flap piece.
8. Pin the outer fabric flap piece to the flap lining piece right sides together and sew around three edges, turn the flap out the right way. Press and then edge stitch around three edges of the flap, still leaving the back edge free.
9. Sew half of the buckles to the bottom edge of the flap. Sew the other side of the buckles to the right side of the outer fabric (you may need to pin your flap in place temporarily to find the correct position).

Step 9
10. Turn the outer fabric inside out, sew the flap to the outer fabric (right sides together).
11. Place the liner fabric box inside the outer fabric box (right sides together, so bag looks inside out), line up the seams and sew across the sides and flap seam, leave the other seam free. Turn the bag the right way out through the open seam. Wiggle the foam side pieces into position and then push the liner back in on top of them. Hand stitch the open seam closed.

Step 11
12. Next to create the completed box shape we need to secure the flap and stop the sides gaping by sewing Velcro to the sides of the box bag at the top and to the corresponding side edges of the flap.

Step 12
13. Finally pass the straping through the d-rings and stitch to attach. To be really secure I like to sew a square shape with an X shape inside.
That’s it done!

Child's Backpack
Childrens Backpack Bag Tutorial
I loved the design of the bags I had seen on Pinterest, however as I wanted the bags to be worn on a day out I wanted them to be really strong, so I decided to line them internally to add extra strength. Here are the instructions for my version of a drawstring backpack.
Supplies:
2 pieces of outer fabric 38cm X 33cm
2 pieces of lining fabric 38cm X 33cm
2 pieces of outer fabric 8cm X 4cm (to make loops for the cord to pass through)
Cord or String
1. Make the loops first by folding the small pieces of outer fabric lengthways and iron. Open out and fold each side to the middle and then fold in half again so you end up with something that is 8cm by 1 cm. Sew along the open edge and iron.
2. For the bag sew the lining to the outside fabric along one of the shorter edges having placed the two pieces of fabric right sides together. I used a small seam allowance which was the width of my machine foot.
3. I then neatened these seams with a zig zag stitch and then folded both pieces to one side, ironed and then machined very close to the edge to keep it flat and to make sure it would not get in the way once the cord was added.
4. Having joined the outsides and linings I placed the two pieces of the bag one on top of the other to sew the side seams. Firstly you must position the loops near the bottom of the outside fabric. I placed mine about 3cm from the edge that will become the bottom of the bag.
5. The joined part of the loop will be facing the centre with the two open ends hanging about 1cm outside the edge of the fabric. Pin or tack these in place and they will be secured when you machine the edges together.
6. The outside pieces will be one on top of each other right sides together and the same with the lining pieces.
7. To sew round the bag start with one of the lining sides and sew together about 1cm in and sew up the side until you are 1.5cm from the fabric join. stop sewing and start again 1.5cm along the side of the right side fabric. You have then a gap in the machining of 3cm.
8. Now continue sewing down the side of the outside fabric over the loop (to strengthen this I went backwards and forwards a few times), across the bottom edge and up the next side again leaving the gap of 3cm. Do not sew across the bottom of the lining.
9. Iron all the seams open and then neaten with a zig zag stitch. Where the gaps were sew these pieces back with a straight sewing stitch to stop these pieces getting in the way once the cord is put through.. Also iron a 1cm turn up on the piece of lining fabric which will make it easier to sew once turned the right way out. Now turn the bag the right way out. Machine the lining closed about 3mm from the edge and then push down inside the bag. To make the tunnel for the cord sew around the bag 1.5cm from the edge where you will have made the gap at the sides and again to strengthen machine back and forwards a few times at the opening in the sides.
10. Now thread some suitable cord though the bag. If using one long piece this should be about 182cm long. You can also make these bags using two pieces of cord, which is easier to close but perhaps less suitable for a child as they could potentially pull the bag closed accidentally (over their head etc).

Child's Backpack
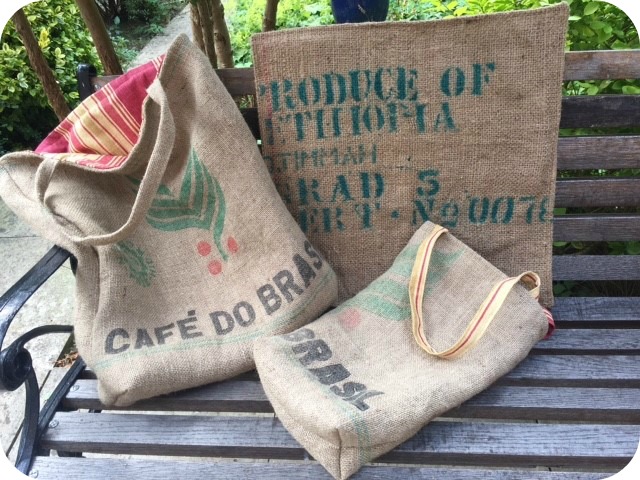 It’s been quite a while since I last posted a tutorial and with the summer holidays in full swing that (hopefully) means extra time on your hands for getting crafty. In this tutorial I’ll show you how to reuse coffee sacks and make a coffee sack bag!
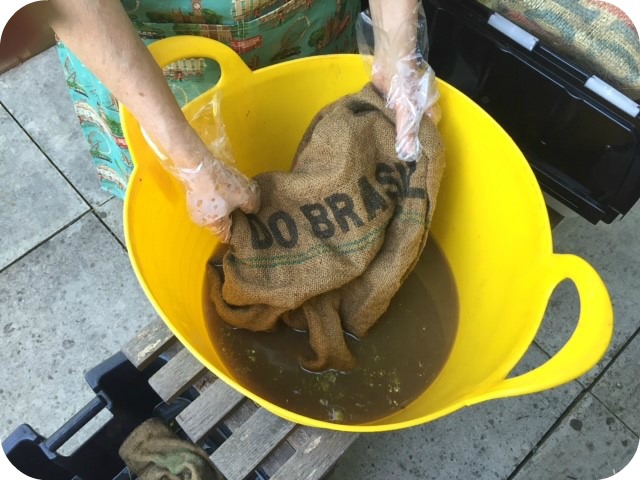 Step 1
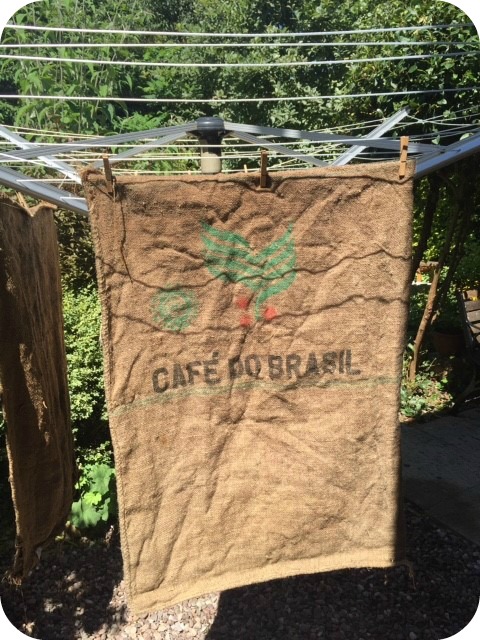 Step 2
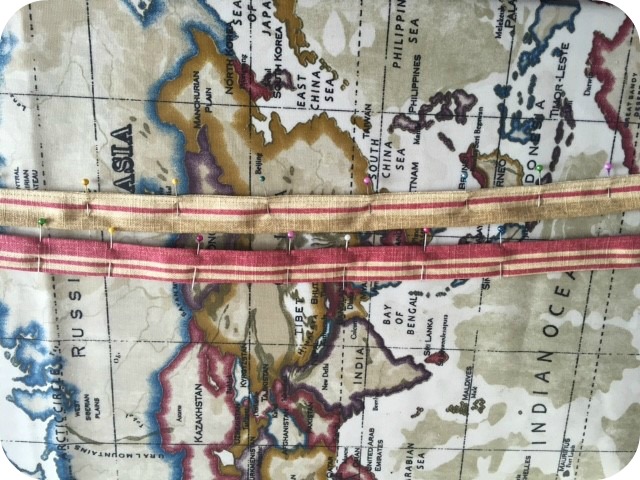 Step 4
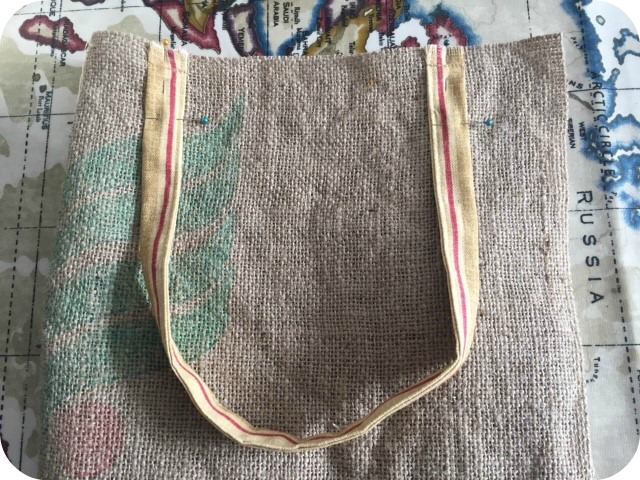 Step 5
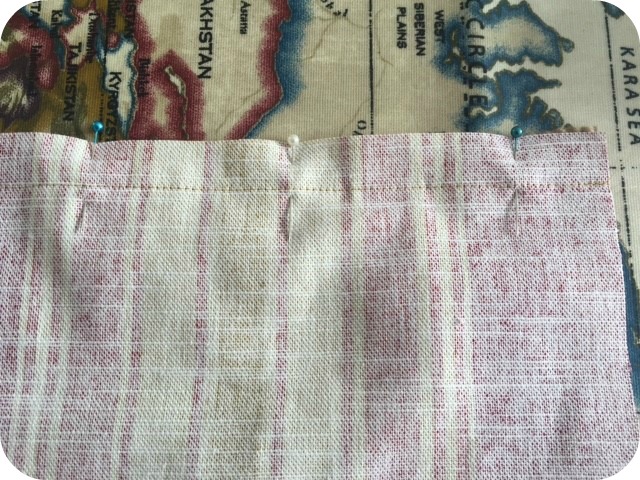 Step 6
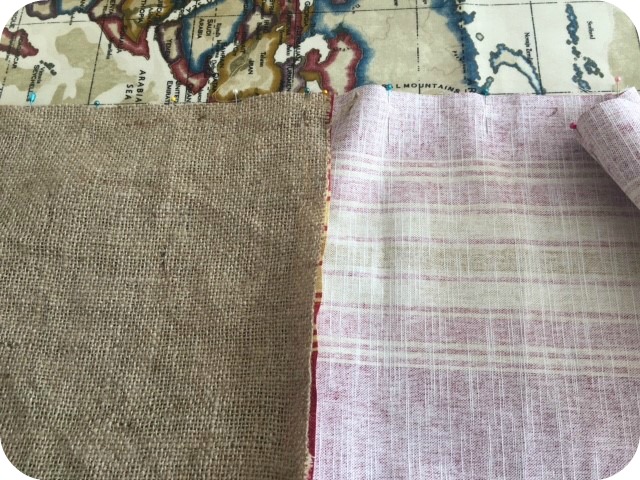 Step 7
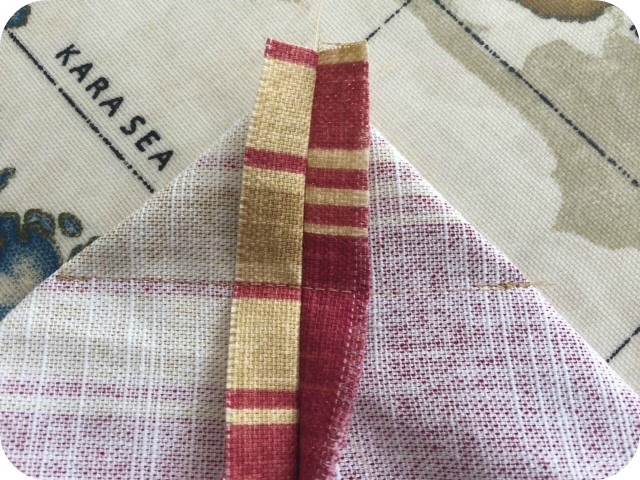 Step 8
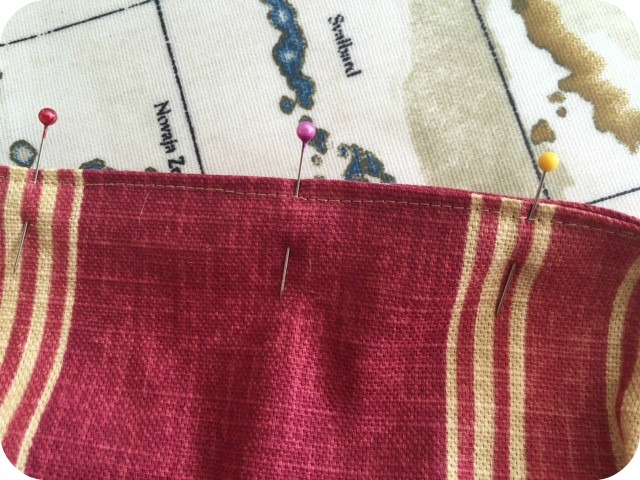 Now turn the entire piece the right way out through the gap left in the lining. Sew closed the gap in the lining and push inside the bag.


Comments Off on How to Reuse Coffee Sacks and make a coffee sack bag