 Last weekend the family and I whizzed off for a mini break full of Medieval fantasy and Knightly charm. Sit back and enjoy our Knight’s Village at Warwick Castle review complete with a mini video tour of a Knight’s lodge!
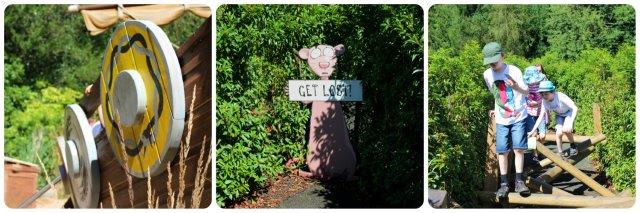
Staying on a weekend in the middle of the Summer holidays at a hugely popular tourist destination might seem a bit mad but that’s the beauty of Warwick Castle, no matter how busy it is (and it was!) there’s always plenty to see with outdoor displays such as falconry or jousting and most of the indoor areas require no queueing. There’s also the brand new outdoor Horrible Histories maze which is definitely worth a visit. To see some of our favourite attractions take a look at some of my previous posts.
Checking In
The Knight’s Village has its own dedicated parking area within the large main car park which is brilliant if you’ve just had a long drive. Check in is technically from 3pm but every overnight stay comes with two days entry to the castle so it’s worth getting there early and checking your bags in at reception so you can enjoy a full day of fun. The Knights village also has its own priority entrance into the castle which means no queues!

After a long hot day we were all very tired as we bumbled back to the village. We were met at the gate where staff asked for our name and immediately gave us our lodge’s keycard (no waiting at reception as we’d arrived early).
The Knight’s Lodges
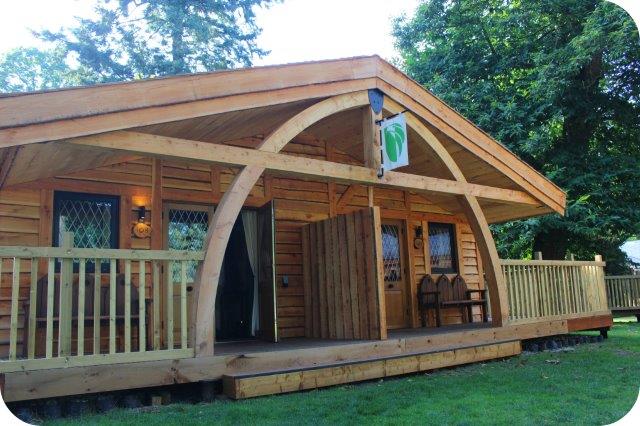
The lodges are all semi-detached buildings hosting up to 5 guests in two bedrooms plus an en-suite wet room. Note. There are larger lodges available for bigger parties.
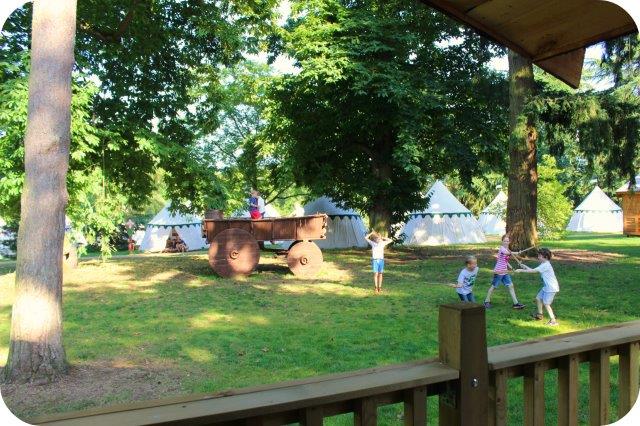
Every lodge boasts an outdoor deck with medieval style bench. Ours faced straight towards an open area with huge trees and a large wooden wagon, it was perfect for keeping an eye on the kids as they played.
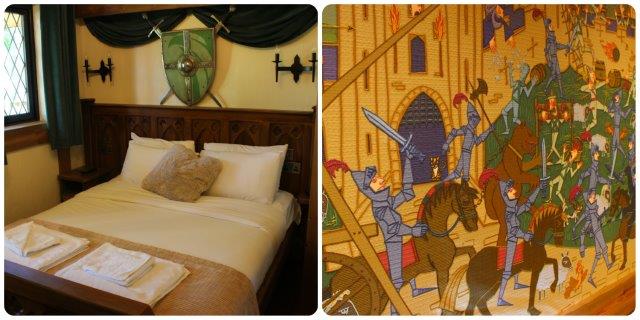
Each lodge has a theme of either Archer or Falconer, ours was a Falconers and was decorated with Falconry equipment hanging on the wall.
The interior decoration is wonderful and really enhances the experience of staying by the castle, it also seems to excite children exponentially! The beds are also really really comfy.
On a personal note I was impressed with the Elemis toiletries in the bathroom and having the wet room to wash off my grimy mini knights definitely helped!
Take a look at just how great the lodges our in this mini video tour.
The Entertainment
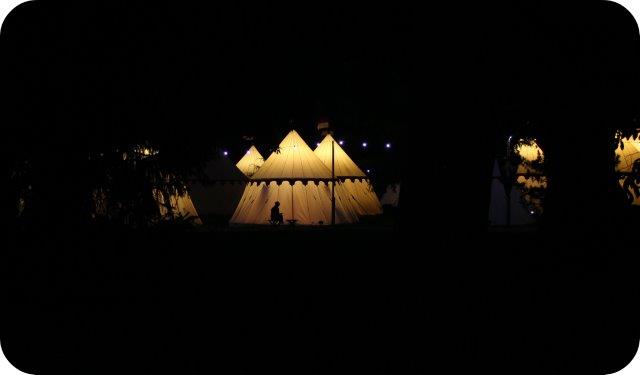
To be honest the kids hardly needed any extra entertainment. The Knight’s Village was pretty full and it seemed that every child was out of their lodges/tents and making friends. Our three immediately knew the names of every child staying nearby and at every available opportunity they were all outside playing. It was a huge gathering of miniature knights and princesses and they all had a fantastic time and didn’t want to leave their new friends.
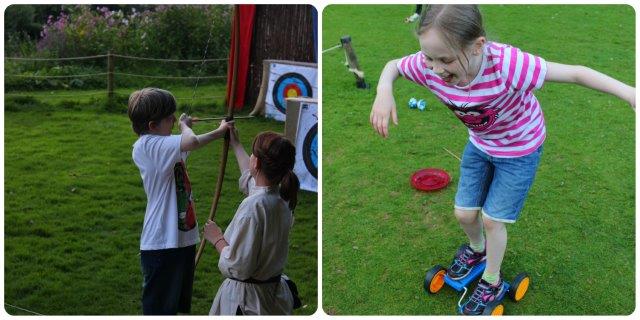
As for the organised entertainment there’s have a go archery (with long bows) which is amazing!
Knight’s Training Camp which all the children loved!
There’s even a school for Jesters!
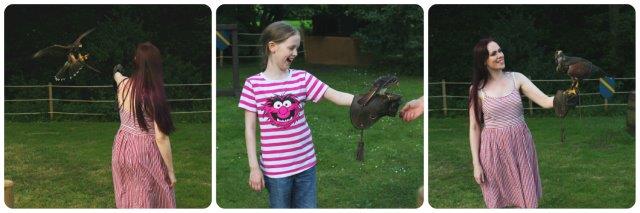
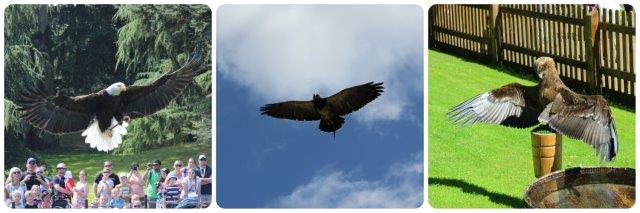
We also paid a little extra (the rest of the activities are free) to get up close and personal with a bird of prey experience where we got to fly some of the castles falcons. This has to be my favourite activity as I’ve always wanted to try it.
Food

We didn’t eat in the Knight’s Village, instead opting to walk into Warwick for Fish and Chips but the staff were supremely helpful even providing a map and recommendations.
In the morning breakfast was an all you can eat buffet with continental and cooked options, fruit, cereals and even freshly cooked pancakes. I love breakfasts like this because they suit everyone no matter how picky.
Could our stay have been improved in anyway?
I could only think of teeny tiny mini niggles but here goes.
The Lodge only had two mugs inside – considering that it will almost exclusively be families staying it seems a bit bizarre to only provide two of the guests with drinking facilities. Kids get thirsty quickly and access to a glass of water would have been helpful. Thankfully we’d taken bottles with us. However I’m sure you could request extra cups from reception as we requested soya milk and extra teabags and were immediately accommodated. I just think they ought to be there as standard really.
If you find you can’t get the TV to work (we couldn’t at first) it’s probably because of the fabulous gold frame around the outside, a quick change of position solves this though.
Would I recommend staying in the Knight’s Village?
Most definitely, it was more than just a stay, it was a real experience and one which we will all remember. The kids are asking to go back and I think visiting during a busy time when there are lots of other little ones to play with is actually an unexpected bonus. From a parents point of view it’s great to be able to sit on your deck watching the kids with a cup of tea and let them have that little bit of independence while keeping a close eye.
We have always loved the castle anyway and there’s more than enough to fill two days, so staying overnight really enhances your visit. It actually allowed us to take a leisurely pace and really enjoy all the exhibits rather than rushing about trying not to miss anything.
Details
For more information pop over to Warwick Castle’s website
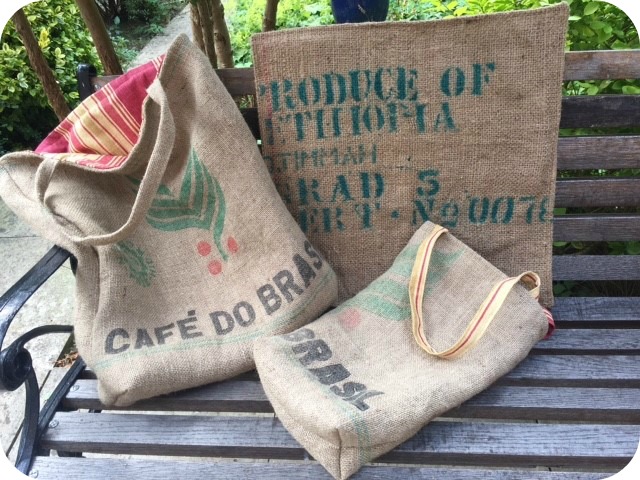 It’s been quite a while since I last posted a tutorial and with the summer holidays in full swing that (hopefully) means extra time on your hands for getting crafty. In this tutorial I’ll show you how to reuse coffee sacks and make a coffee sack bag!
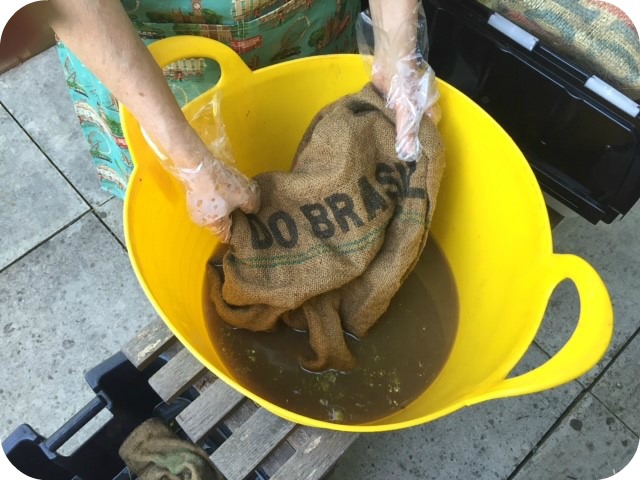 Step 1
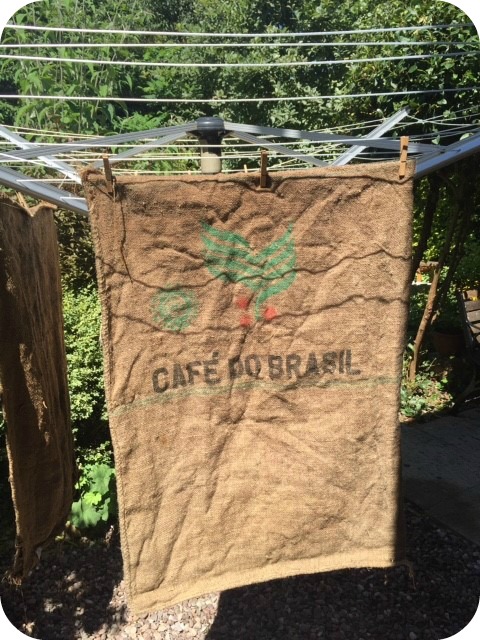 Step 2
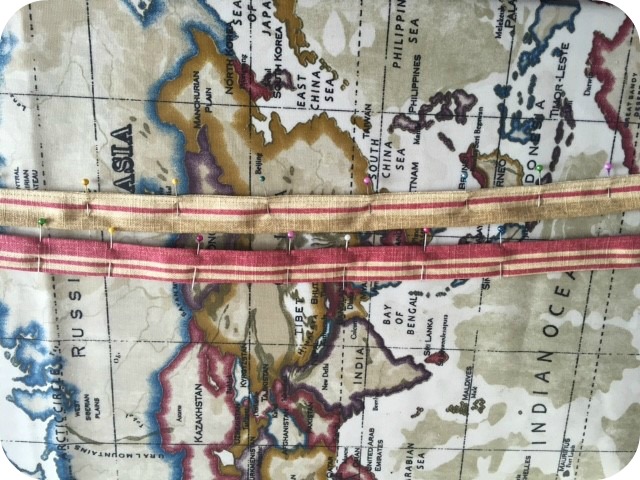 Step 4
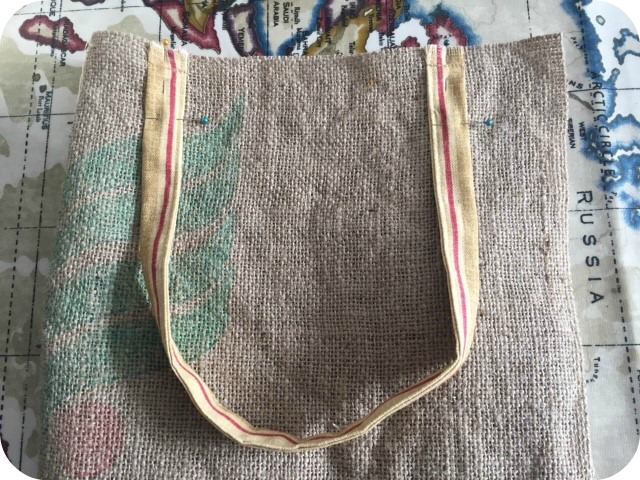 Step 5
 Step 6
 Step 7
 Step 8
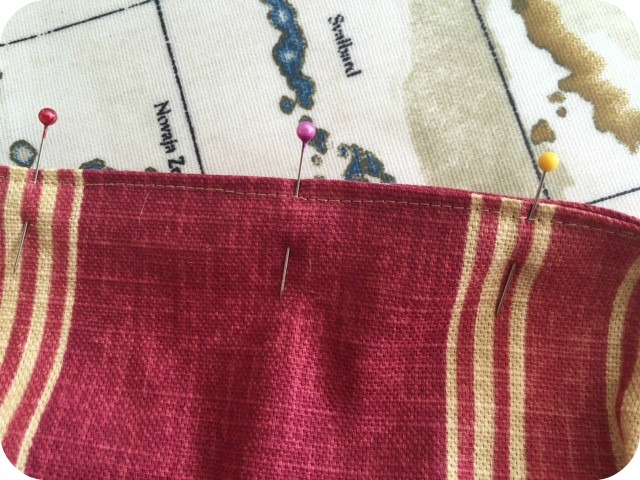 Now turn the entire piece the right way out through the gap left in the lining. Sew closed the gap in the lining and push inside the bag.
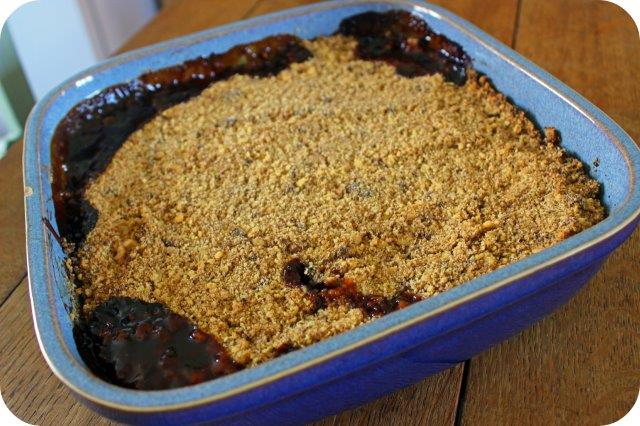 Gooseberries bring back fond memories of my childhood, playing with my best friend in her Grandma’s garden while rushing to pick all the fruit so she could make us a yummy dessert. Unfortunately I never managed to find space to grow a Gooseberry bush at our old house and this year was the first time our new bush produced a useful quantity of fruit. It wasn’t a huge amount but it was definitely enough for one dessert heaped in comforting memories. So today I’m sharing what is in my opinion the best Gooseberry Crumble recipe, it’s super quick and easy plus it has a mega quantity of crumble topping. Incidentally if you think my Gooseberries look odd that’s because they’re pink Gooseberries!
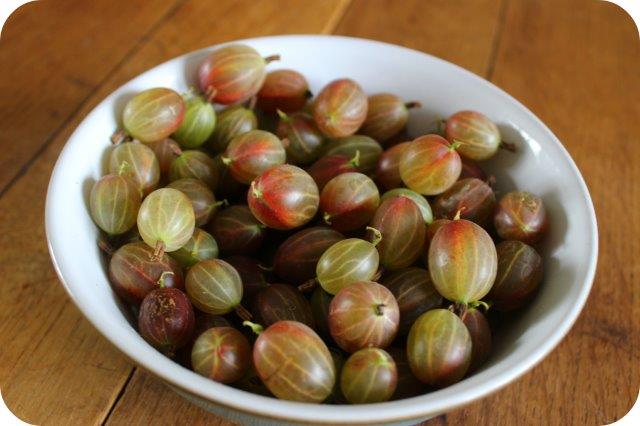 What You’ll Need
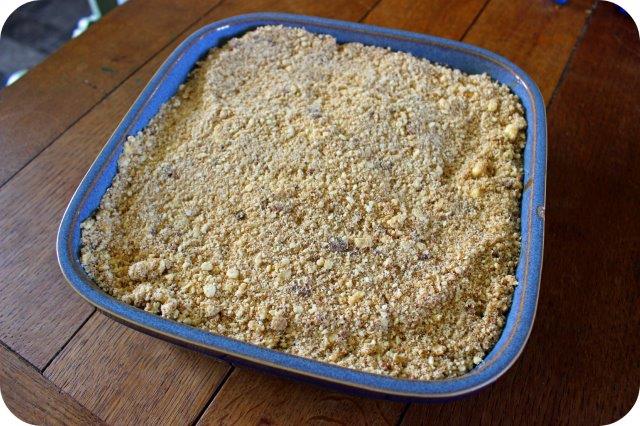 Step 3
Comments Off on Knight’s Village at Warwick Castle Review – Staying in a Knight’s Lodge