 Christmas is nearly here! The tone of that statement and whether it strikes fear or excitement is often directly correlated with just how prepared you feel for the festive season. Many of us find ourselves flooded with obligations both pleasant and stressful, but if there’s one Christmas tradition I always make time to fit in it’s crafting, especially with my children. So in an attempt to bring a little normality back into our chaotic home (see my previous post!) I bring you our Christmas crafts with Bostik!
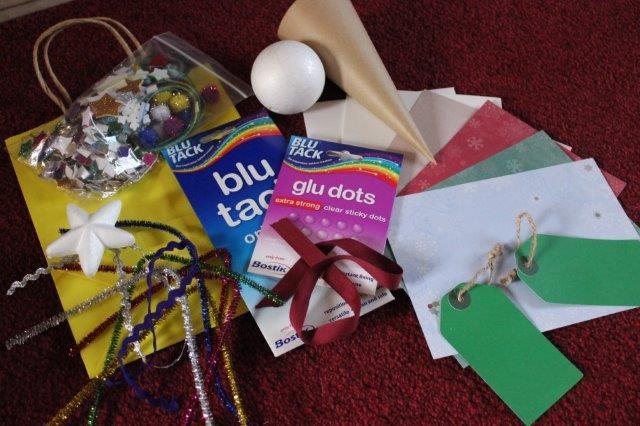
As usual our box was jam packed with creative goodies:
Bostik Glu Dots and Blu Tack
Pipe Cleaners and Pegs
Polystyrene Ball & Star shapes
Cardboard Cone
White Foam and Coloured Card
Gift Bag
Ric Rac and Ribbon
Glittery Stickers and Pom Poms
Gift tags
Decorative paper
Small brass bells
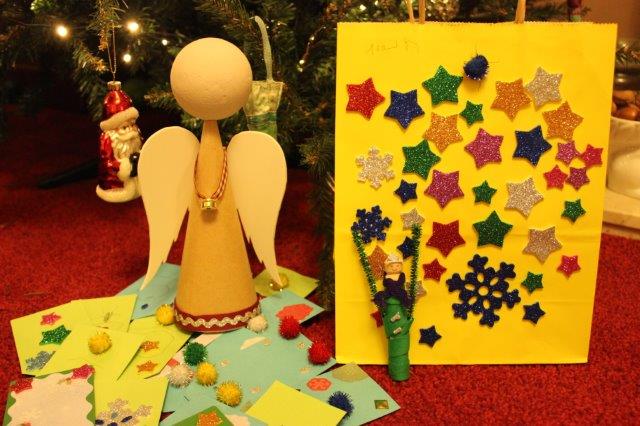
What we made:
Christmas Angel
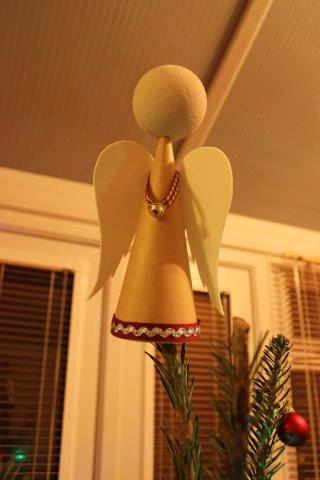
The cardboard cone could have become many things but as we had a new Christmas tree sadly lacking a winged friend to adorn the top, an angel was the obvious choice.
I started by cutting the wings out from white foam.

Next I made a hole in the polystyrene ball and pushed it onto the top of the cone to give the angel a head. I painted the head using a mixture of chalk paint colours which gives a lovely soft matt finish, it also dries really fast! It is more commonly used to paint furniture.

Once the paint had dried I used the Bostik glu dots to stick ribbon around the base of the cone (or dress).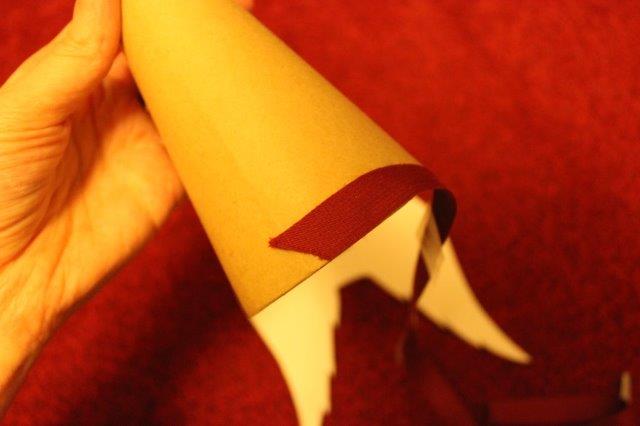
This was further accessorised with silver ric rac, also stuck using the glu dots.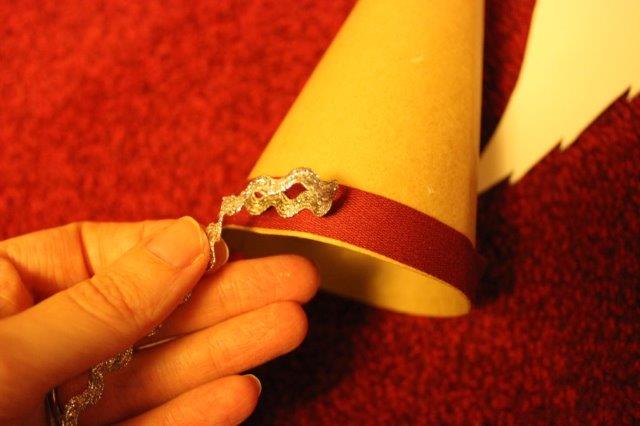
Next her wings needed to be attached. If you want to test to find the best height then use a little of the blu tack. Final adhesion is achieved using the glu dots once again (they really are useful to have at hand).
Finally I used a gold bell (so she can ring out the good news!) looped onto a ribbon to give the angel a pendant. This is attached at the back using yet another glu dot.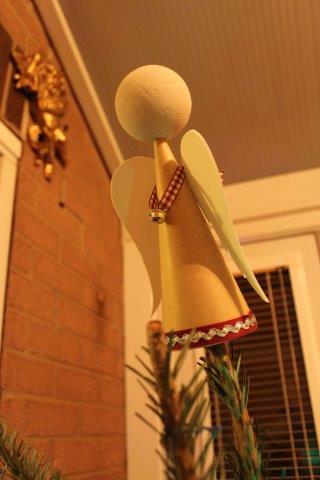
Gift Bag
My youngest was in charge of the gift bag decoration and chose to use a selection of sparkly stickers to create this festive wonder.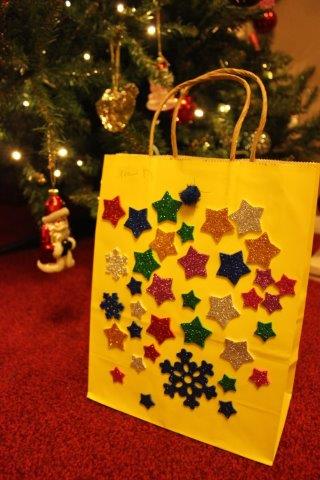
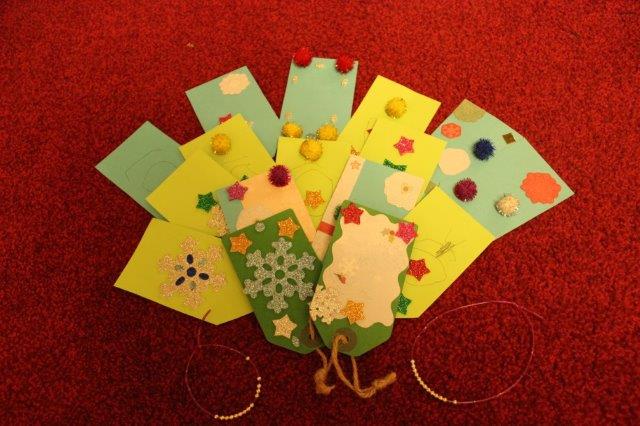
Gift Tags
All three children were given free reign to cut paper, stick pom poms, stickers and anything else they fancied onto our gift tags. We were given two pre-cut tags, but we also used the cardboard to cut more out.
Peg Princess
My daughter made a Peg Princess using ribbon and off cuts from snowflake stickers to make a tiara.
We had a wonderful time listening to Christmas music while crafting away and I wholeheartedly recommend it!


Comments Off on Epic Christmas Facts to surprise your guests!