 It’s been quite a while since I last posted a tutorial and with the summer holidays in full swing that (hopefully) means extra time on your hands for getting crafty. In this tutorial I’ll show you how to reuse coffee sacks and make a coffee sack bag!
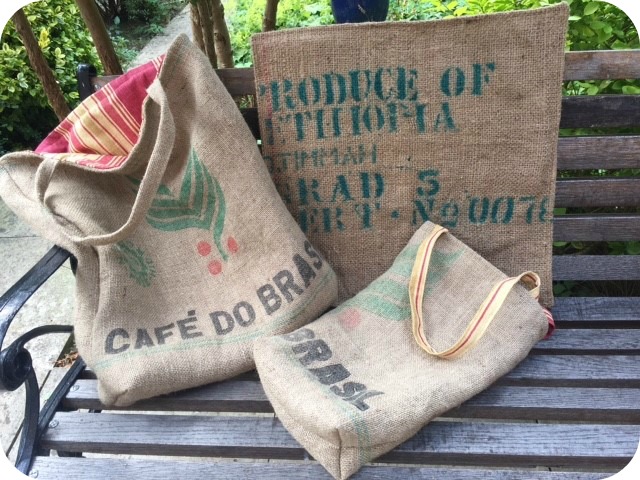
I love old coffee sacks with their rustic charm but finding a use for them can be harder than you think. They’re made for strength which means the material can be quite rough with a largish weave. They’d make great looking cushions but you might not enjoy leaning against them but their hardwearing nature makes them perfect for a shopping bag tote!
What You’ll Need
1 Coffee Sack
Colourful/patterned fabric to use as lining
Fabric to make bag handles (needs to be reasonably strong, not a lightweight cotton)
 Step 1
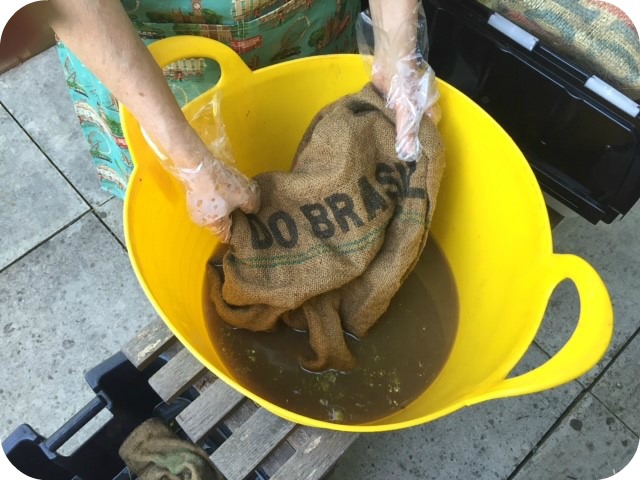
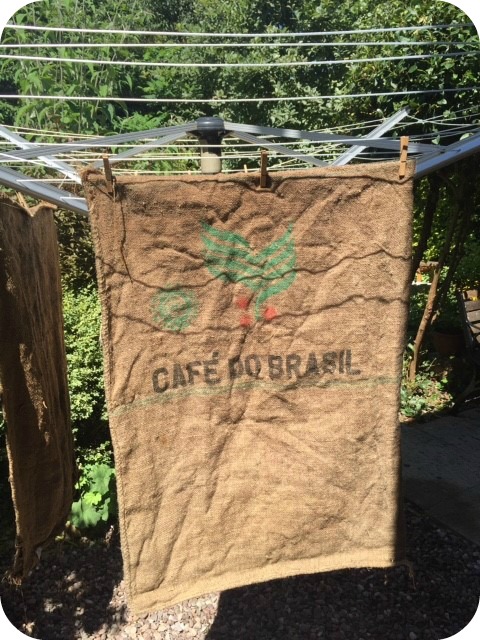
Give the sacks a good wash, it’s easiest to do this in a rubber tub outside if you can, then peg up on a washing line to drip dry.
 Step 2
Once dry cut out two large rectangles from the sack, both the same size as each other. The actual size you cut will depend on the design printed on your sack and how large a bag you want to make. As long as both rectangles are the same size it doesn’t really matter.
Step 3
Using your lining fabric cut another two rectangles the same size as those made from the coffee sack.
 Step 4
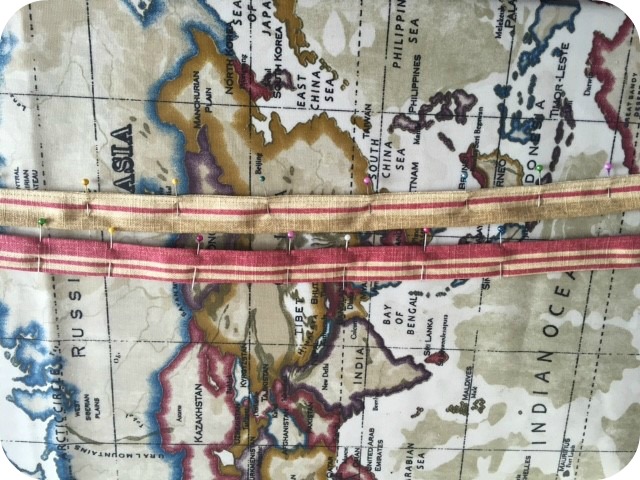
Now take the fabric you have chosen for the bag handles and cut two identical long rectangles of fabric (length is dependent on how long you want you handles). Fold each long rectangle in half and iron to make a centre crease. Unfold the rectangle, fold each of the cut edges into the centre meeting the ironed crease, iron into place and then refold in half. This should enclose the cut edges. Sew along the open side.
 Step 5
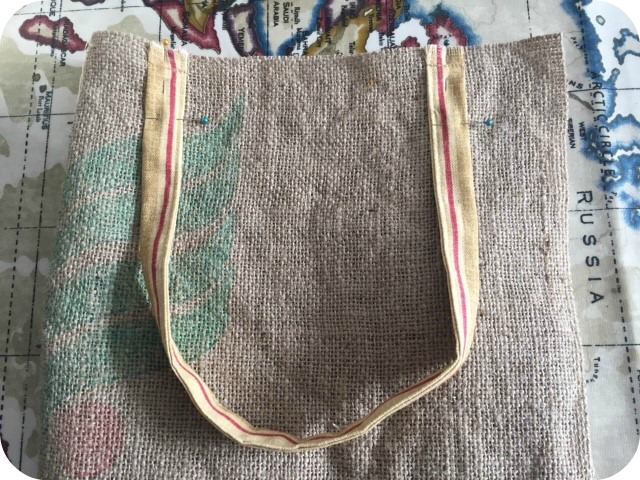
The handles can now be sewn onto the right side of each coffee sack rectangle along the top short edge.
 Step 6
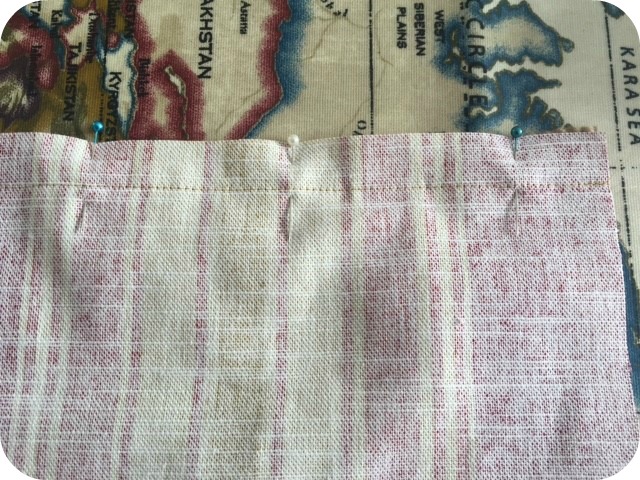
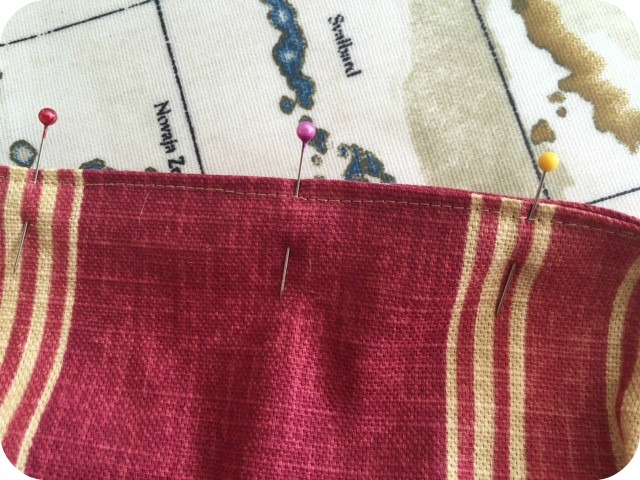
Next sew the top edges of the lining fabric rectangles to the top edges of the coffee sack rectangles (right sides together). The handles will hang between these two layers.
 Step 7
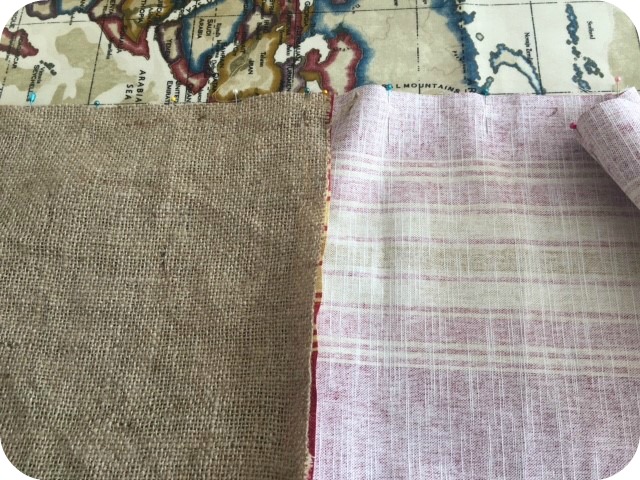
You can now sew the whole bag together. Unfold the lining and coffee sack piece that you sewed together in the last step. Lay with the right side up onto a table, then lay the other coffee sack/lining piece on top so that the right sides of the fabric are together. It will make one large rectangle which you sew all the way around leaving a gap at the bottom of the lining.
 Step 8
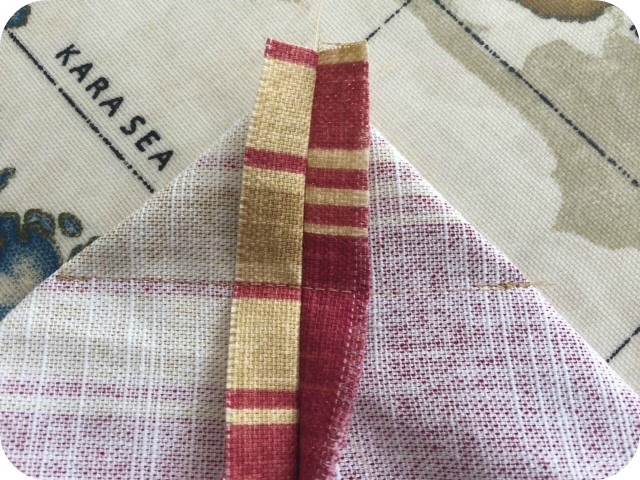
Before turning the right way we’re going to give the base of the bag some structure. To do this you need to squash each of the four corners to make a triangle and then sew straight across (see pic), do this to each of the corners. If you’re unfamiliar with this technique then check out this tutorial on the sewing directory. Trim off the excess fabric.
 Now turn the entire piece the right way out through the gap left in the lining. Sew closed the gap in the lining and push inside the bag.
Optional Step: Once the bag is complete you can top stitch around the top edge of the bag to give a good finish and extra rigidity.


Comments Off on How to Reuse Coffee Sacks and make a coffee sack bag