Six Streets Yarn Bomb

We are helping to organise and promote a new Yarn Bomb in Derby as part of this years Six Streets Art Trail. Six Streets is a community group that exists to increase neighbourlyness and friendship. Information about Six Streets can be found on their website www.sixstreetsderby.org.uk.

Last year they had their first Art Trail where local people opened their homes to both local and visiting artists. The trail included painters, potters, jewellers, textile artists, printers, photographers and film makers. There was a history trail, children’s activities and pop up cafes. It was so successful that they are having another this year on the weekend of June 22nd – 23rd.

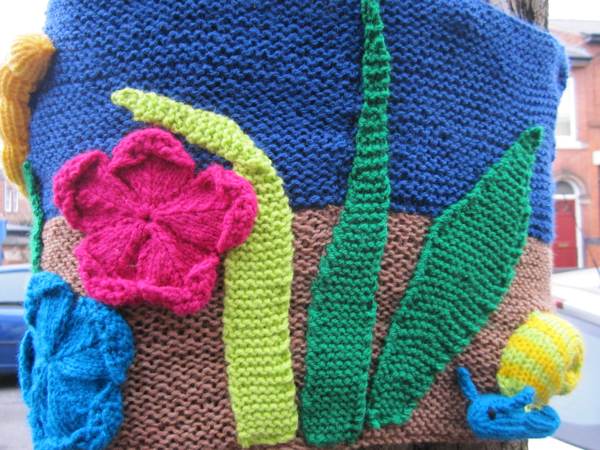
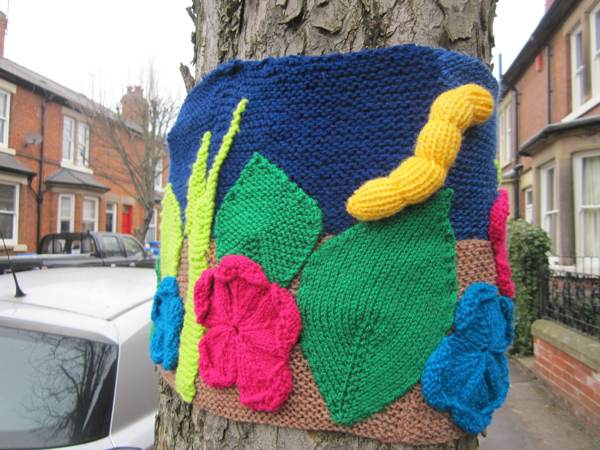
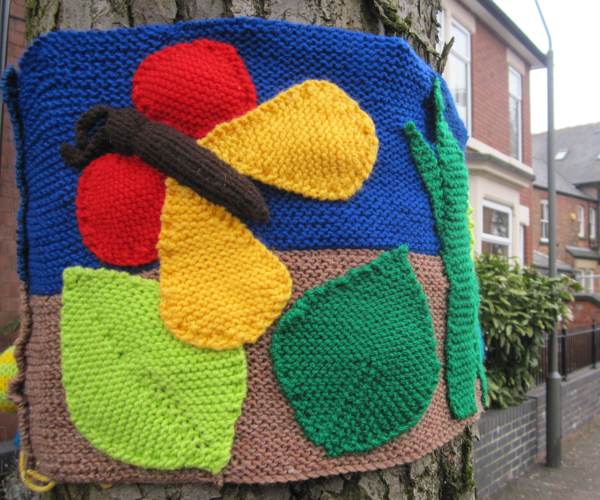
Brand new for this year though is a yarn bomb on the trees of one of Derby’s streets, Wheeldon Avenue. They are asking people to adopt one of the 19 trees and decorate it with a natural theme.I have knitted some leaves, flowers, caterpillars, butterflies and snails to put around this tree. I will probably try to hang one or two bees from the lower branches. Here are some more pictures.
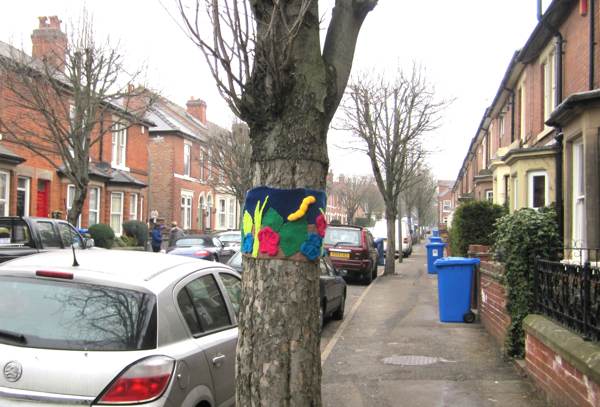
One of the local residents Tina has a map of the trees and their measurements so she can advise on the size of work needed. She can be contacted at tinalhampton@ntlworld.com A tree can be adopted by an individual or a group of knitters, crocheters etc. and your name will be added to your tree. We have some free knitting patterns on the news section of the Angel Eden website but people are free to use any patterns they like as long as it goes with the natural theme.
Make Your Own Sweet Candy Christmas Tree Decoration!

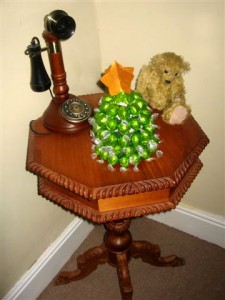
Modern interiors often demand simplicity and a lack of clutter, but at Christmas these mantras get forgotten and many of us decorate every surface in sight. One of my favourite decorations has to be my Sweet Candy Christmas Tree. Incredibly easy to make, it’s the perfect craft for children and makes a wonderful table centre or side table piece. Plus it has the added benefit of being edible once the festivities are over!

What You’ll Need

Cardboard to make the tree and star

Tape

Double sided tape or pads

Sweets

Gold Paint

Step 1

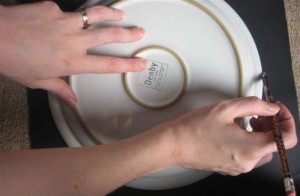
First you need to make the base of the Christmas Tree. This is done by drawing around something circular, I used a medium dinner plate. I wanted two layers to my tree so drew out two circles, but one larger circle would work if you only require one layer. Cut out the circle(s).

Step 2

Cut a slit in one side of the circle, this should reach from the edge into the centre. Grip both sides of the slit and form the circle into a cone shape. Secure the shape with tape.

Step 3

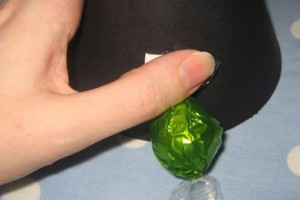
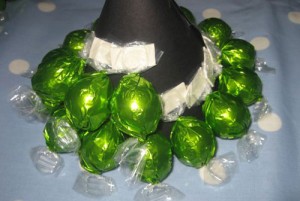
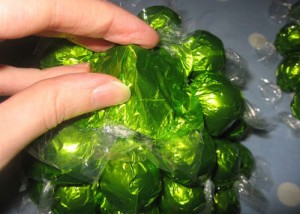
Cut out some double sided tape and attach to one edge of a sweet. Peel off the other side of the tape and stick to the bottom of your cone. Continue sticking sweets in a line at the base of the cone. When you reach the first sweet begin another line just above the first. Make sure you cover up any tape and leave as few gaps as possible.

Step 4

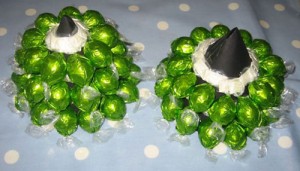
If you are creating two or more layers remember that the bottom layer will not need as many sweets as the top. Unwrap one sweet and use the wrapper to cover the point at the top of the tree.

Step 5

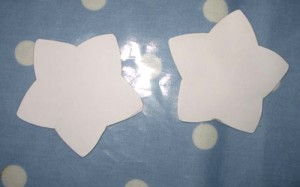
Next draw and cut out two simple stars from cardboard. Cut a slit from the top of one of the stars into the centre. Then cut a slit from the bottom of the other star into the centre. Slide the two stars together to make a 3D shape and paint gold. Once dry stick to the top of your tree. If you have more than one layer to your tree place them on top of each other now.

Ta Da! You have made a beautiful and edible Christmas Tree!

TIP. If you can’t find green sweets don’t worry, these trees look great in multi colours. Or you can decorate primarily in green with the occasional coloured sweet as a bauble!

Countdown To Christmas Tutorial!

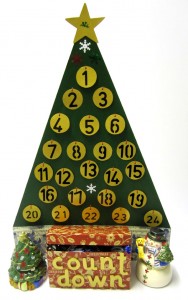
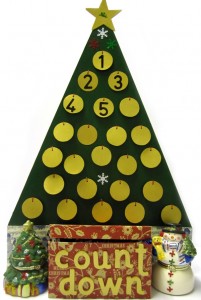
I love Christmas! I love the decorations, the food and the exciting lead up. Most of all I love the excuse to get crafty. With this in mind I’m bringing you today’s tutorial. Inspired by my son’s constant need to know exactly how many days there are left to go, this is our homemade countdown calendar. You start at the beginning of December with 24 numbered baubles, each day turning one over until there is only one bauble left to turn! There’s also a handy box at the base, which you can fill with sweets to eat daily. You could also save all the sweets to enjoy on the big day.

You Will Need

A piece of thick card (I used mount board)

Thin card to cut baubles and star from

A cardboard box

Sweets

PVA glue

Paints (I used green and gold)

2 styles of Christmas wrapping paper

24 small buttons (these don’t have to match)

Black felt tip to write numbers ( I used a permanent one)

Small amount of coloured thread

Small sequins to decorate

Step 1

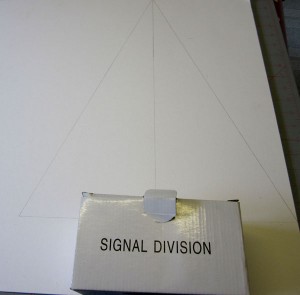
First begin by drawing out a triangle onto the thick card or mount board. Mine measured 37cm wide and 46cm high. Next place the cardboard box under the triangle and draw a rectangle the same size depth as the box but the same width as the bottom of the triangle.

Step 2

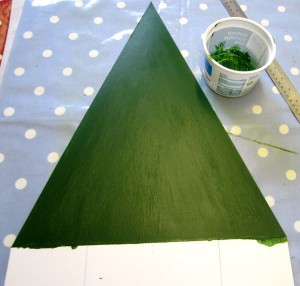
Cut out your tree shape using a sharp craft knife. Paint the top part of your tree green (leave the rectangle at the base unpainted). I used acrylic paint as it’s quick drying and waterproof when dry.

Step 3

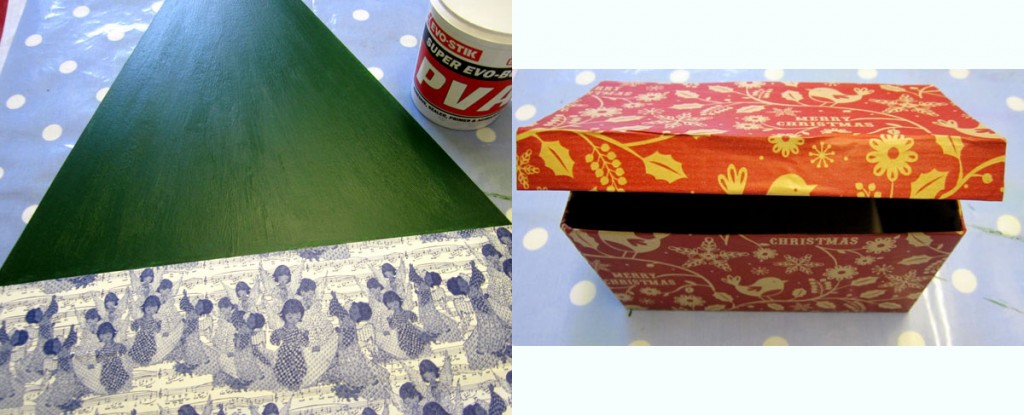
Glue a piece of Christmas wrapping paper onto the unpainted rectangle. Then cover the cardboard box with a different design of paper.

Step 4

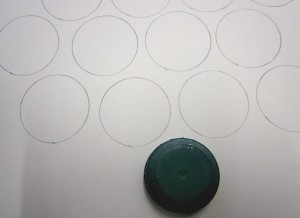
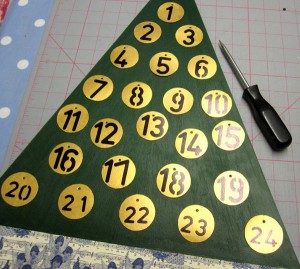
Take the thinner card and draw out 24 identical circles. Cut out and paint both sides (I chose to use gold acrylic paint), it may take several coats. Once dry draw the numbers 1 – 24 onto the circles using a black marker. Punch a hole into the top of each circle.

Step 5

Lay all the circles onto the tree and mark where you would like them to hang. Using something sharp, punch holes through the tree where you made your marks.

Step 6

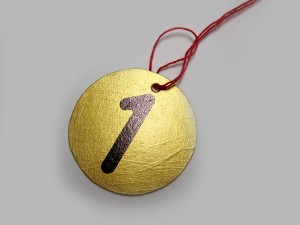
Cut some pieces of thread and fold in half. Push the folded end through the hole in the circles, then thread the two loose ends through the loop to attach.

Step 7

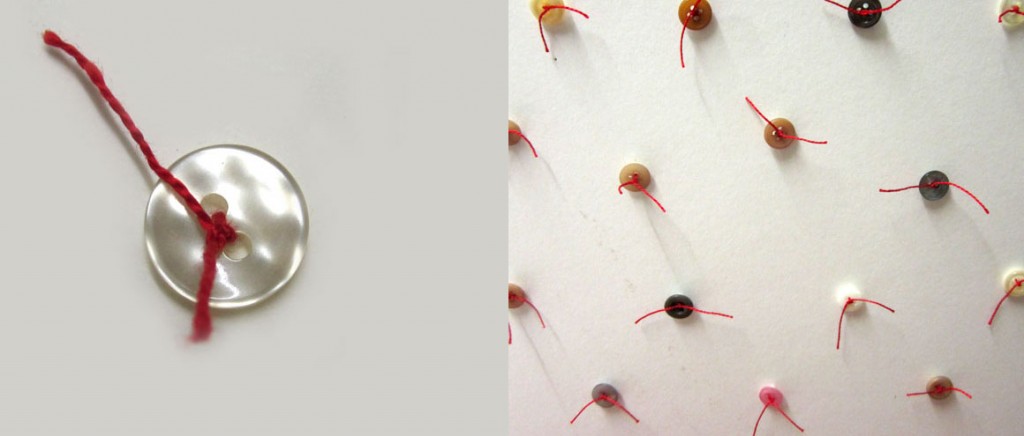
Push the two loose ends through the correct hole on the tree. Then take a small button and tie the thread at least two or three times through the button’s holes. The following picture shows what the back of the tree should look like.

Step 8

I had some spare wooden letters that I painted gold and stuck to the front of the cardboard box to read ‘Countdown’. You could of course just write this on the front.

Step 9

Glue the box onto the decorated rectangle at the base of the tree. Glue some small sequins (I used snowflake shaped ones and a cherub on the star) around the tree to decorate. Cut out a star shape and paint gold before attaching to the top of your tree. Fill the box with sweets and hey presto a wonderful Christmas countdown!