 If you’ve been watching Channel 4 recently then chances are that you caught a bit of Dawn O’Porter’s new show ‘This Old Thing’. In it Dawn tries to convince vintaphobes (my new word, do you like it?) to swap their brand new mass produced clothing for the unique wonders of vintage. She’s mostly successful and is certainly introducing a whole new group to second-hand (excuse me vintage) clothing.
As for myself I’ve always had a bit of a love hate relationship with ‘vintage’. I love historical fashions (I’d be dressed in a bonnet everyday if I could!) and I love being unique so vintage definitely appeals. However I don’t always love vintage stores, I’ve visited several which were cramped, badly lit, musty smelling and generally uninviting. However all of that would be nothing if I bagged a real vintage treasure, unfortunately many are now overpriced and underwhelming and their idea of good quality clearly differs from my own.
On the flip side when vintage is done well, enticing stores with bright colours and enthusiastic staff, it can be incredibly exciting. Only the other day I was bouncing about my house with glee having found a 1970s Clothkits dress in perfect condition and it cost me the princely sum of £8!
However I have an unwavering passion for vintage patterns! With them I can create wonders from the past with my own two hands, I could even use vintage fabric if I wish. The end result is just as unique, and even better, I can tailor things to my own choice and size. I could even make them again!
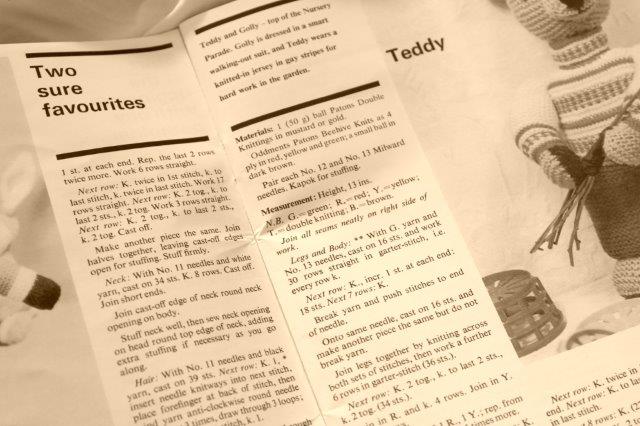 Recent acquisitions include a wonderful collection of knitting patterns. I can actually remember many of these sitting about the houses of my relatives. The best creation by far though is a wonderful Teddy pattern that my Granny knitted for my brother when he was a baby.
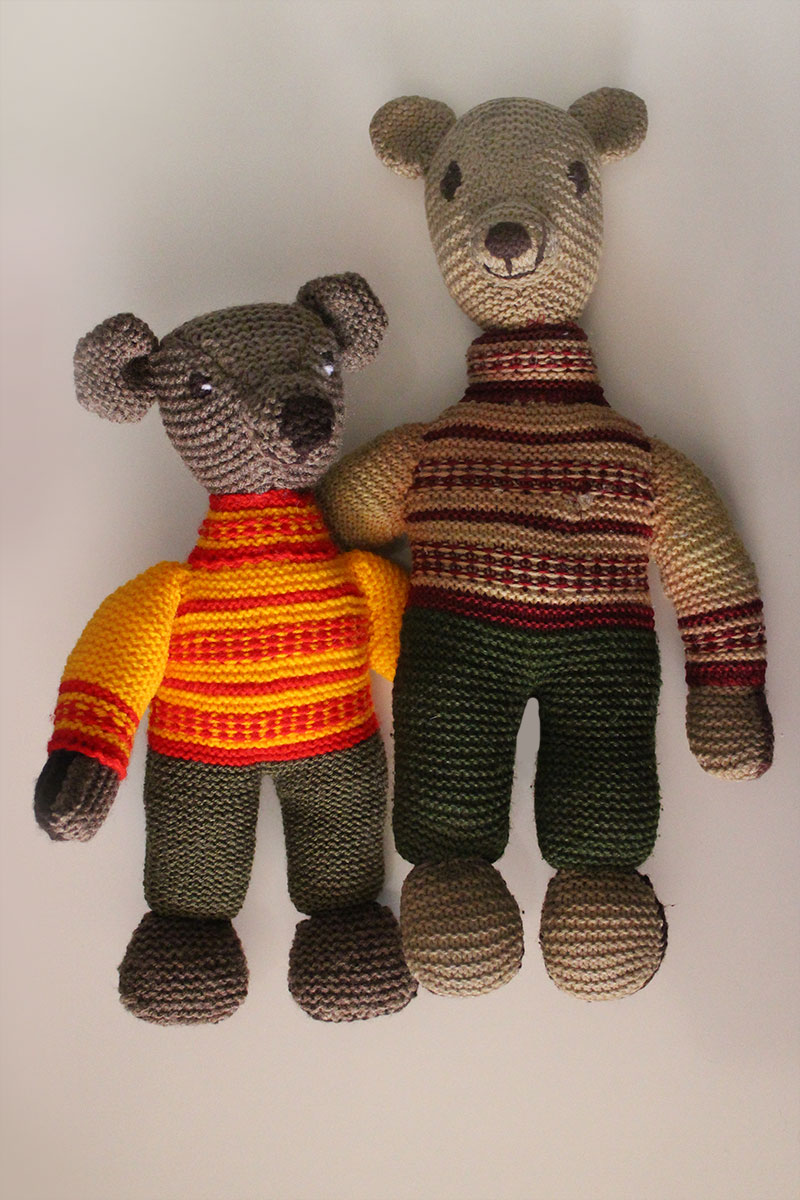
The Teddy was named Sidney and was dearly loved. Unfortunately my brother (being a baby and all) had the audacity to throw up on him and thanks to a trip in the washing machine he stretched and never looked the same. Despite this Sidney became something of a phenomenon in my little village and before we knew it Sidneys (all named after the original) were popping up everywhere, knitted loosely to resemble our stretched one. Of course what none of those knitting Mommas knew was that Sidney was named by my Father after Sid Snot who was one of Kenny Everett’s many characters!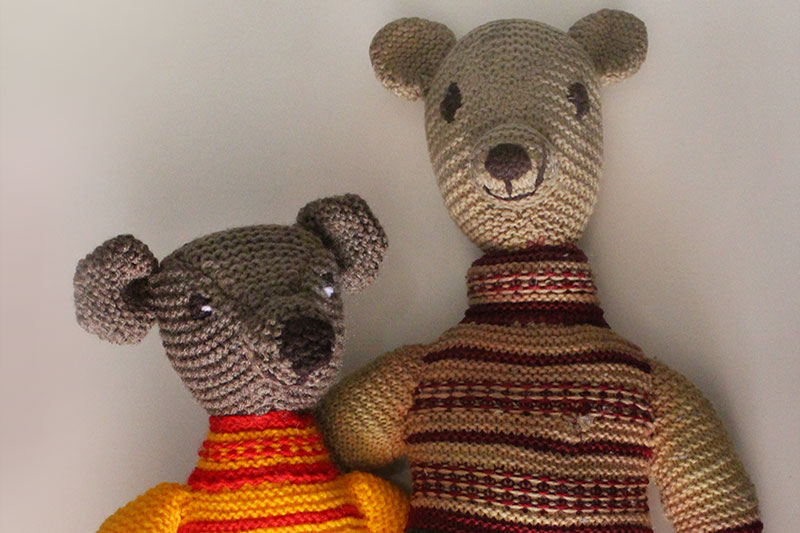
I picked up my needles recently and knitted my bro a brand new bear. However what I hadn’t expected was the size difference between the new bear and the original, it goes to show what a washing machine can do to hand knitting. If it hadn’t been for this gorgeous vintage pattern Sidney would have spent the rest of his days alone but now he has a significantly smaller brother to keep him company.
So I guess Dawn is right, there’s still life in This Old Thing. 🙂


Comments Off on This Old Thing – Vintage Patterns