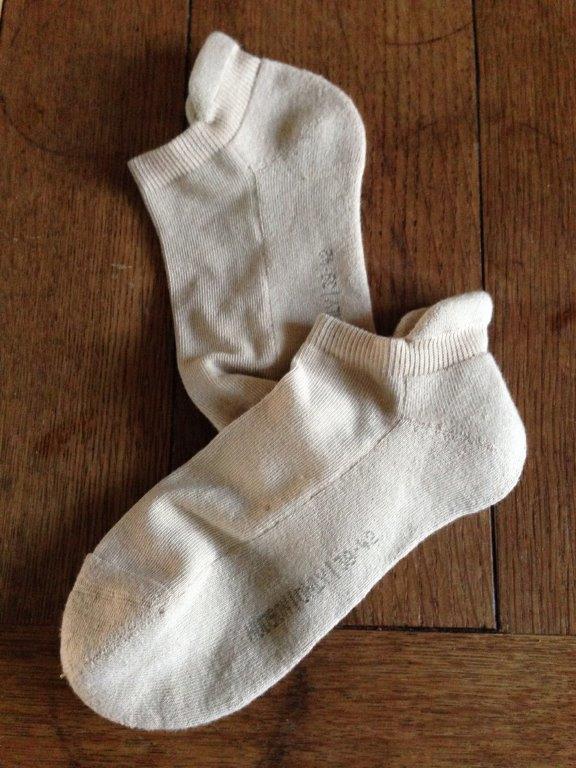
 If you’ve ever admired Japanese Tabi socks or just fancied wearing socks with your toe shoes or sandals then this is the tutorial for you! Japanese Tabi style socks are not only stylish they’re also super quick and simple to sew, all you need is a regular pair of socks to alter! I whipped up several pairs of these recently when the kids were wearing flip flops as part of a costume and given that it was the end of November I didn’t want their toes freezing off. Cosplay considerations aside they’re also an extremely fun and practical sock design so give them a go today and sew simple Tabi socks with this quick and easy way to make toe socks.
 What You’ll Need (this has to be one of the shortest lists I’ve ever written for a tutorial)
A pair of socks
Scissors
Matching Thread
That’s literally all that’s required, I suppose you also need a pair of feet to measure them on but you’re bound to have all the materials required at home right now.
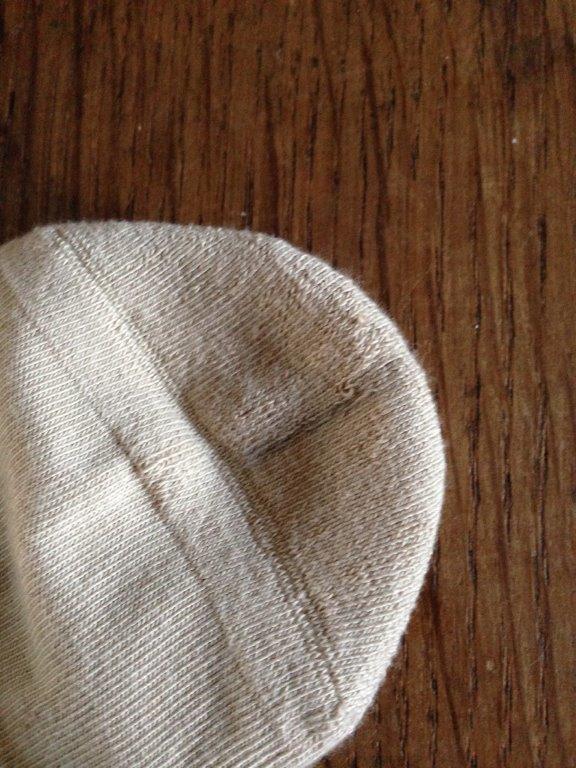 Step 1
Put your pair of socks onto the recipient’s feet and mark (using a pencil or tailors chalk) a line between the big toe and the rest of the toes.
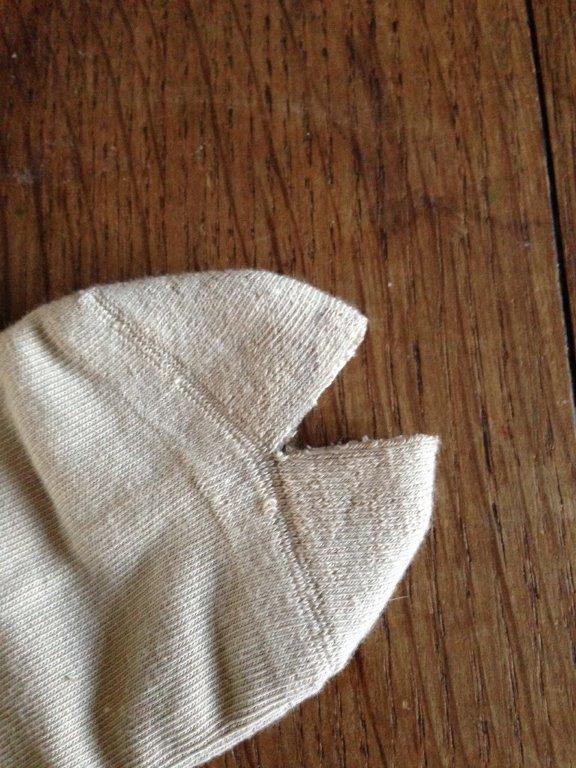
Step 2
Remove the socks, and carefully cut along your line using scissors.
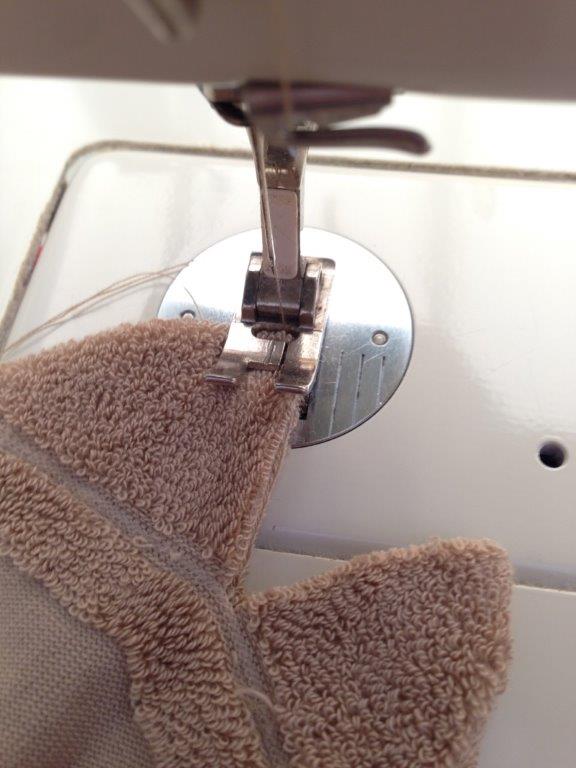
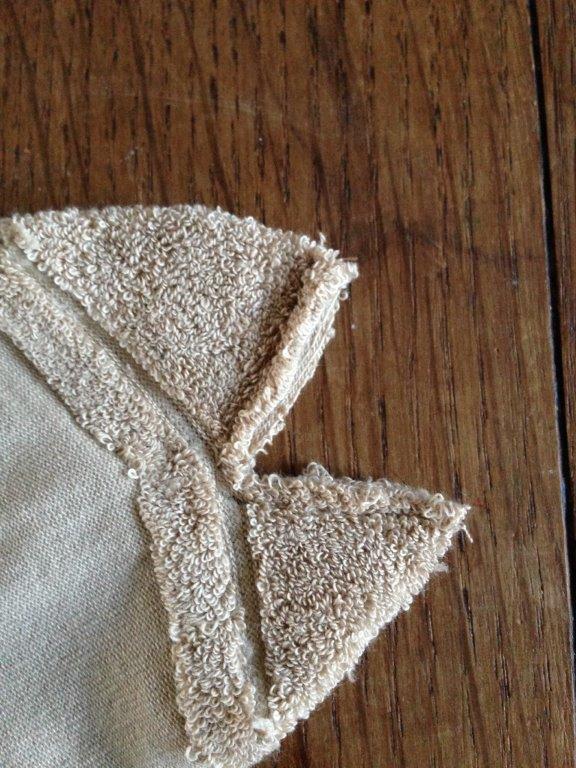
Step 3
Turn the socks inside out and stitch close to the edge (just like in the pic) using either a sewing machine or by hand.
Step 4
Turn the socks back out the right way, pop on the recipient’s feet and feel smug at your speedy and stylish accomplishment.

Step 5
Make all your socks into toe socks and wear them with all your flip flops! Or just so you can waggle your toes around the house while feeling all toasty and warm!
 It’s been quite a while since I last posted a tutorial and with the summer holidays in full swing that (hopefully) means extra time on your hands for getting crafty. In this tutorial I’ll show you how to reuse coffee sacks and make a coffee sack bag!
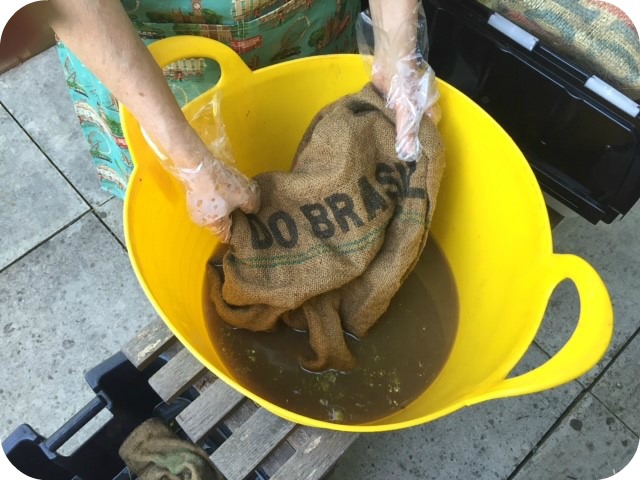 Step 1
 Step 2
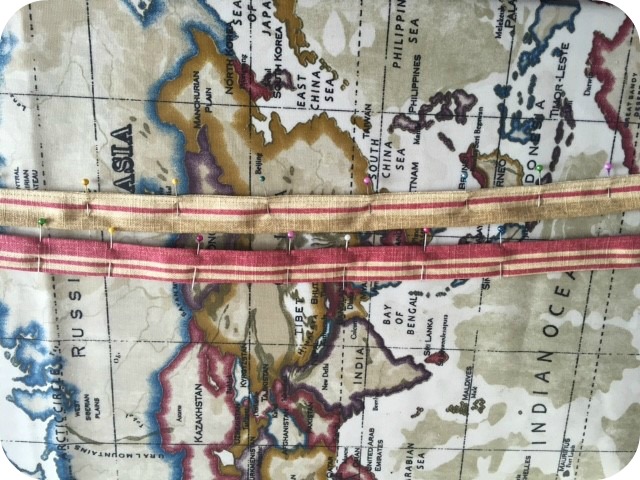 Step 4
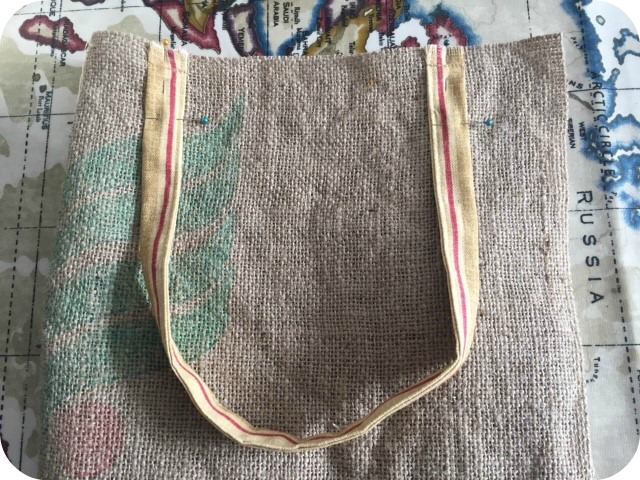 Step 5
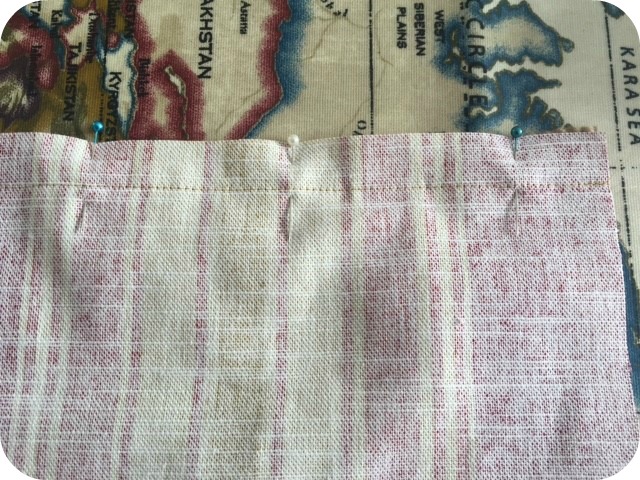 Step 6
 Step 7
 Step 8
 Now turn the entire piece the right way out through the gap left in the lining. Sew closed the gap in the lining and push inside the bag.


Comments Off on Sew Simple Tabi Socks with this Quick and Easy Way to Make Toe Socks