Time for my latest post as part of the Bostik Craft Bloggers Network. With this box of crafty goodies my kids and I made a knitting bag for my daughter, a pencil roll and gorgeous fabric flowers complete with their own vase. Bostik kindly sent me a box containing the items seen in the picture below:
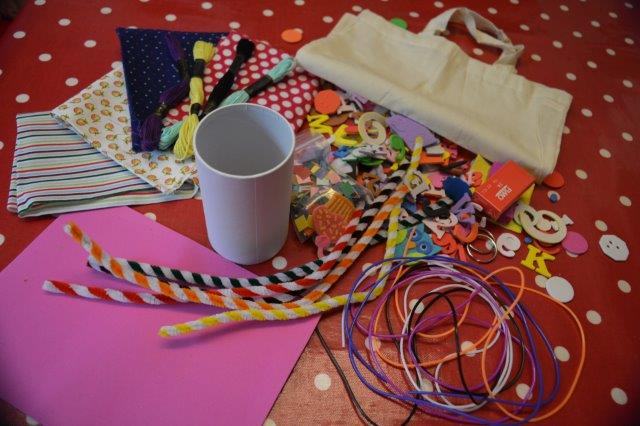
The key ingredient in this box was Bostik Sew Simple fabric glue. This amazing glue allows you to stick fabric together in an instant, completely bypassing the need for laborious sewing.
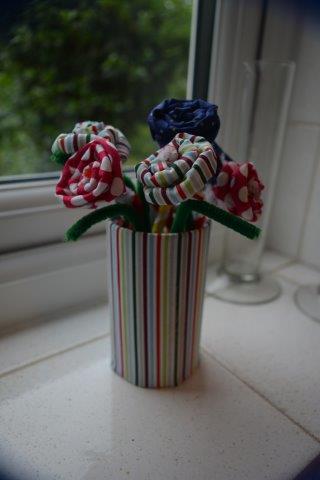
Fabric Flowers with Vase!
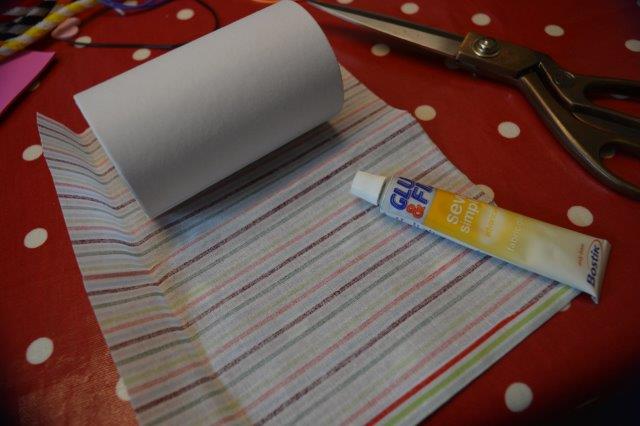
To make the vase for our flowers we used the Bostik Sew Simple fabric glue to attach fabric to a simple cardboard container. At the base the fabric is clipped into wide strips to allow them to be folded and glued into place.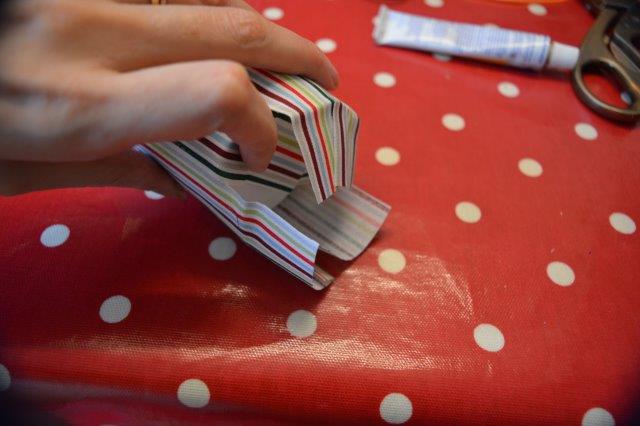
The flowers are made by cutting a strip of fabric wider than a pipe cleaner. The fabric is glued along one edge to cover the pipe cleaner, keep a small piece of pipe cleaner sticking out of each end.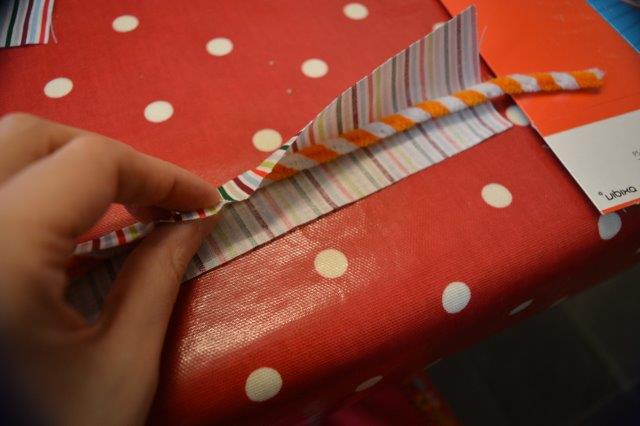
Another pipe cleaner is looped around the first on one end, this will create the stem of your flower.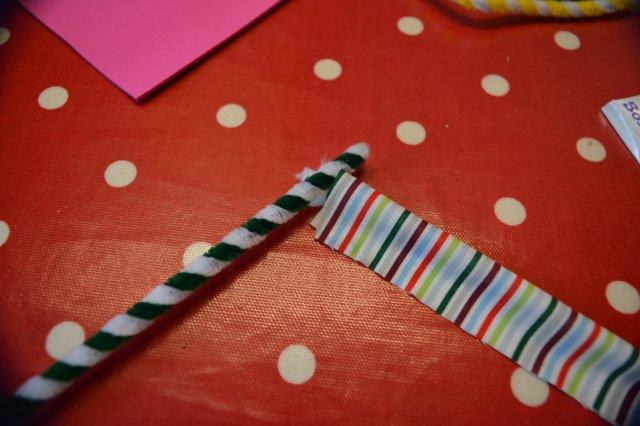
The fabric is then bent and wrapped around the stem to create a flower shape. To finish wrap the end of the first pipe cleaner tightly around the stem to secure.
Make several more and display in your brand new fabric vase!
Knitting Bag!
My daughter has only recently started to knit and as any knitter will know having a bag to keep your needles and wool in is essential to avoid complete confusion and tangled threads.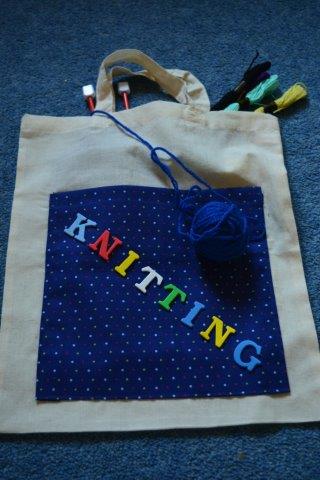
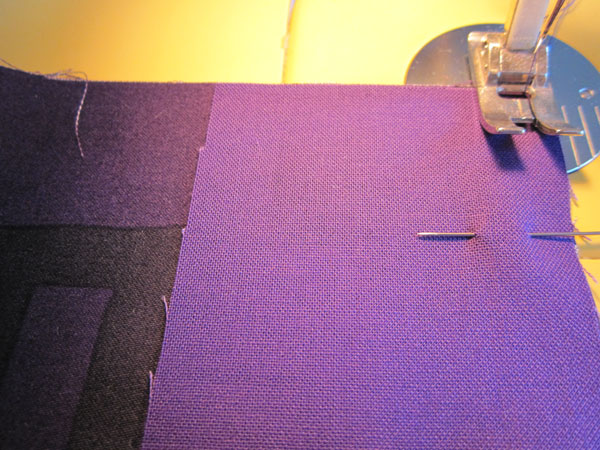
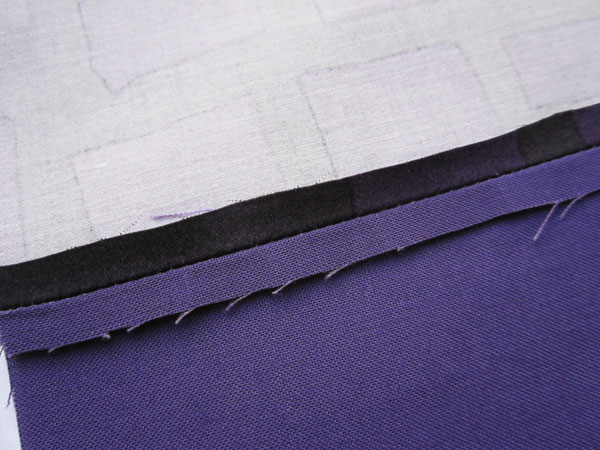
The bag is just a plain fabric bag. Using the Bostik Sew Simple fabric glue we stuck a large panel of cotton fabric to the front. My daughter then selected colourful foam letters which spell out ‘Knitting’ and glued them into place.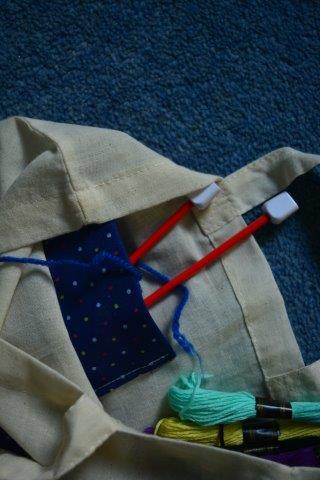
Inside the bag we attached a smaller piece of fabric, which was the perfect size to slip her knitting needles into. This was sewn into place to give a little extra strength.
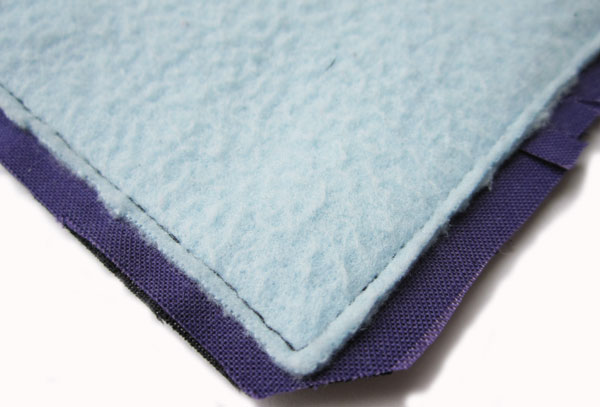
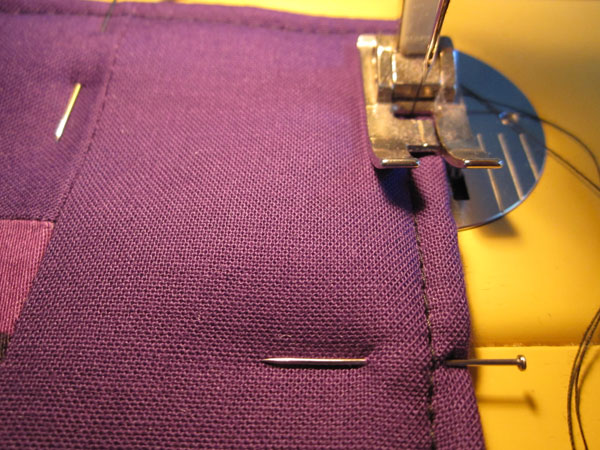
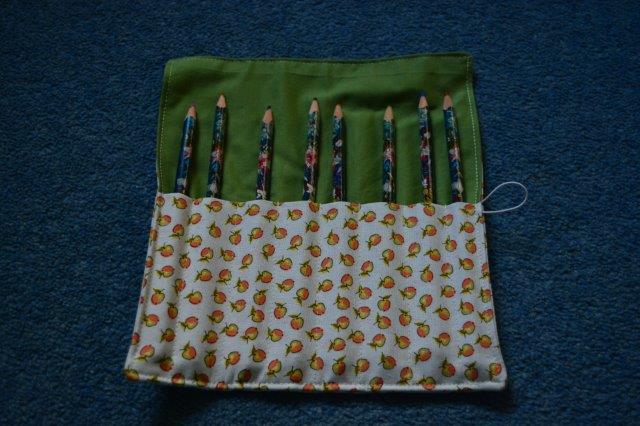 Pencil Roll!
If your children are anything like mine then you’ll be used to finding stray pencils and crayons in all manner of places. Having a pencil roll keeps the best of them organised and is perfect for taking on a trip out and about.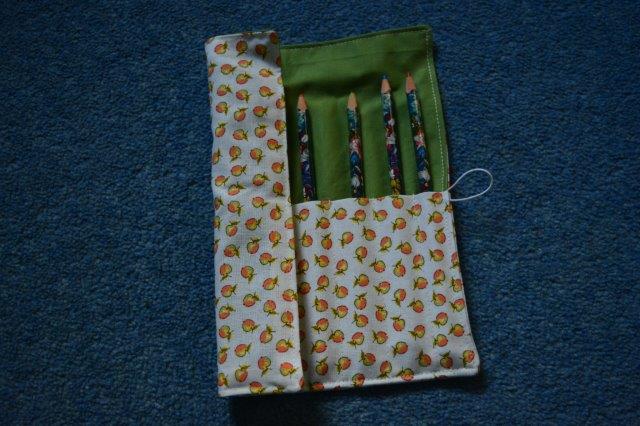
To make the pencil roll I adapted a tutorial I found online at http://two-little-monkies.blogspot.co.uk/2013/04/sewing-tutorial-w-pictures-crayon-caddy.html. It’s a great little tutorial and definitely worth a go.


Comments Off on Make your own Fabric Knitting Bag, Pencil Roll & Fabric Flowers with Bostik!