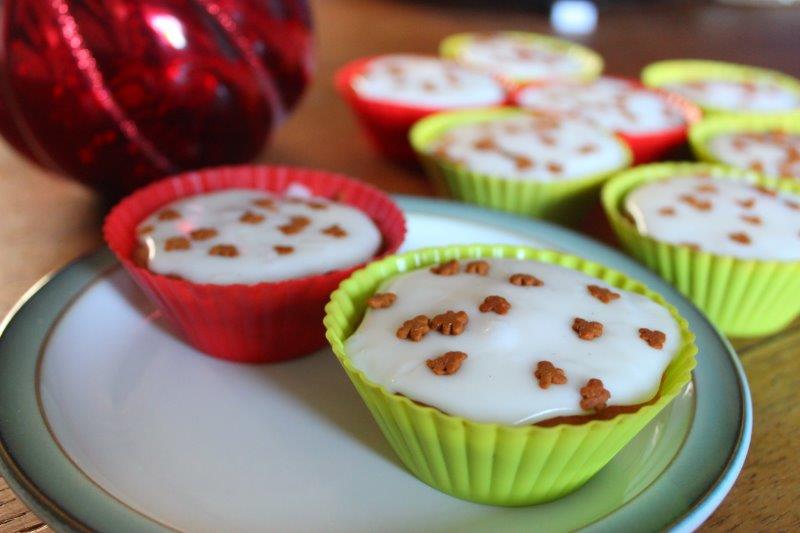
 Nothing says Christmas like some yummy home baking and todays Orange and Cranberry Cupcakes recipe is sure to please. They’re super moist, wonderfully fragrant and everything right down to the icing is just a notch above your average cupcake. The recipe was provided by Rachel’s Organic and as I sit here munching on yet another helping I can definitely recommend them. It’s also a great recipe to bake with the kids (as we did!)
Ingredients
225g margarine or butter, softened
225g caster sugar
225g self raising flour
3 large eggs
100g Rachel’s low fat vanilla yogurt
70g dried cranberries, chopped
Orange zest, juice of ½ orange
To Decorate
250g icing sugar
30g Rachel’s low fat vanilla yogurt
Preparation time: 15 mins Cooking time: 15 mins Makes: 12 cakes
Method
1. Heat the oven to 190C/Fan 170C/Gas Mark 5. Arrange paper cases in muffin or bun tins. Place the margarine, sugar, flour and eggs into a large mixing bowl and beat for about two minutes until smooth, light and fluffy. Fold in the yogurt, dried cranberries, orange zest and juice. Divide the mixture between the cases so that they are half filled and bake for 12 – 15 minutes, until golden. Cool on a wire rack.
2. To make the icing, mix the icing sugar with the yogurt and mix until smooth. Tip: the icing should be runny and flow.
3. Decorate each cake with a blob of icing and spread with a palette knife. Alternatively, leave to run to the edges of the paper case. Leave the icing to set.
4. Cakes will keep in an airtight container for up to four days.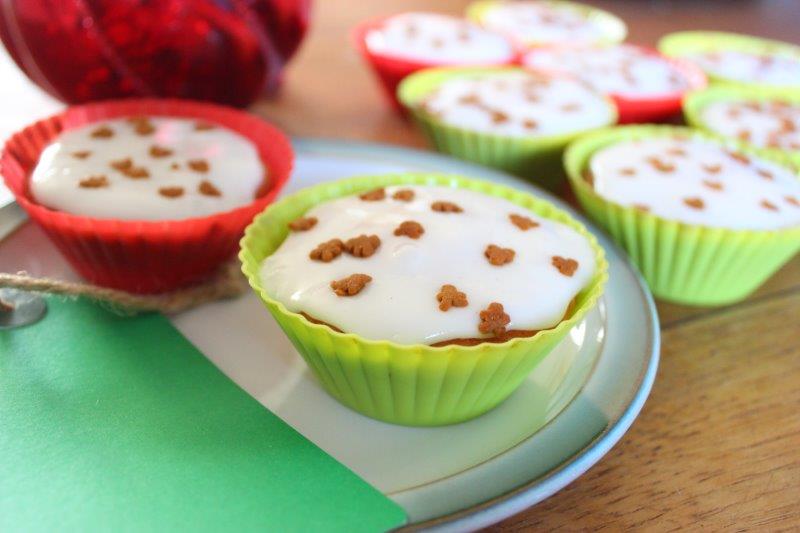
Tip. These would also make a great midnight treat for Father Christmas. Just add a label to your plate and I’m sure he’d welcome the change from Mince pies!


10 Comments (Leave a comment)