Make your own Ice Skating Snowman Theatre

icetheatreThere’s snow doubt about it Winter is coming! *Excuse me while I laugh heartily at my multiple clichés and puns :D* The nights are drawing in and the weather is super nippy so why not cosy up and get crafty with the kids. Today’s tutorial to make your own ice skating Snowman theatre is a fun way to embrace the season while keeping warm! It was made using materials provided by Bostik as part of their Craft Ambassador program.

Full instructions to make the theatre are included in this video but I’ll also pop text instructions below.

What You’ll Need

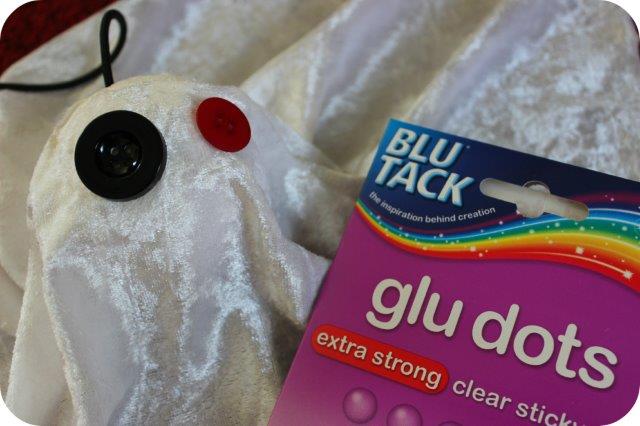
Bostik Blu Tack Foam Pads

Bostik Micro Dots

Bostik White Glu

A cardboard box

Foam or paper to decorate the sides

Blue card

Tracing Paper

Foam

Snow themed stickers

Fluffy Balls (or pom poms)

Polystyrene Star

Glitter

Lolly sticks

Thread

Tape


Step 1

Start with a cardboard box, stick back 3 flaps with tape, leave one flap open.

Step 2

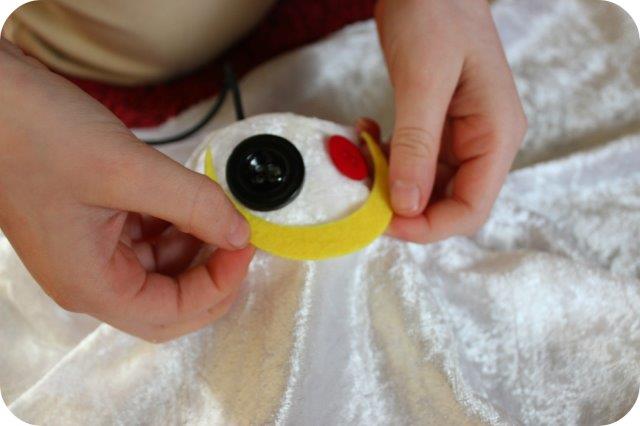
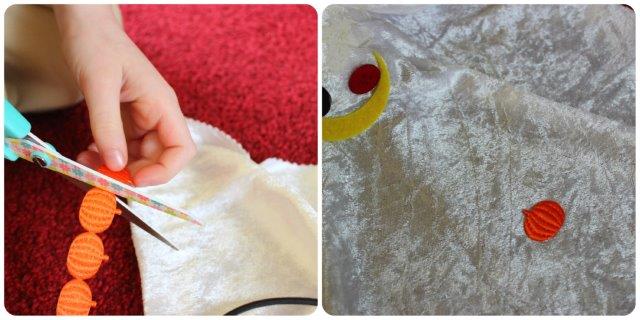
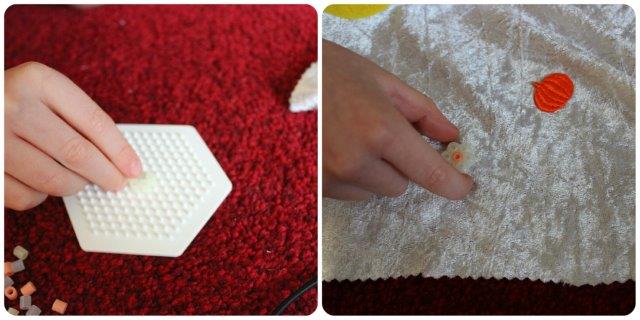
Decorate the sides & back using foam (or paper) stick into place using the Bostik Foam Pads.

Step 3

To make the frozen lake (ice-rink) use a blue sheet of cardboard with a piece of tracing paper laid on top. Cut shapes out of foam to make the edge of the lake, add white foam on top to represent the snow. Stick into place using Bostik Micro Dots or White Glu.

Using Foam pads stick the ice-rink to the open flap of the box

Step 4

Cut a slit into the back of the box, then decorate the interior using stickers. To add further decoration I stuck fluffy balls (snow balls) to the scene using foam pads.

Step 5

Cover a polystyrene star with Bostik White Glu, then sprinkle over glitter. Once dry stick to the back of your scene using foam pads.

Step 6

Now to make the snowmen. Stick fluffy balls (or pom poms) on top of each other and then stick to a lolly stick.

Step 7

Tie thread around some sparkly pom poms and stick to the top of the theatre using foam pads.

Finally paint the outside of the box, slide your snowmen through the gap at the back and you’re ready to play!


Halloween Ghost Decoration Craft for Kids

halloweenbosmain

Boo!! Did I scare you?? Probably not but as Halloween is nearly upon us I thought I better give it a go. I’ve never been keen on the gory side of Halloween and my children don’t particularly like being scared but we’re all for Pumpkin carving, apple bobbing and other child friendly activities. As a Bostik craft ambassador I get to create child-friendly crafts every month, so this month it had to be a Halloween Ghost Decoration Craft for kids. This one (made by my son) has been named ‘Bounce!’

To make your own spooky pal you’ll need

Some fabric

Polystyrene ball

Bostik Glu dots

Bostik Sew simple glue

Buttons

Felt (to make a mouth)

Decorations – we used pumpkin ribbon and fusible beads

Elastic cord

Keyring

halloweenbos2

Step 1

Start by cutting a rough square out from a piece of fabric. We used pinking shears as it prevents fraying and give the ghost a wiggly edge. Turn the fabric over so that the wrong side is facing up.

halloweenbos3Step 2

Nest cover half of the polystyrene ball with Bostik sew simple glue. Stick into the centre of your fabric and then gather the fabric around to stick into place.

halloweenbos4Step 3

Using a cocktail stick or sewer make a hole through the fabric into the polystyrene ball (might need an adult to do this bit). Stick in some elastic cord using the sew simple glue. We used black cord so that it wouldn’t show up at night. Now leave to dry.

halloweenbos5Step 4

Stick two buttons onto the fabric using Bostik glu dots. We used one larger and one smaller and two different colours to give our ghost a bit of character!

halloweenbos6Step 5

We used a moon shaped felt sticker to make the mouth, you could of course cut one out.

halloweenbos7Step 6

It’s time to decorate! My son cut small pumpkins off pumpkin trimming and stuck to the ghost using the sew simple glue.

halloweenbos8Step 7

Next he made some simple shapes from glow in the dark fusible beads (which Mummy ironed!) and these were stuck to the ghost using Glu dots.

halloweenbos9Step 8

Tie the elastic cord onto a keyring and your new friend is ready to play!


Holiday Memories Craft with Bostik

holiday memories craftTodays holiday memories craft tutorial is the perfect way for kids (or adults) to turn all those little mementoes into a hanging wreath to decorate your home.

If your family is anything like mine then you often come home with all kinds of bits and pieces like teeny tiny shells, postcards or even bits of sand. But what do you do with them when you get home? Getting crafty is one way to use those special collections and a door hanging means everyone can appreciate the fun you had. I received the materials used in this craft as part of the Bostik Craft Ambassador program.

What You’ll Need

Cardboard

Foam

Bostik Fine & Wide Glu Pen

Sand

Lolly Sticks

Wooden holiday shapes

Fabric Stickers

Small Shells

Ric rac or ribbon

Small bunting flags

Bostik Glu Dots

Sticky Tape

All the instructions you need are contained in this video or you can follow the text version below.

Step 1

Begin by drawing around a dinner plate onto a piece of cardboard. Draw a smaller circle in the centre (I drew around a roll of tape). Then cut out.

Step 2

Using the Bostik Fine & Wide Glu Pen cover the back of the wreath shape in glue (use the wide end of the pen). Then stick onto a piece of foam or you could use some strong cardboard. Once dry cut out.

Step 3

Using the fine end of the glu pen make swirls, dots or any pattern you fancy all over the front of the shape. Then pop some sand into a cup and sprinkle all over the glue pattern. Once the glue has dried shake off the excess sand.

Step 4

Time for decoration! You can use anything that you collected or that reminds you of your trip, I like to lay everything out before sticking into place. I used Bostik Glu dots to attach plain wooden holiday themed cut outs. Of course you could decorate these, I just think the bare wood looks really good. Next I laid lolly sticks to remind us of all those lovely iced treats and fabric stickers look great, especially if they have googly eyes!

Step 5

Bunting screams summer to me so I made some bunting using ric rac and ready made flags. If you can’t find any pre-made flags an alternative is to cut triangles from fabric and either stick into place or use a hole punch to loop the ric rac or ribbon through. The bunting was stuck to the reverse using sticky tape.

Step 6

Finally I stuck some miniature shells into place using glu dots. Then I used more ric rac to make a hanging loop, this was also stuck to the reverse of the hanging using tape.

Step back and admire your handy work!